Step-by-Step Yarn Dyeing Tutorial with HighFiberArtz
Want to save this for later? Pin this or keep for a quick review of the steps :)
Welcome to the amazing world of yarn dyeing!!! Have you ever wanted to start dyeing your own yarn or just wanted to see how it was done? It can be an intensive process or one that is simpler depending upon what yarn dyeing technique and material you are using.
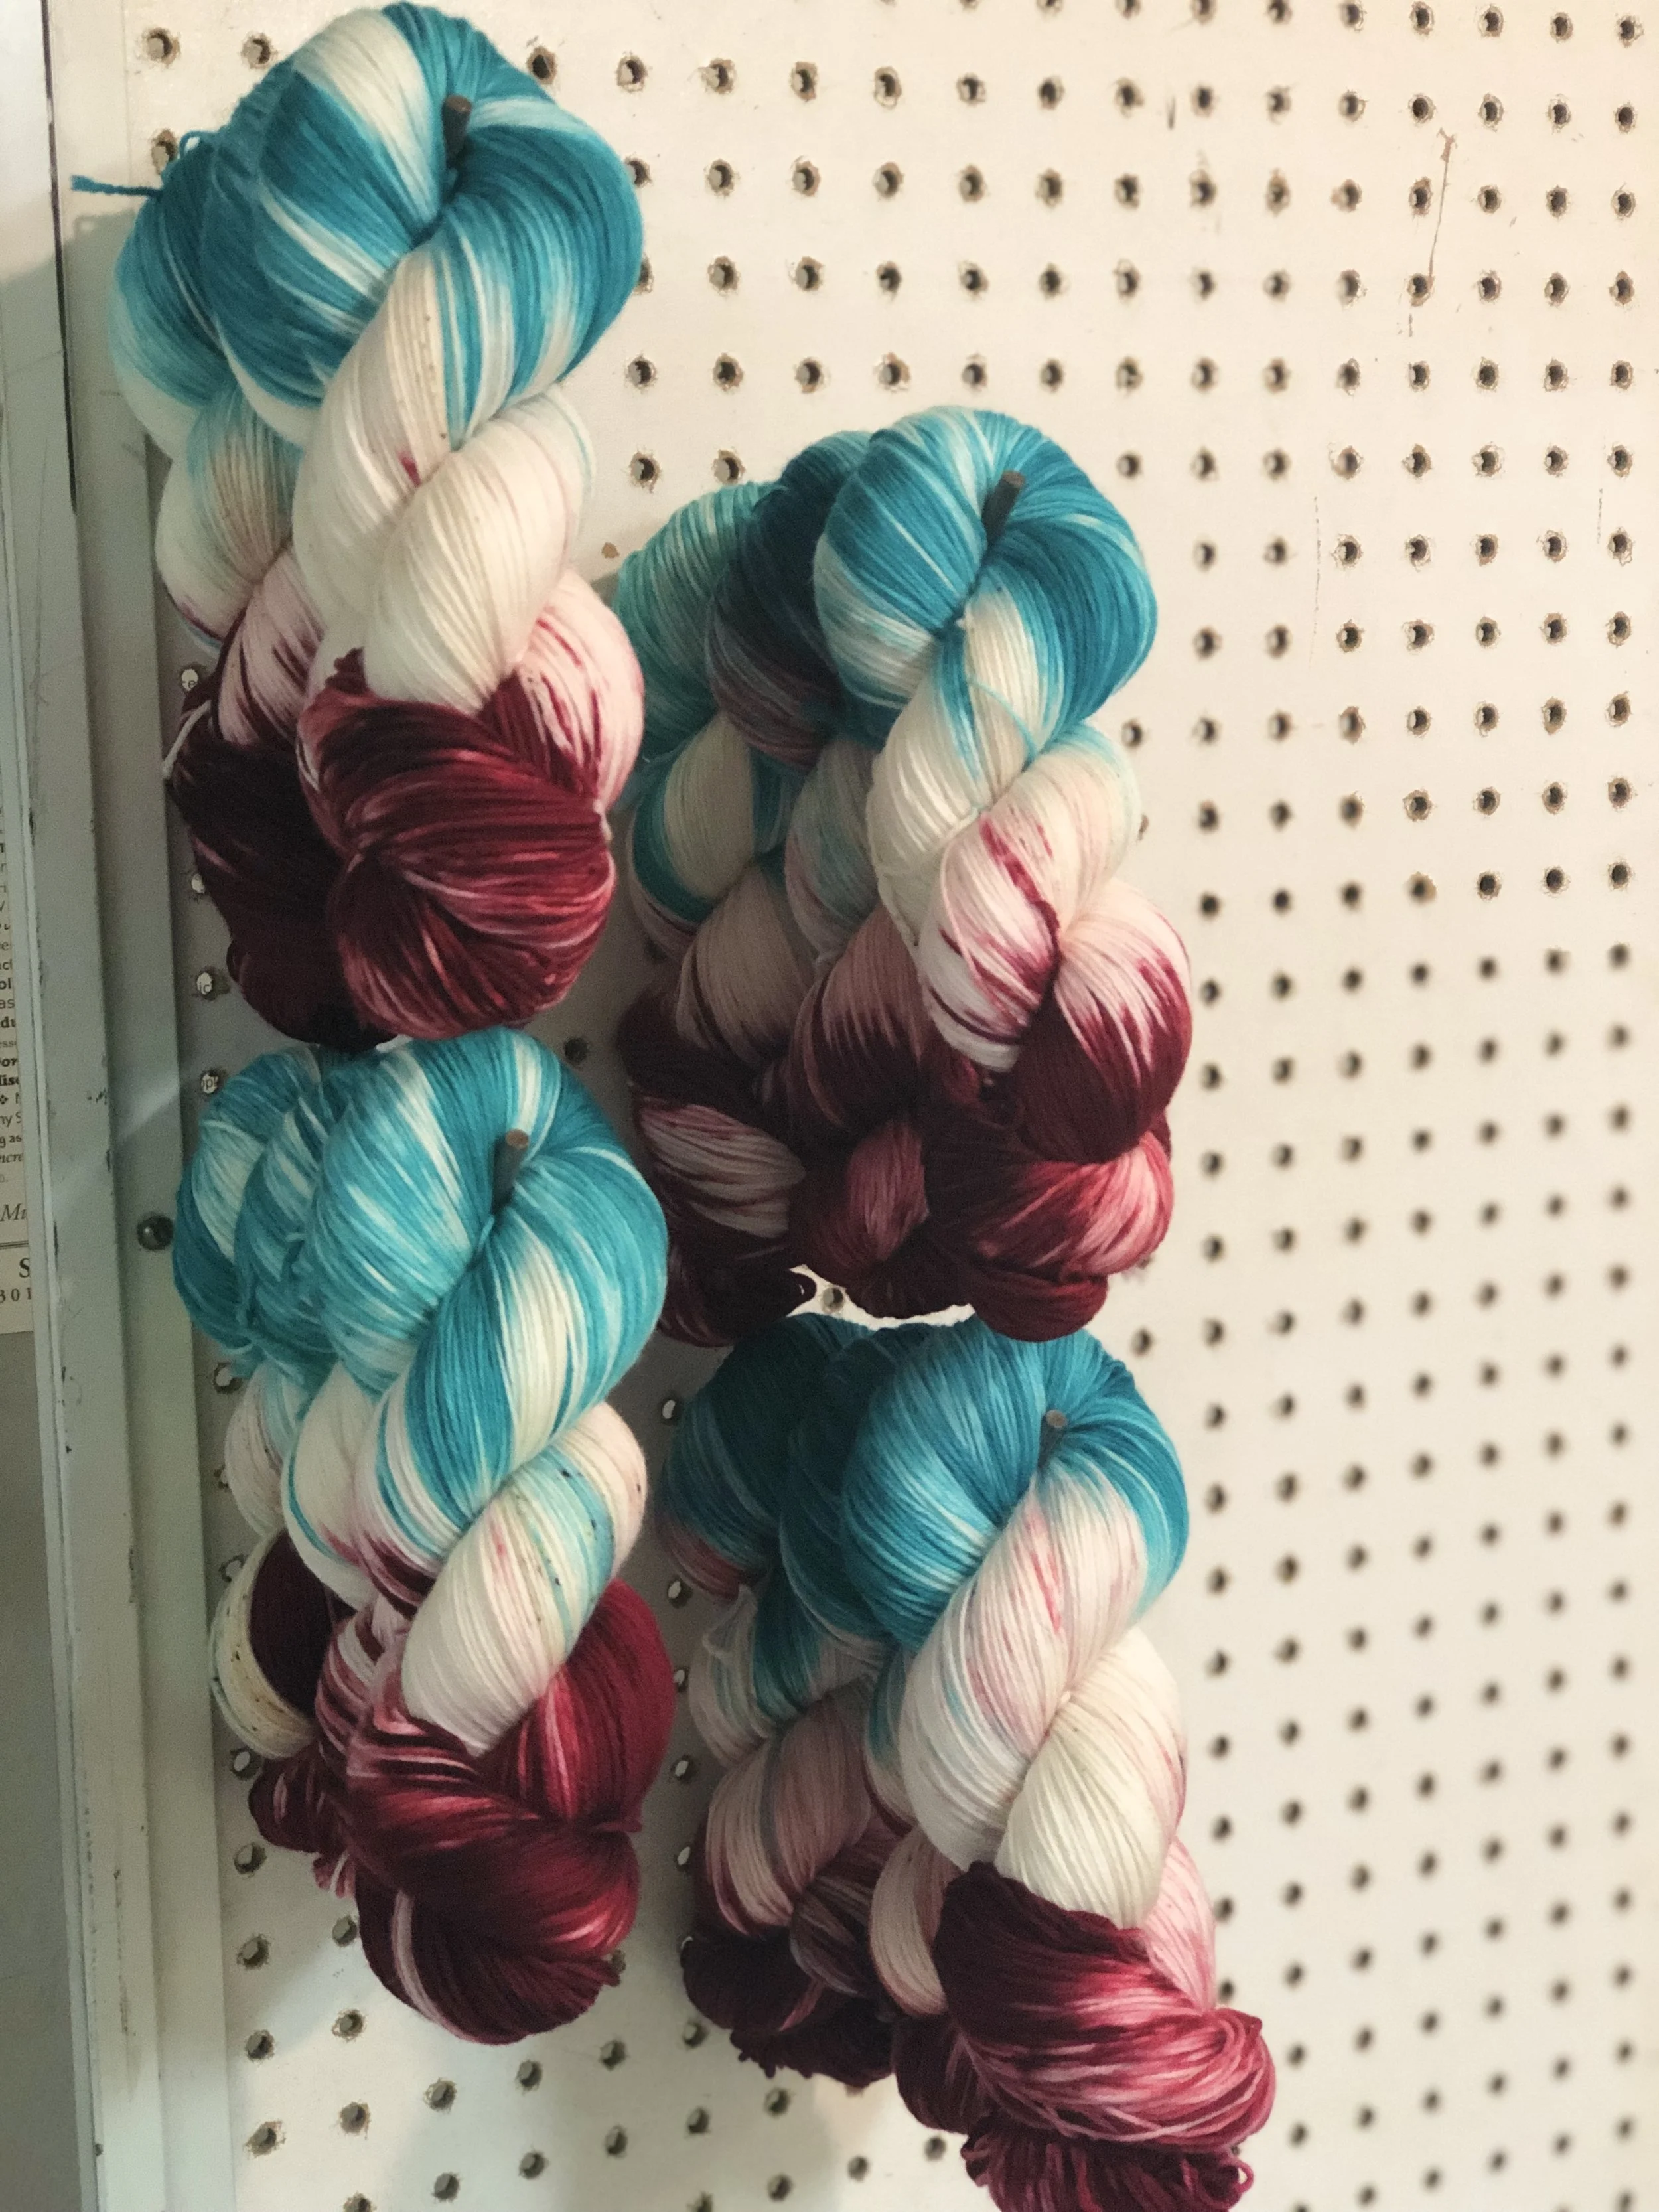
Liz of HighFiberArtz has created an amazing and detailed yarn dyeing tutorial for you to learn the art and science of this art form. You can also check out her Sally colorway that is used for this tutorial and many others on her website or if you like to buy at a physical location, you can find her gorgeous yarns in two physical shops - Sin City Knit Shop (2165 E. Windmill Ln Unit 200; Las Vegas, NV 89123) and Teaselwick Wools (1313 Mill St. SE Salem, OR 97301).
Before we get started, to make it easier for you to make your own Sally Colorway, I have included a couple of my Amazon Associates affiliate links (Note: I will get paid from Amazon and at no cost to you, if you choose to click through and buy something) to some of the equipment mentioned below. You’ll find the links highlighted below in the list of equipment in step 1. Each link was chosen after researching what was available on Amazon and finding the one piece of equipment that had the most reviews and greatest number of stars while also being affordable, as well as being an Amazon’s Choice or best seller. I cannot wait to see what you make from this tutorial!
At the bottom of this tutorial, you’ll find a way to get a PDF checklist and equipment list. :)
How to Dye Yarn, a Step-by-Step Yarn Dyeing Tutorial
Specific Yarn Dyeing Technique is Low Immersion protein fiber dyeing using the Sally colorway as an example
by Liz of HighFiberArtz
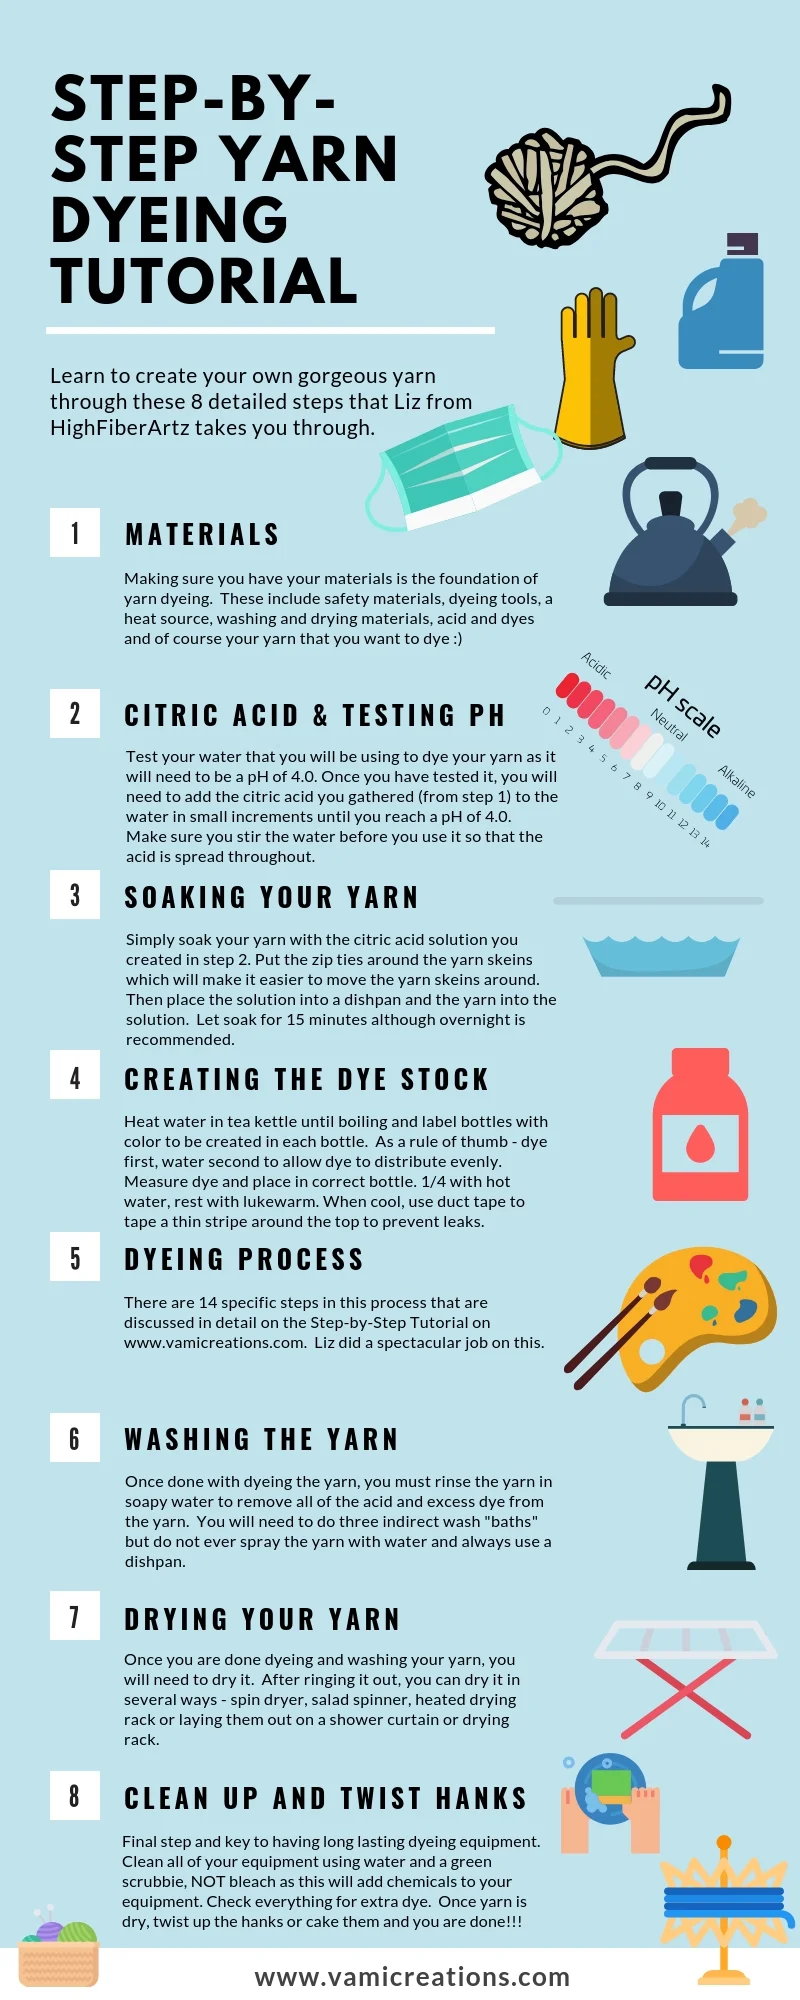
Step 1: Materials
Before getting started, the very first and sometimes most exciting part about starting the dyeing process is gathering your materials. Before buying the obvious (dye and yarn) the very first set of materials you should gather are the safety materials. Although dyeing is a fun activity and often times lucrative, acid dyeing safety needs to be taken very seriously so that the person(s) participating can ensure many years of enjoying this craft.
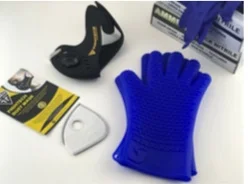
Mask: In my opinion, before you buy anything, I suggest that you first purchase a good mask. Most dyers wear a respirator, which some argue is the only form of lung protection you should buy. For me personally, respirators are harder to fit my smaller frame and can sometimes be hard to breathe with. A simple dust mask will not be sufficient.
You will need to buy a mask that is made to handle small particulates, one with a filter or filter inserts and that has a tight seal. I found my mask on Amazon, but any mask with filters for small particles and an airtight seal will work as long as it fits you correctly and does not completely cut off your air supply. You want to be able to breathe while also making sure you are protecting all open airways from the small particles that the acid and dyes contain.
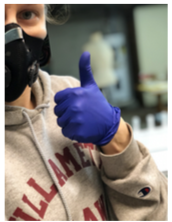
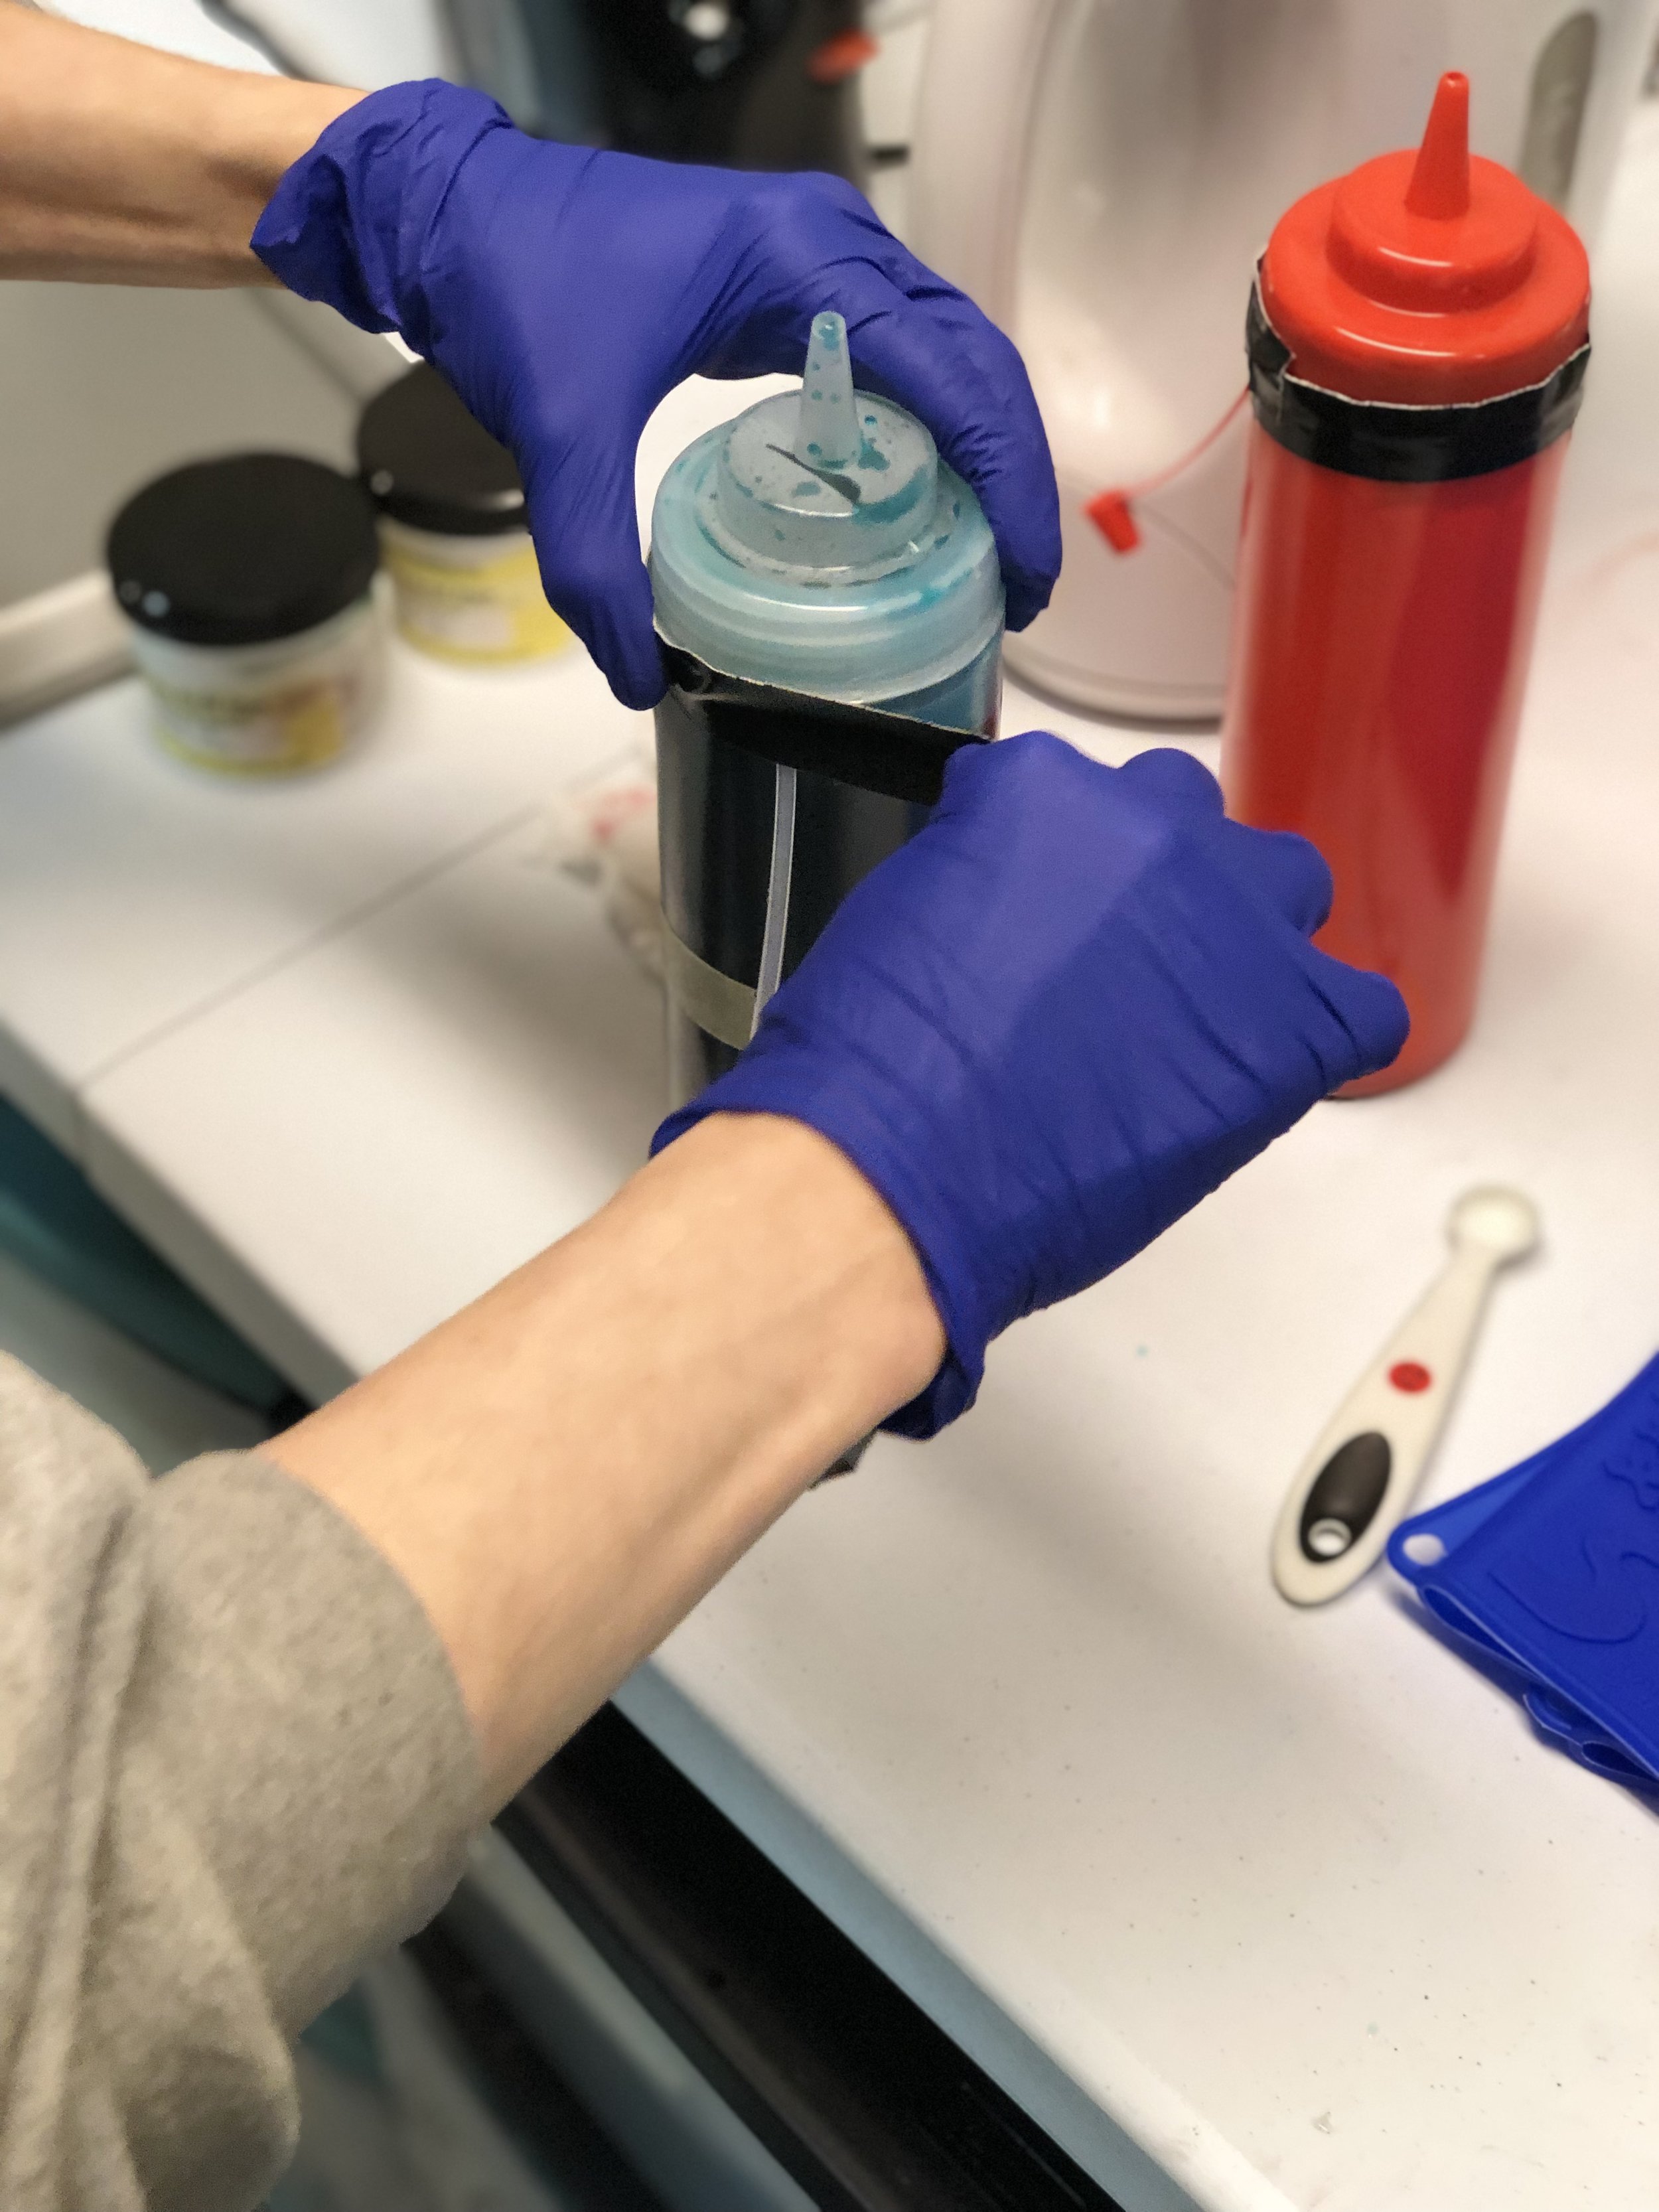
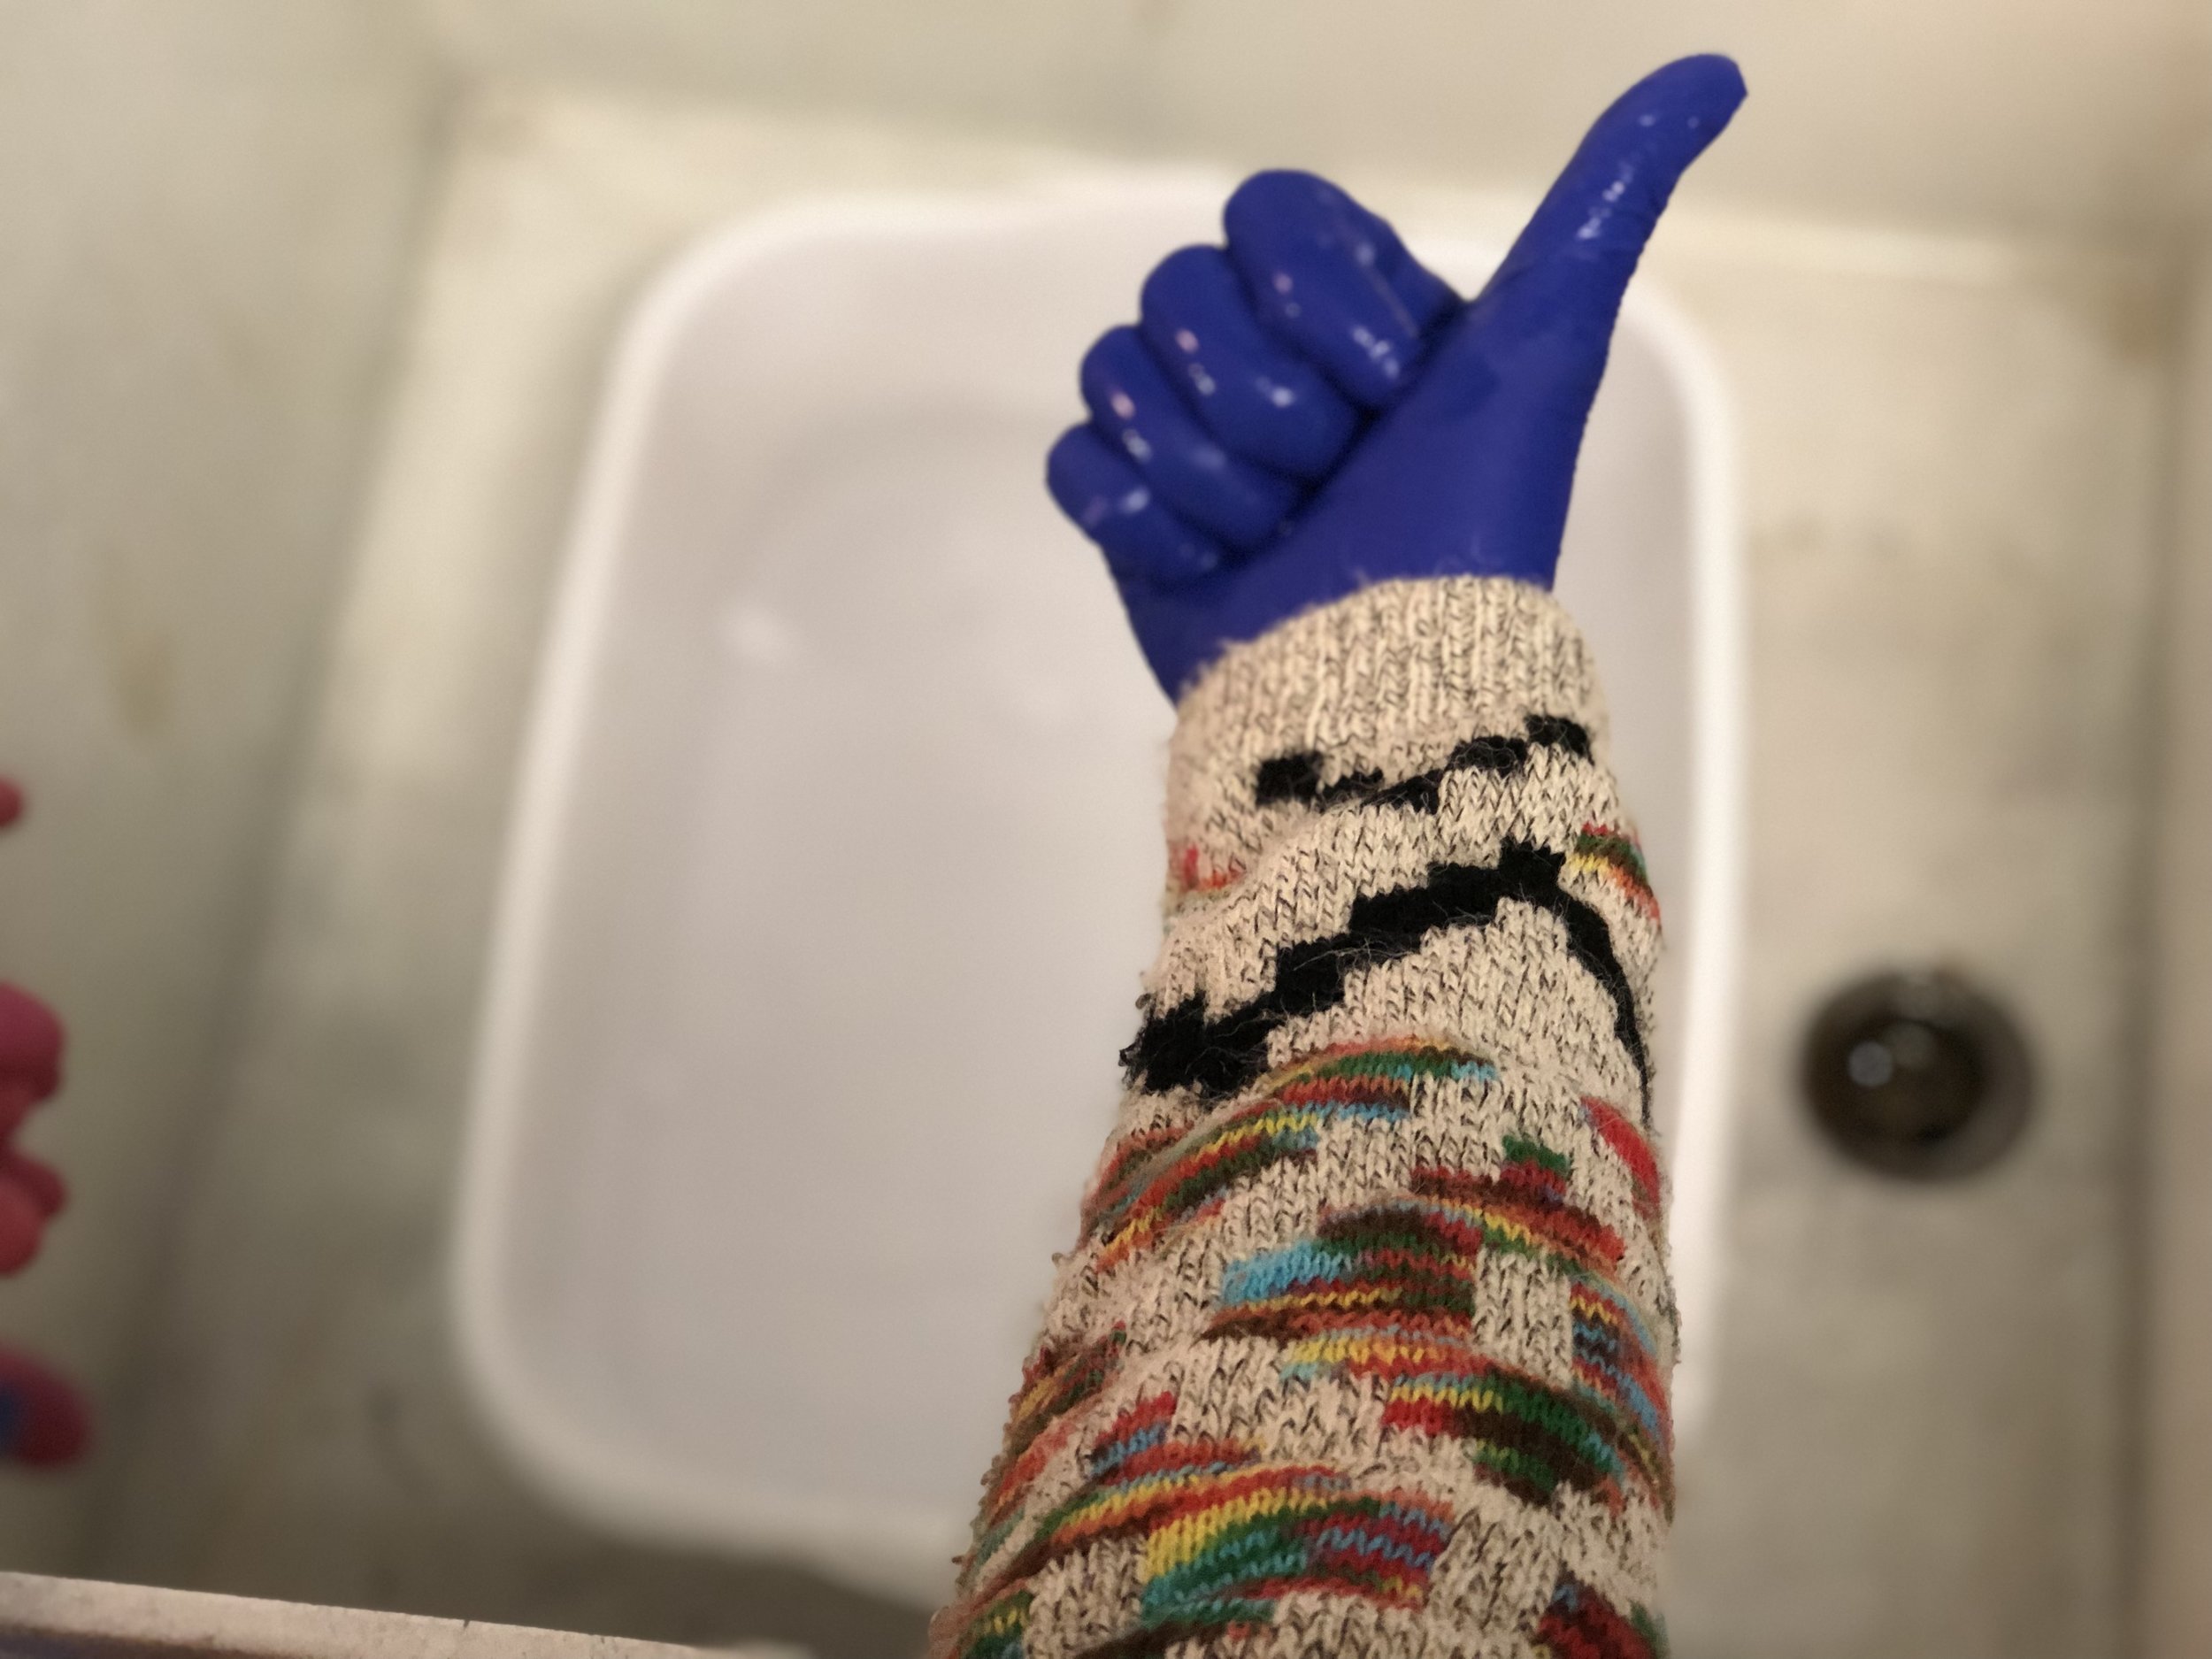
Gloves: After buying a good mask, you need to purchase gloves. Many dyers will say that this is not a necessity or that they do not wear gloves. Although acid dyes themselves are not harmful to the touch, when combined with acid, the mixture can be pretty harsh to most skin types. I personally suggest gloves that are textured. This is for two reasons.
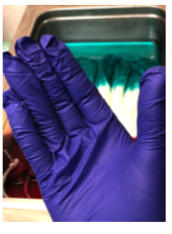
First, they give you a good grip on your tools and pans.
Second, they aid in speckling, a method used in the dying part of this tutorial (I will go over that function later).
Also, make sure that the gloves you purchase fit snugly. You do not want them to be too tight or too loose. You want to make sure you have good dexterity because it’ll make this process that much easier. I also get my gloves from Amazon. You can buy single boxes or in bulk.
You will also need a pair of heat resistant gloves. One of the things that makes the acid dyeing process achievable is heat. You will be working around lots of hot pans, heat sources, and the yarn itself will be hot to handle. The ones I use have a waterproof grip and can withstand very high temperatures. You do not necessarily need this exact pair, in fact oven mitts will work. You will need tongs that can withstand heat to handle the hot yarn if you only use oven mitts.
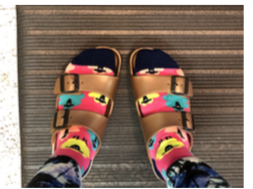
Footwear: Next up, and perhaps not so obvious, is good footwear. Dyeing can require lots of long hours on your feet. Without good footwear with arch support, you can experience back and foot pain early on. It is best to start this habit early, as it will ensure for a long dying career/craft.
Padded Mat: Another thing that I suggest is a padded or anti-fatigue mat. If you want to dye as a career, being on you feet for may hours will add up and things such as an anti-fatigue or padded cooking matts (also available on amazon) are especially important and will save your knees and back for many years ahead of fun dyeing.
Once you have purchased all the safety materials, you can then start rounding up the tools to dye your yarn!
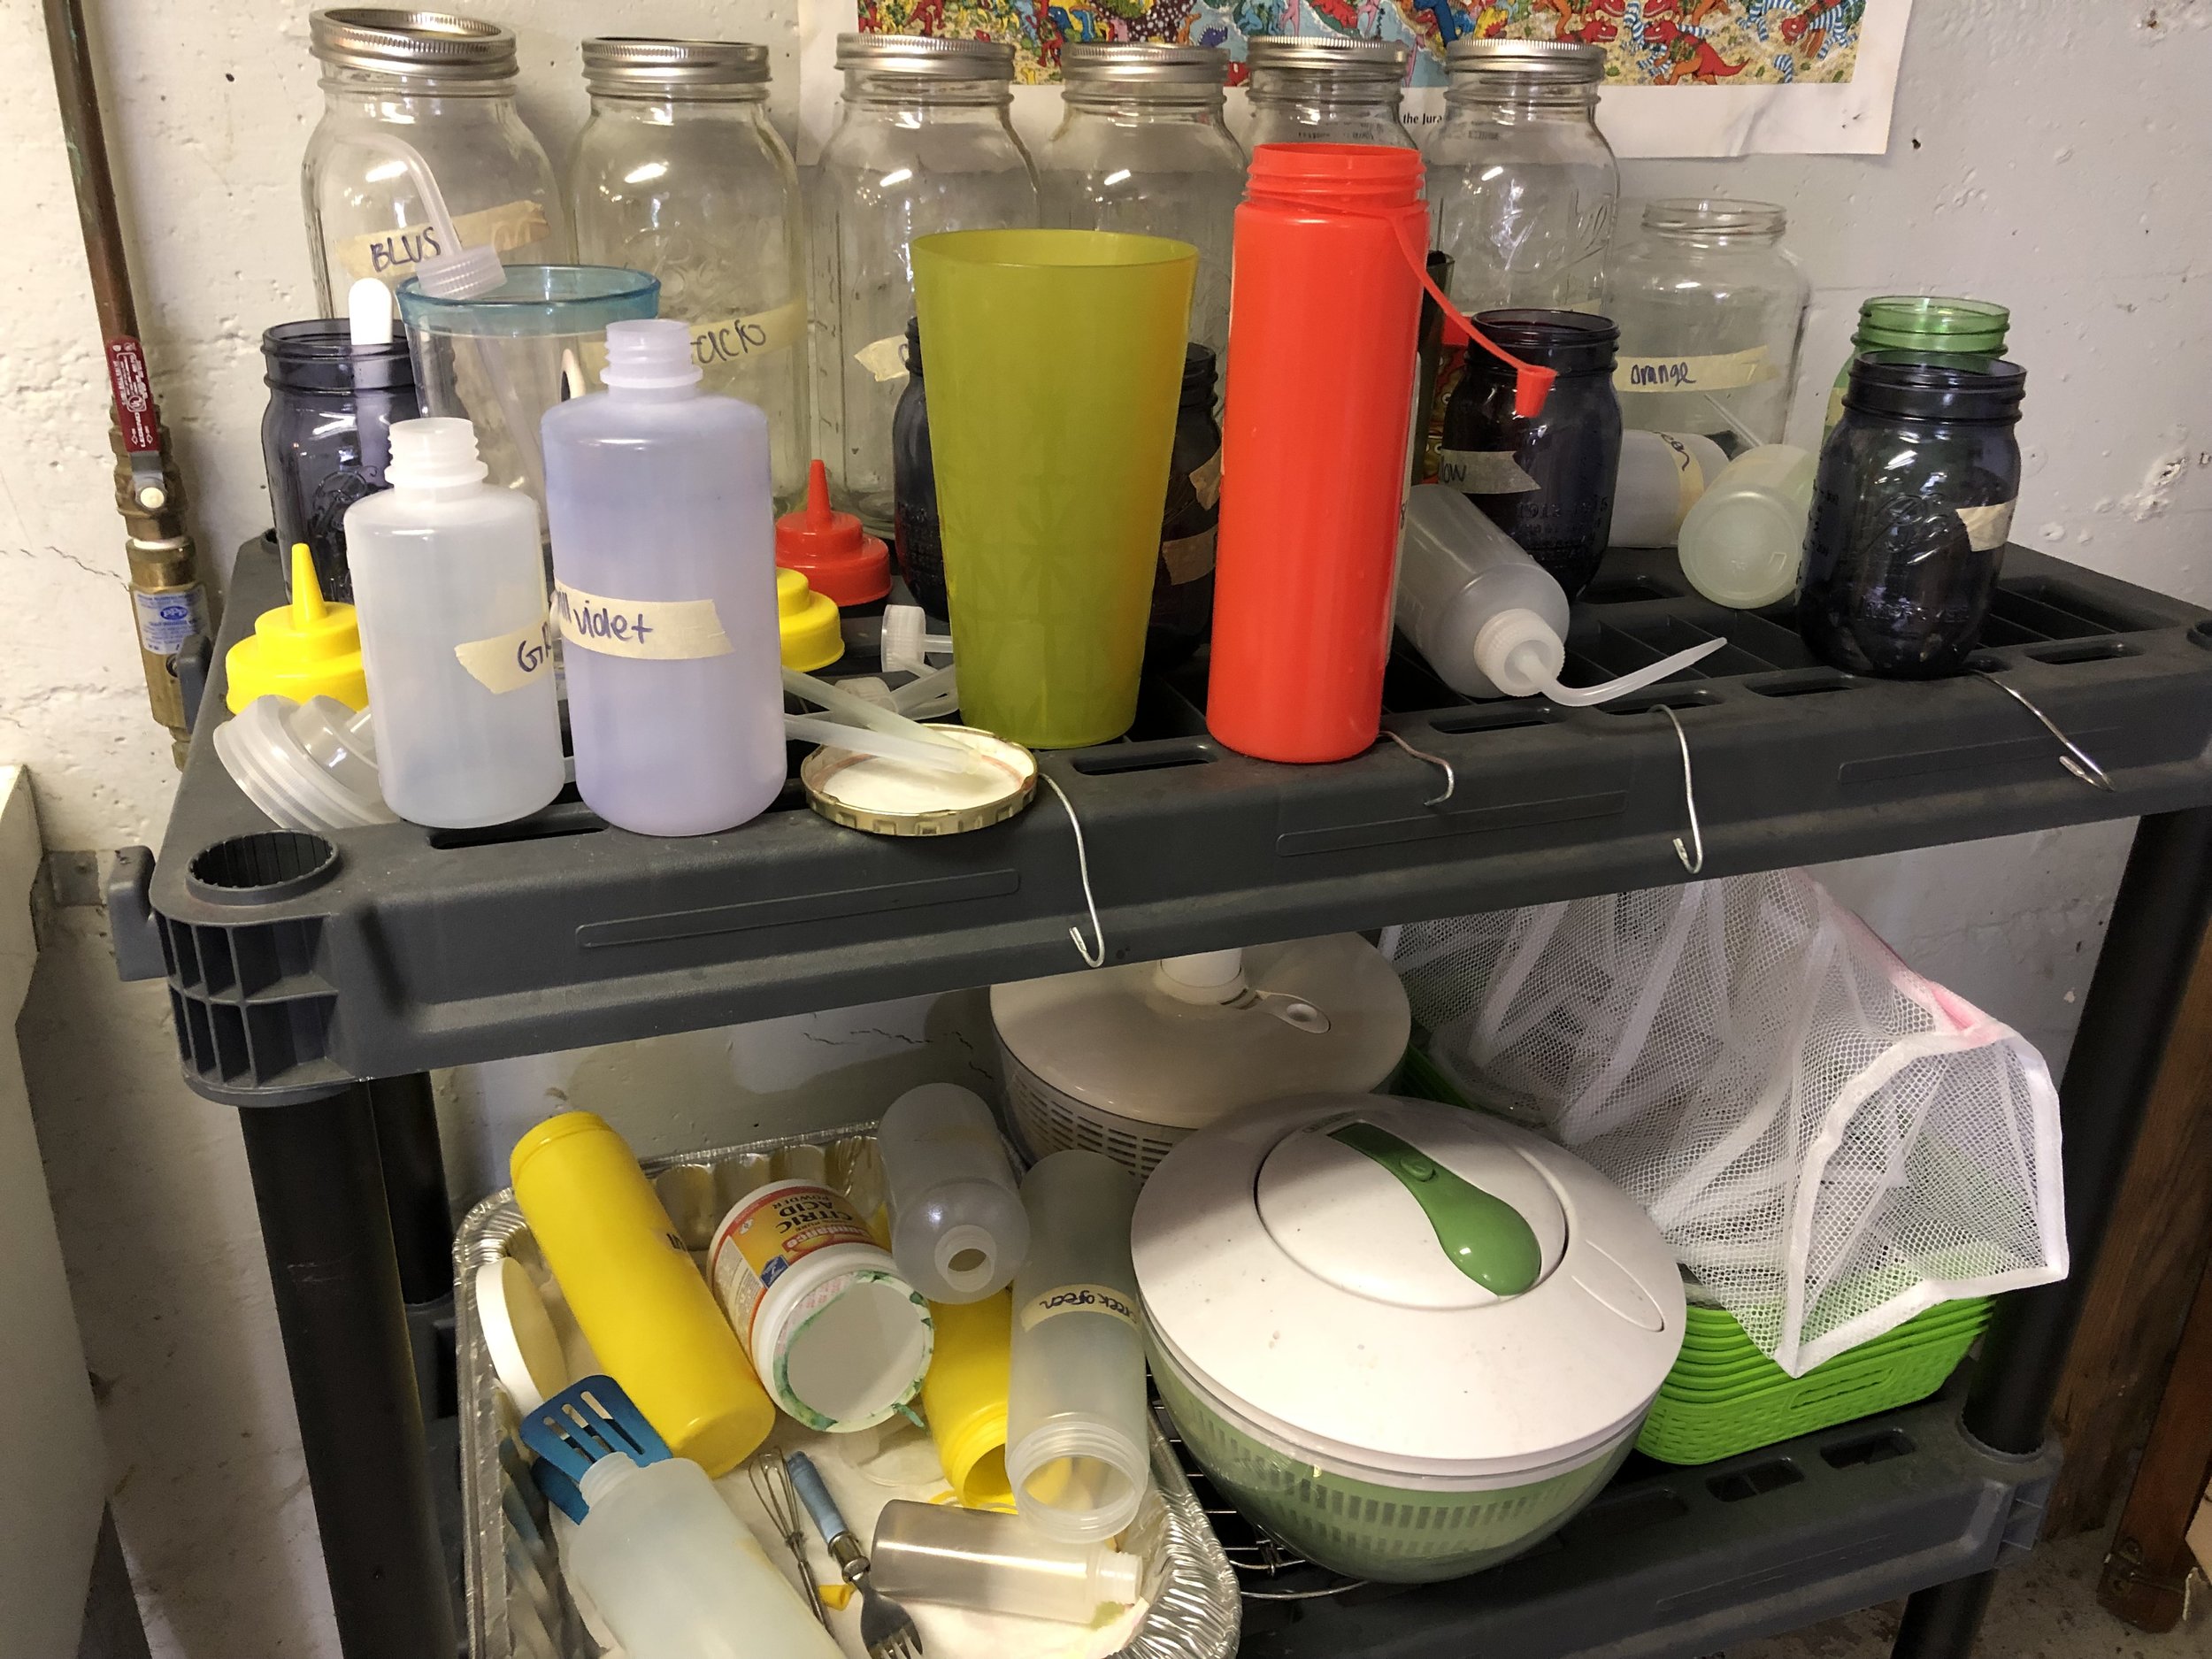
Dyeing Tools Materials
After acquiring all the materials needed for safety, it is important to next prepare your work station for dyeing. At first it can seem overwhelming and all the equipment cost may seem to “add up” but I have a few very good solutions to offer to offset this. When I first started dyeing, and now even into my career and turning a profit, thrift stores and online market places like Offer Up, Let Go, and even the Facebook Market Place have proved to be great havens for acquiring used equipment. Especially when you are first starting out it is not pertinent to go out and find brand new stuff, but it is important to find the right types of materials. After all, a used spoon from a thrift store is of perfectly good use, especially since you should never use these tools for food ever again once you use them for dyeing. Although it is very tempting to grab items you may already have from your kitchen, you need to keep in mind that once it gets used for dyeing, it SHOULD NEVER be used again for food.
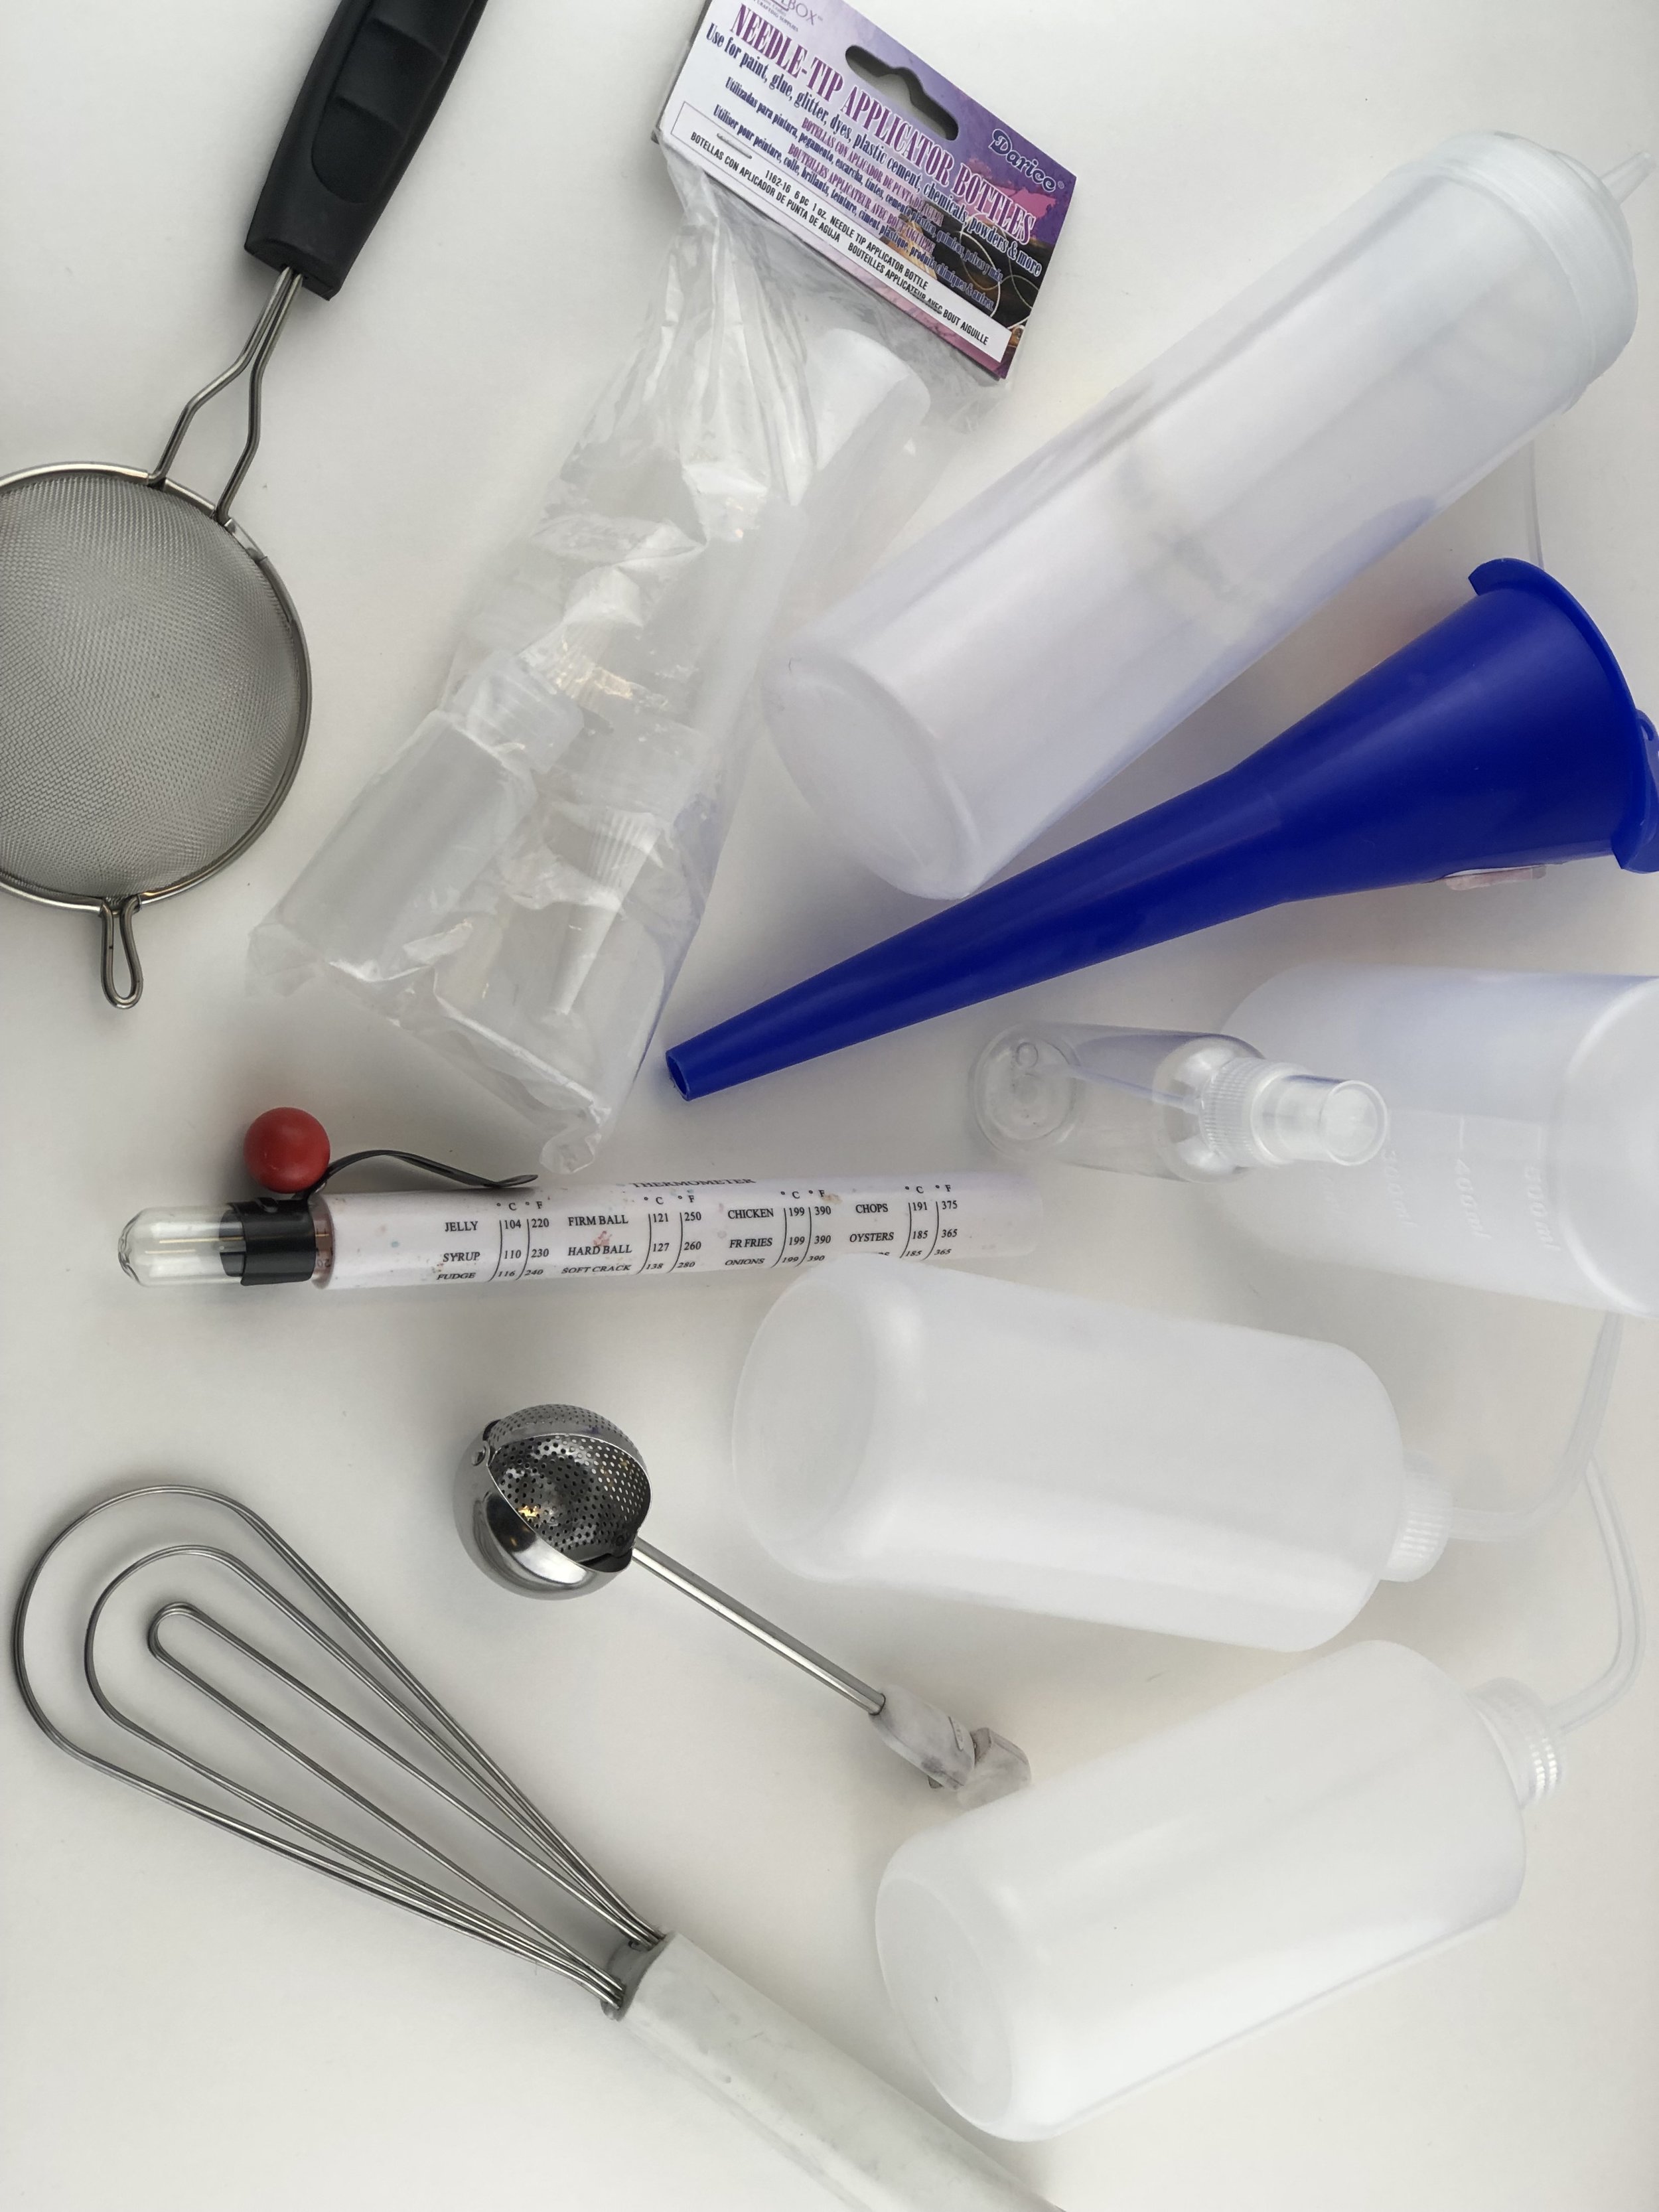
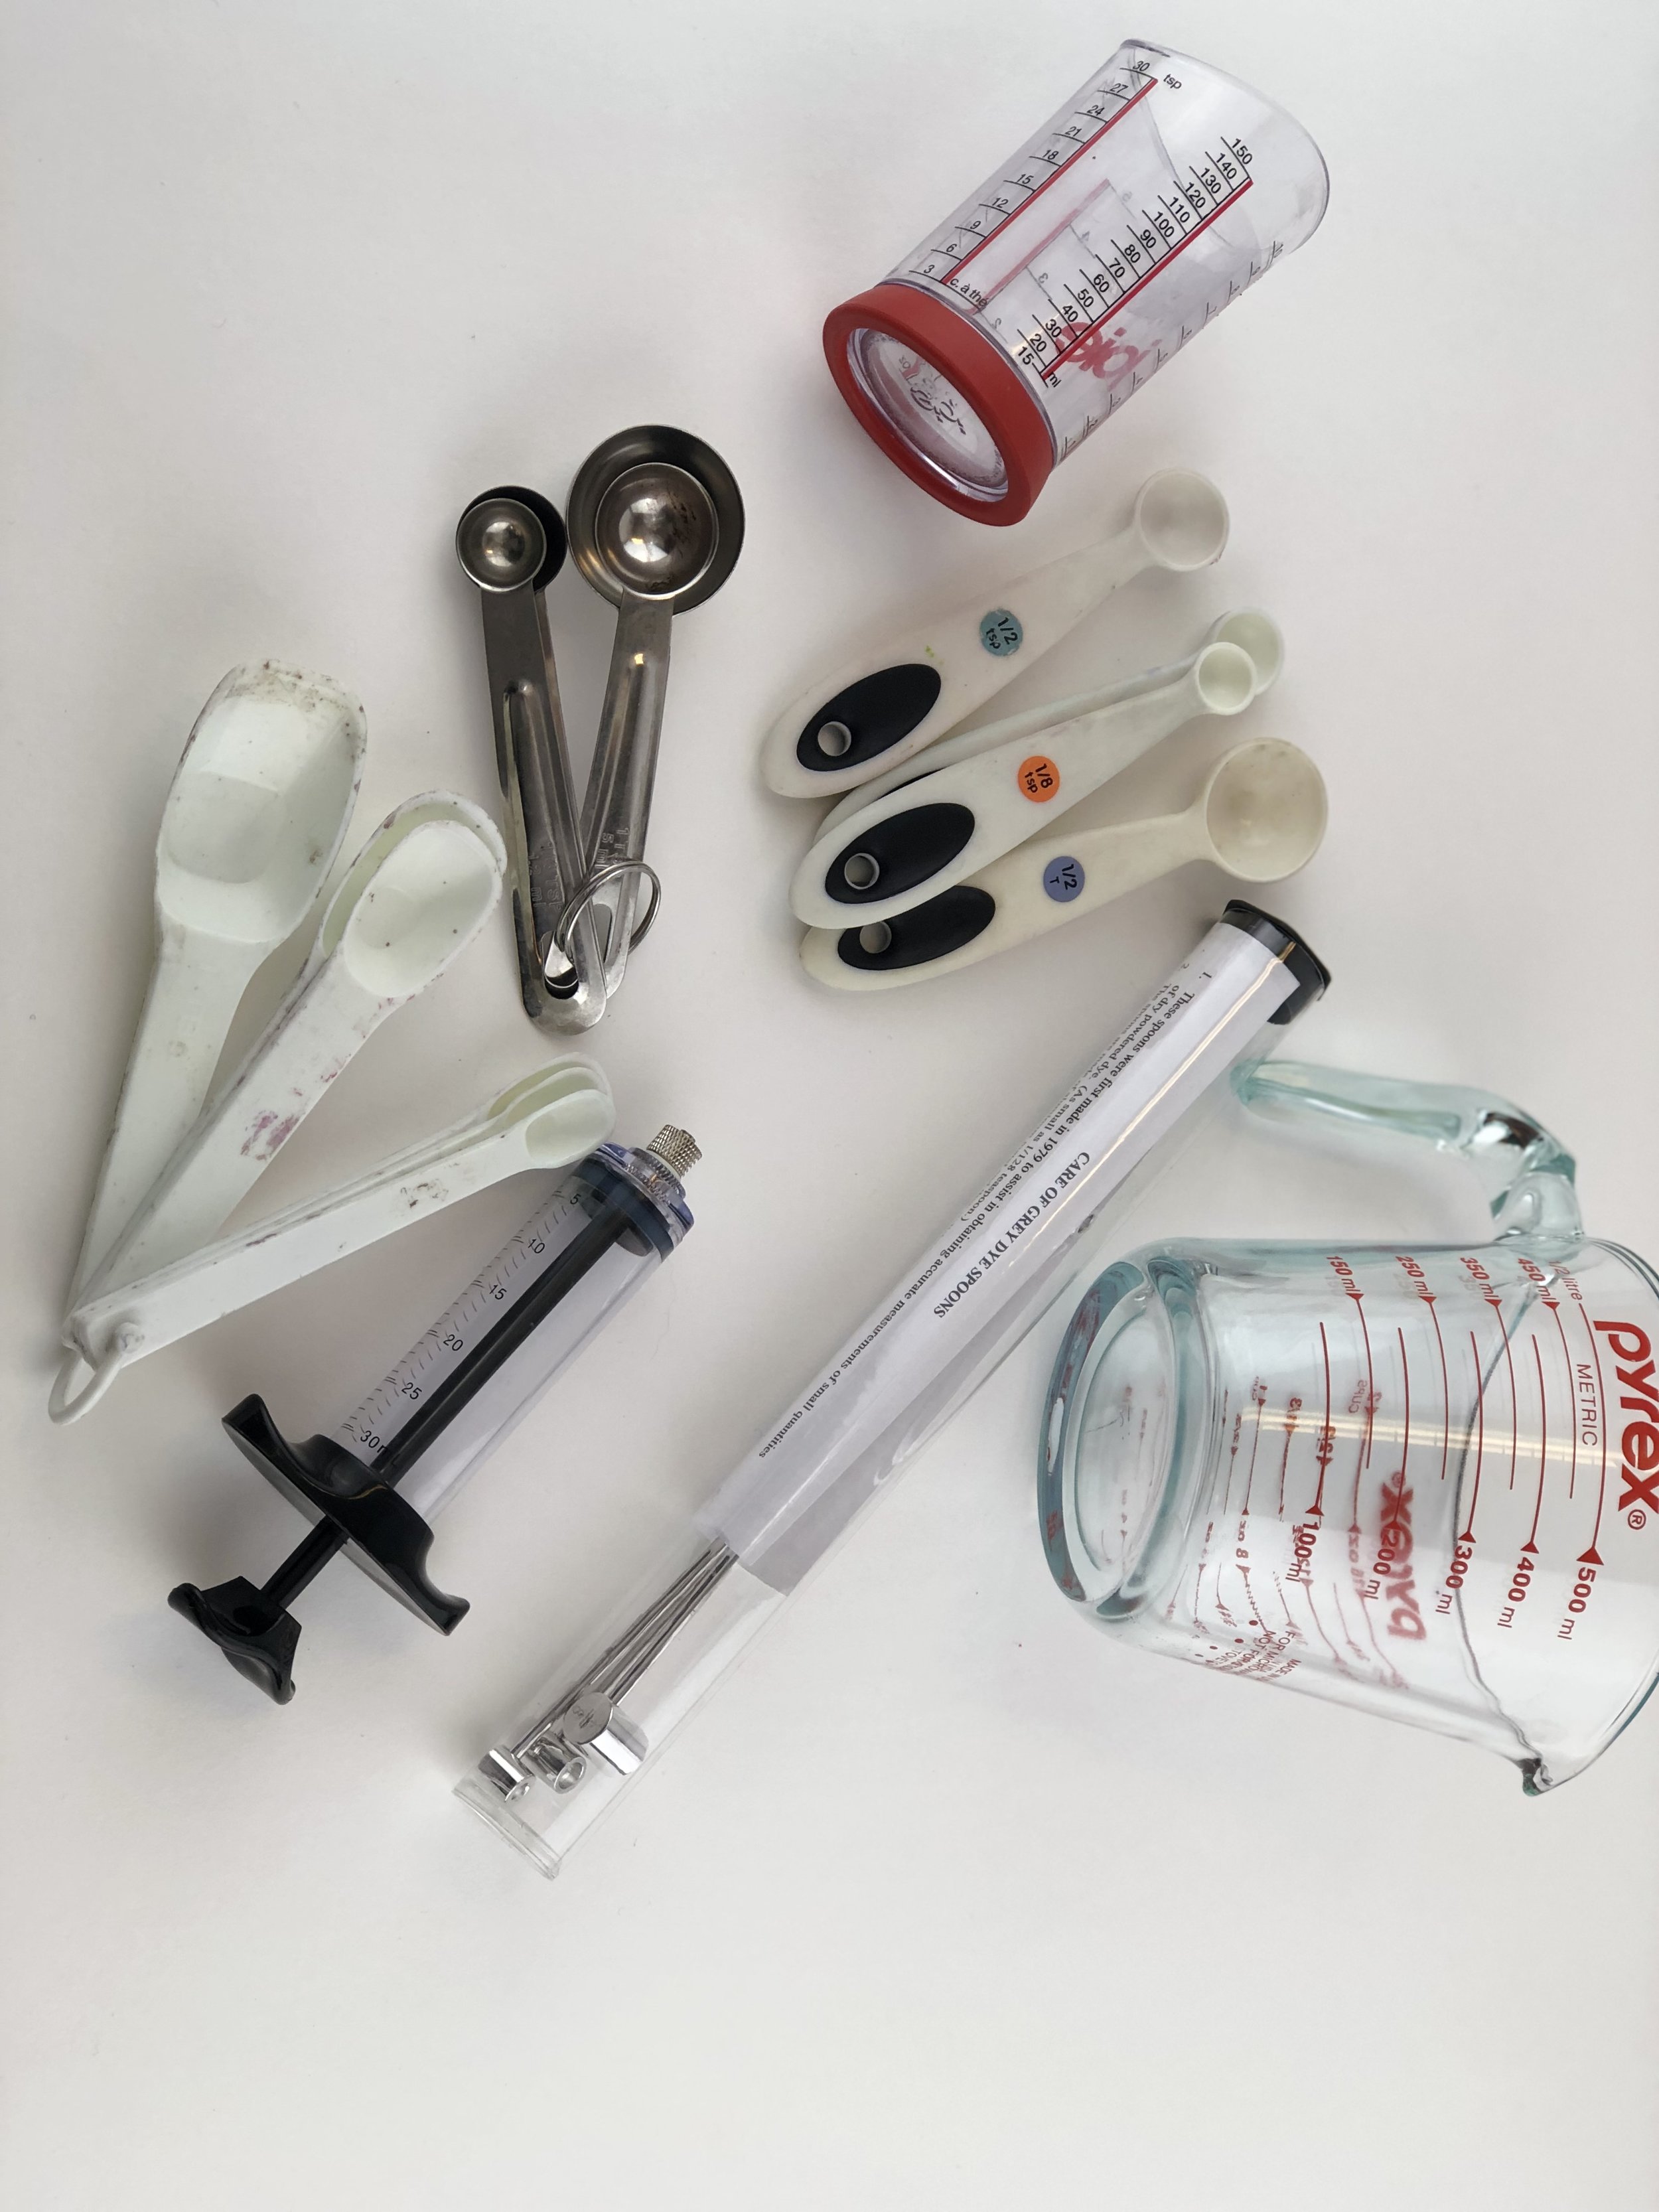
For this tutorial specifically, you will want to grab:
squeeze bottles that can fit at least 500 ml (16oz) or 2 cups of liquid
a bucket to mix your acid and water
good sized notebook for writing down your notes for future dyeing experiments so you can look back and repeat what you have done
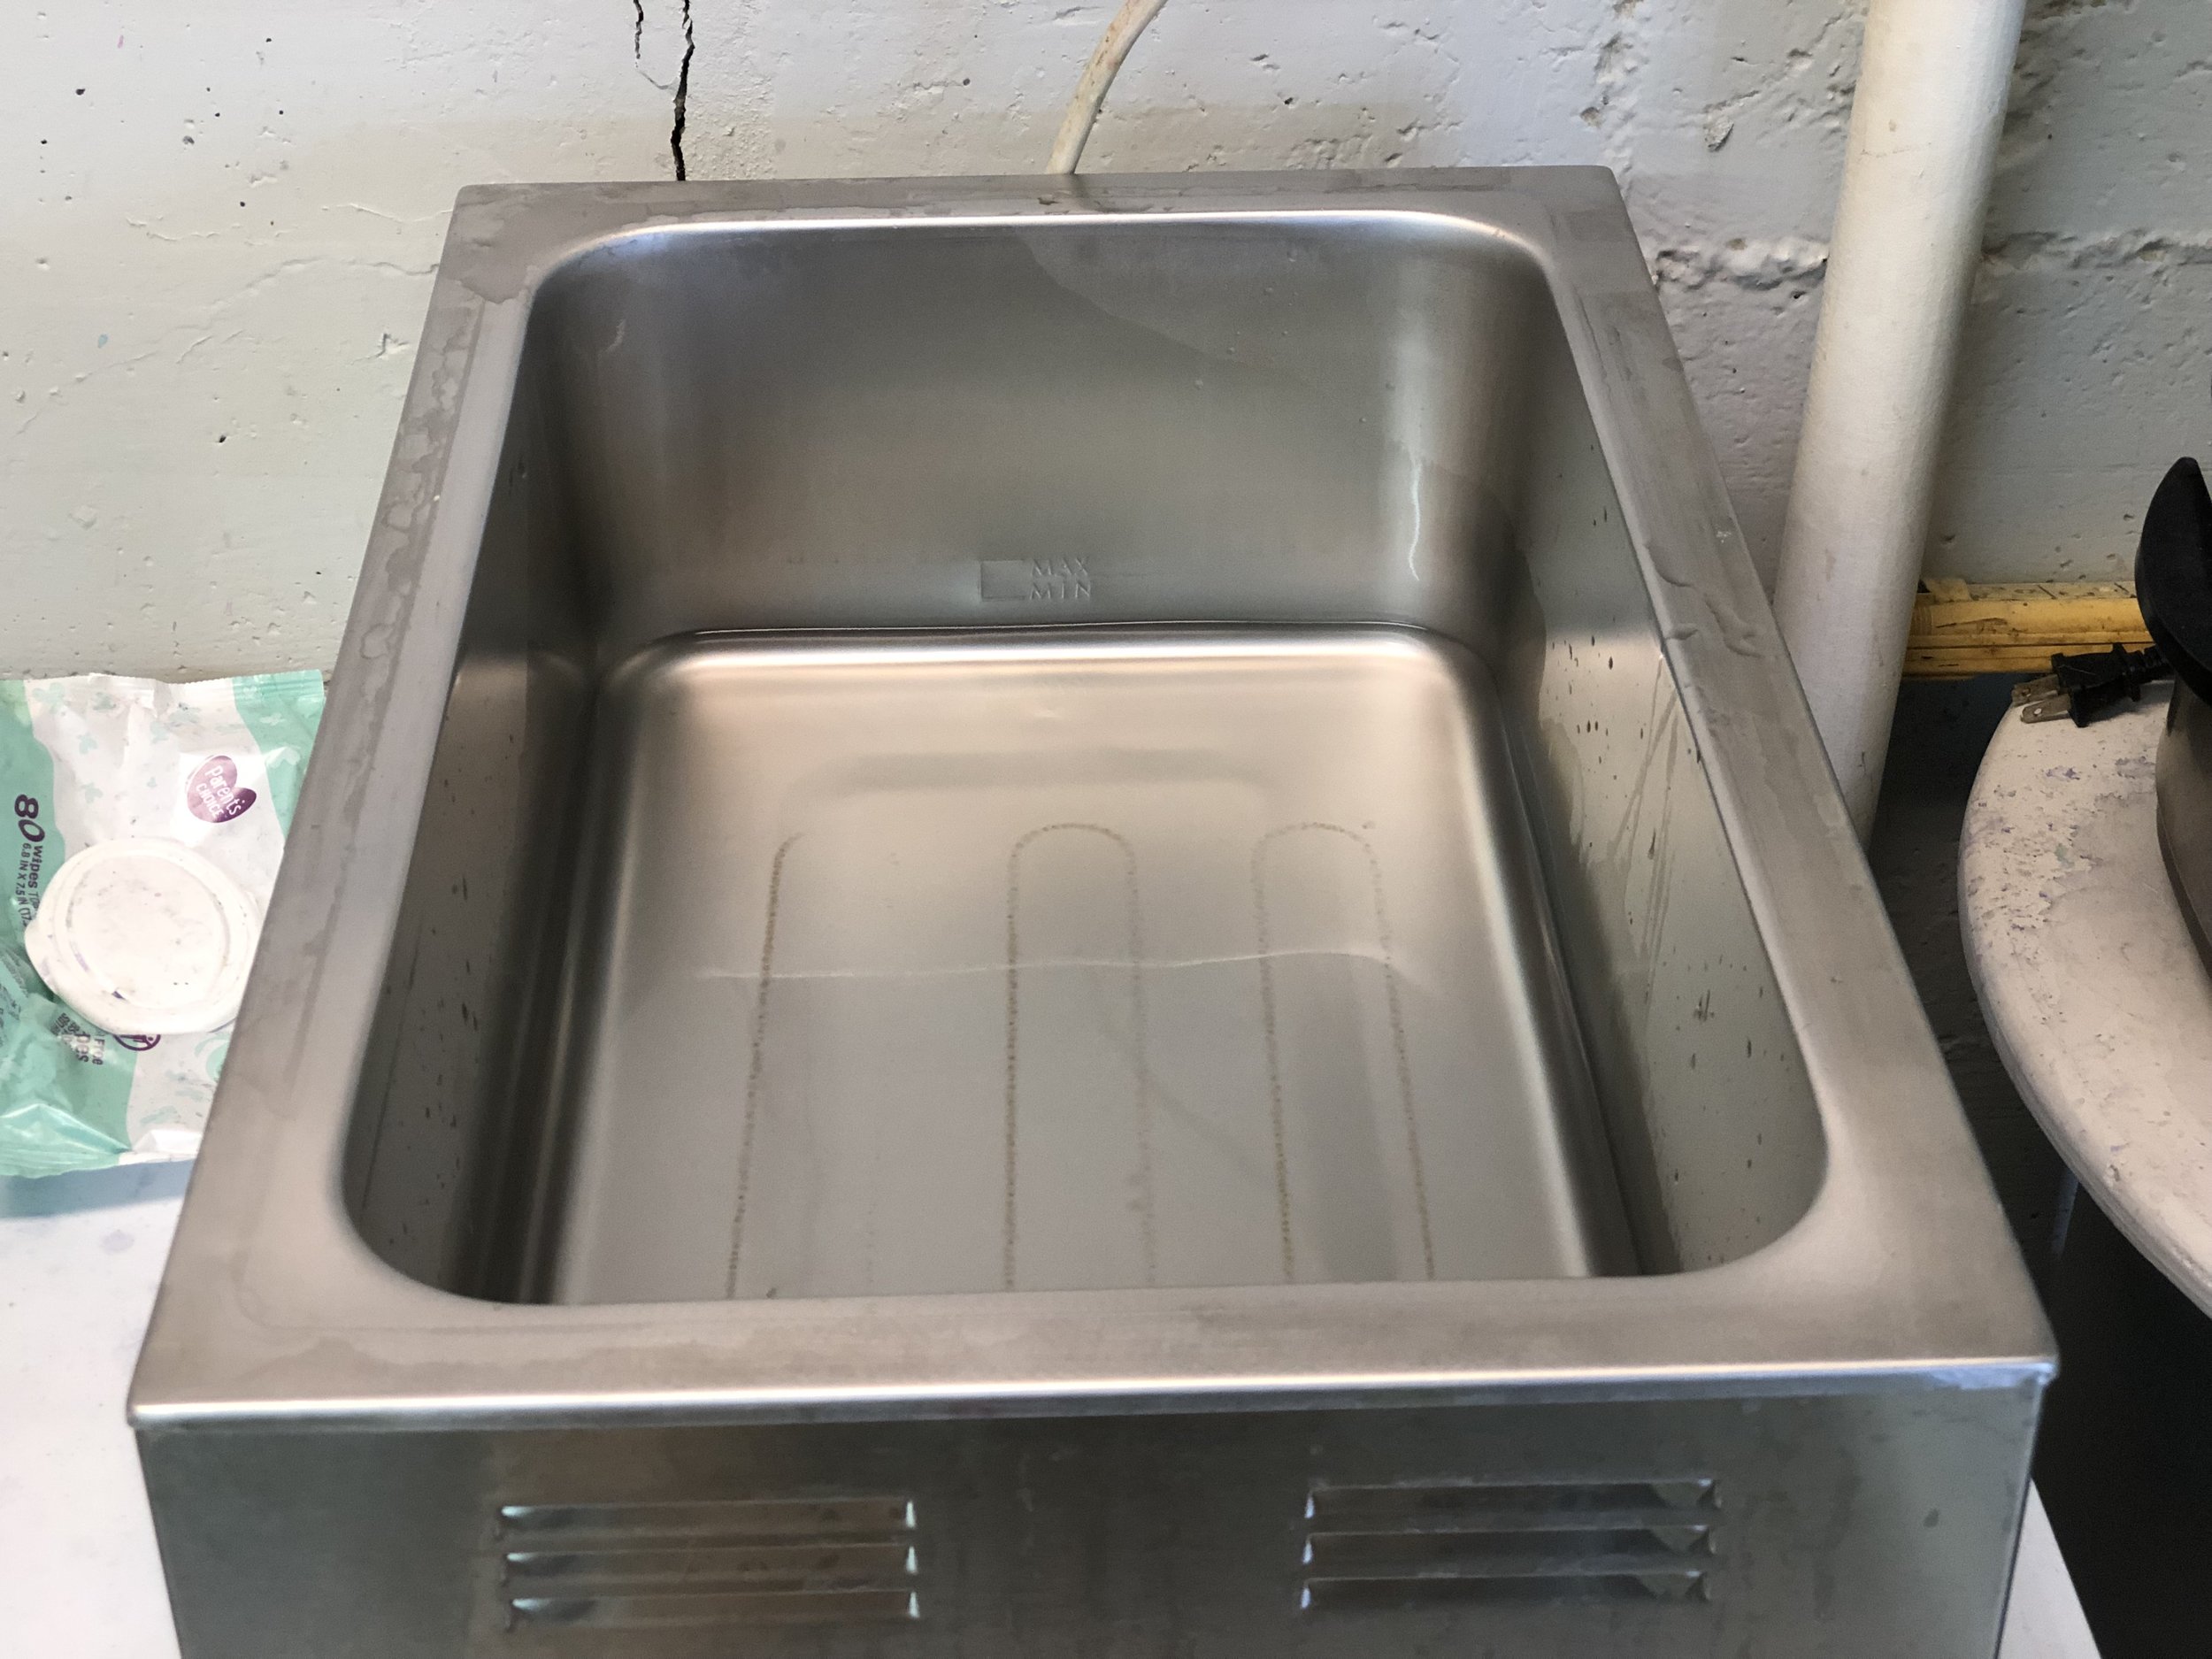
Lastly, and probably most importantly, is your vessel to dye in
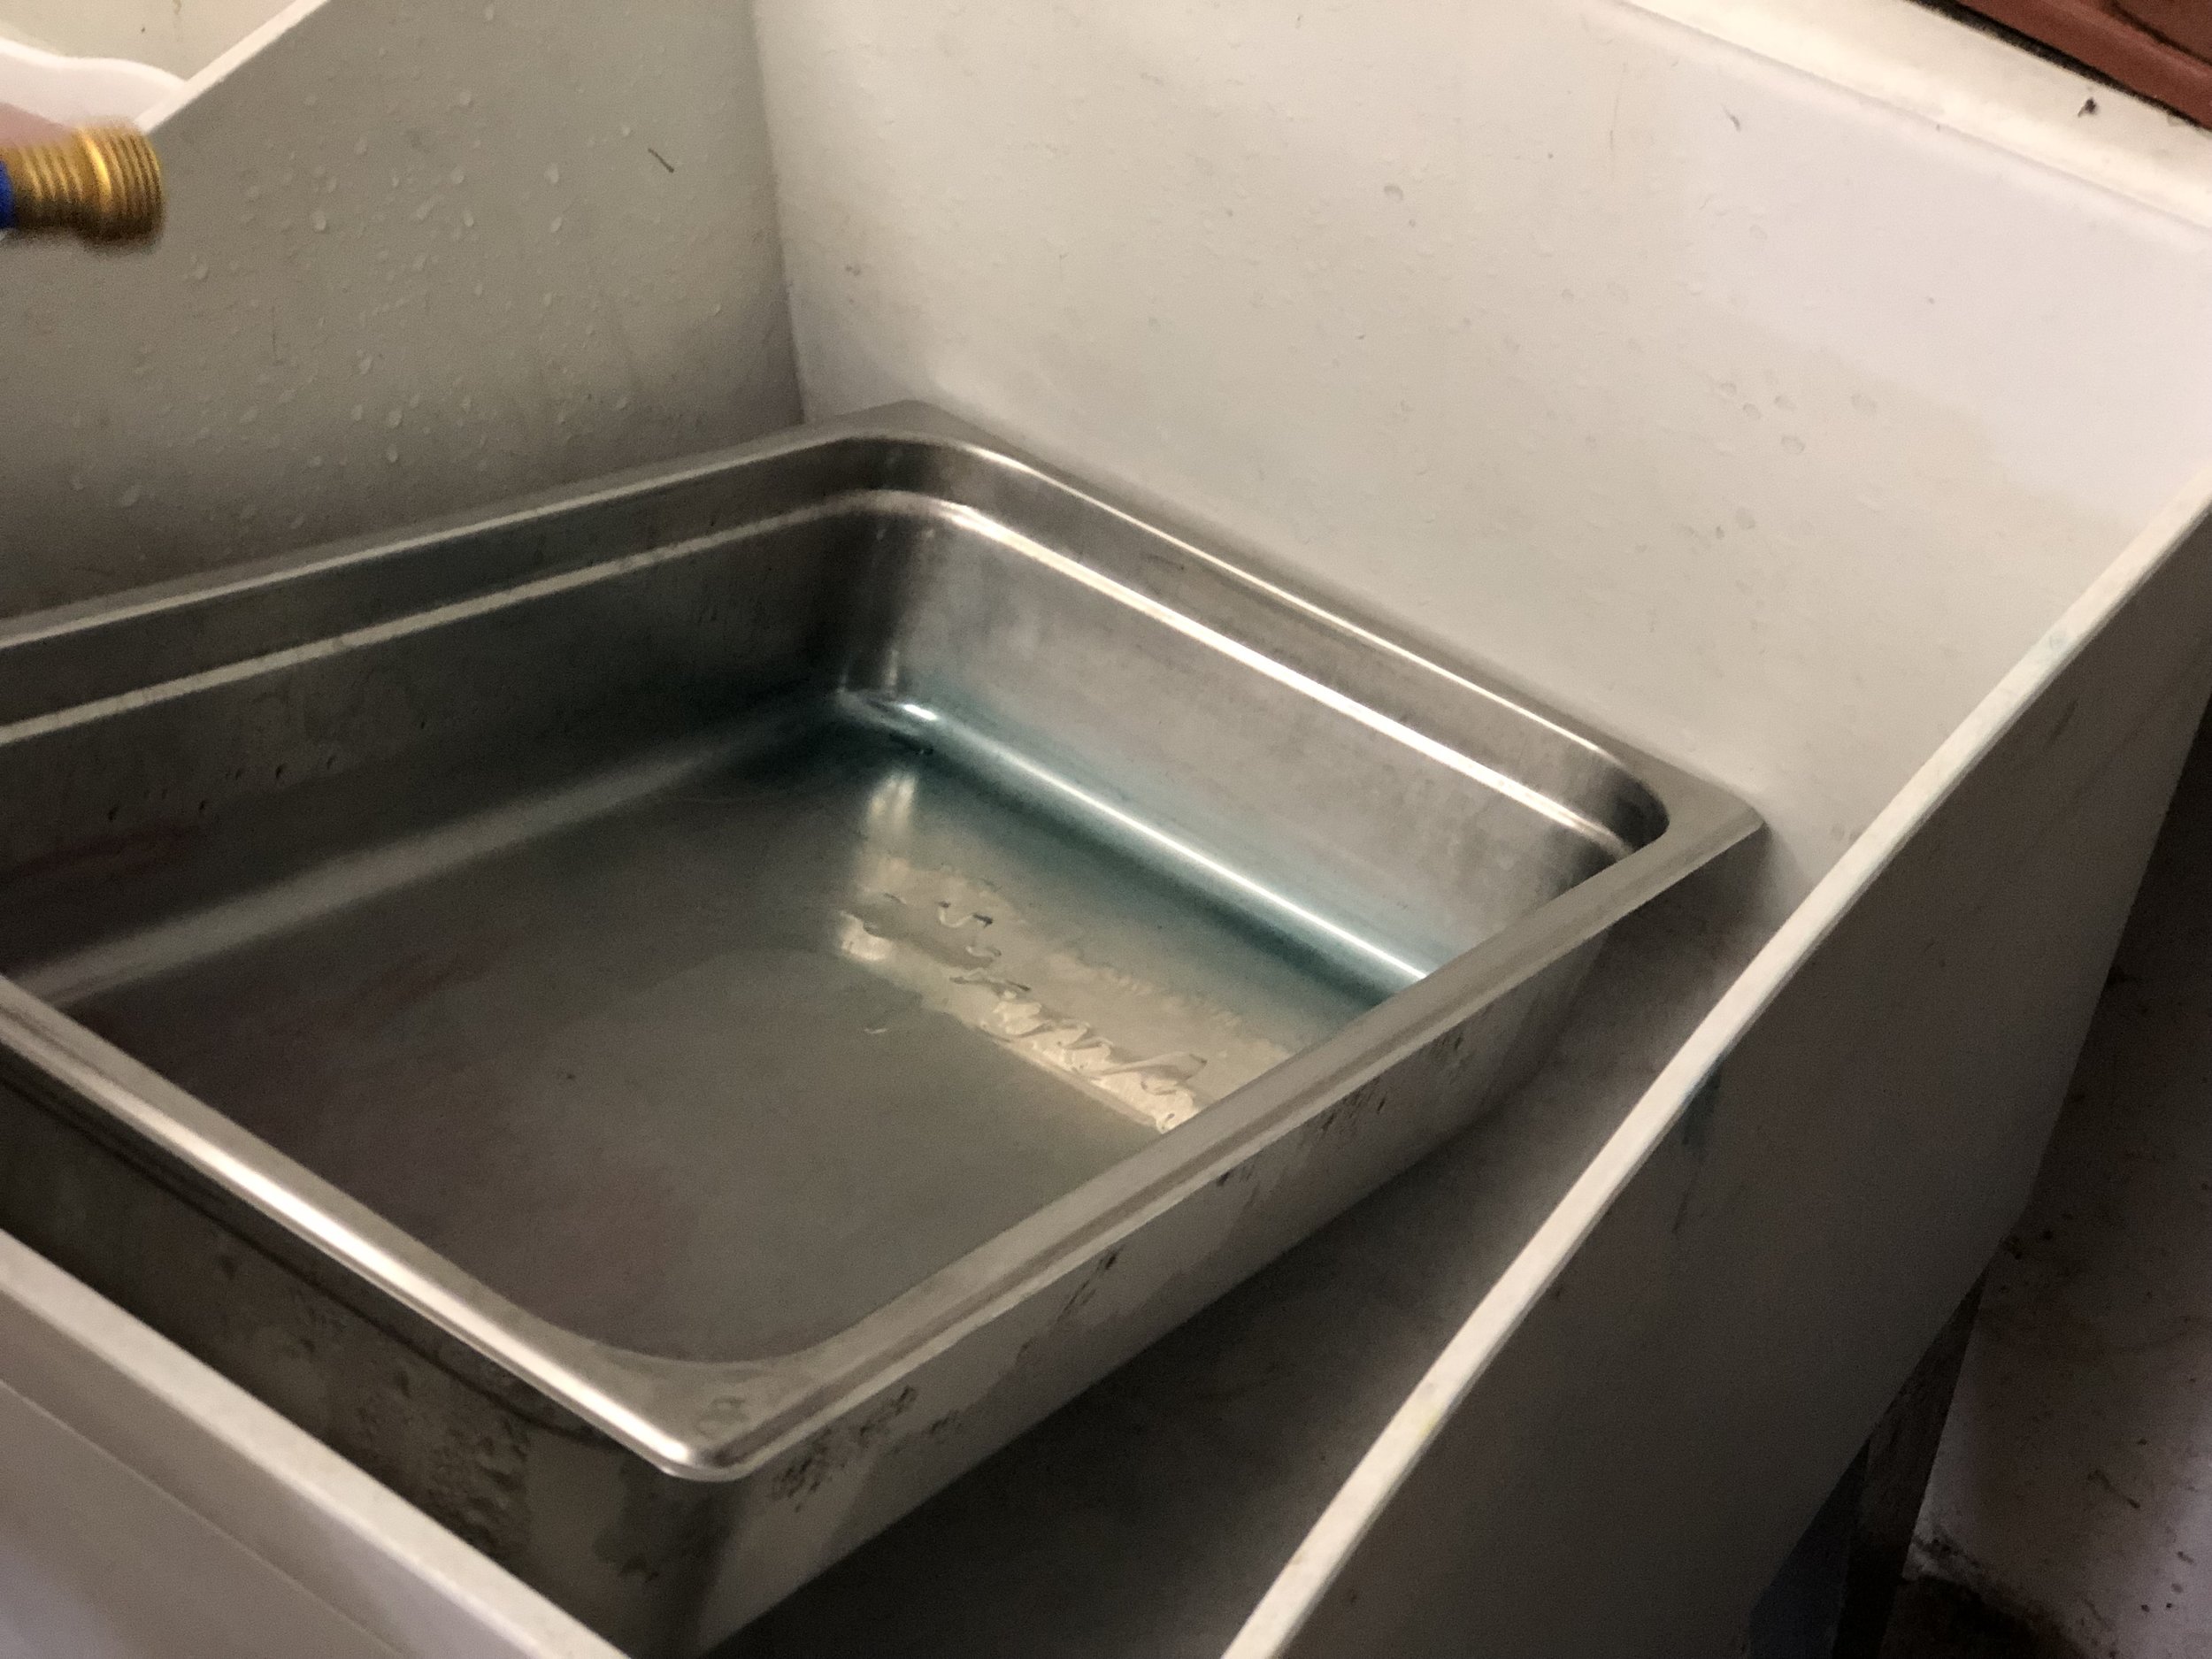
For the vessel, I highly recommend using a stainless steel hotel pan for many reasons. For this tutorial specifically, you will want a pan big enough to be able to dye the yarn and to be able to see how you are applying the dye solution and dye powder. Stainless steel is important because over time, the acid tends to eat away at other coatings that will add chemicals to the dye process that could impact the overall results.

If it will be just a one-time use and you are having trouble acquiring a good stainless steel hotel pan, an aluminum one can be used in its place and can be purchased virtually anywhere, including but not limited to, dollar stores, grocery stores, and even big box stores. The stainless steel pans I purchase come from Amazon and are approximately $17 (with free 2-day shipping if you have Prime).
I truly believe stainless steel pans are a good investment if you plan on dyeing more times than just for this tutorial. It does not mean that acquiring other pans that are not hotel pans is a great idea, because there are many other dye styles that these pans are great for. The hotel pan is just an overall great pan for every style of dyeing in my honest opinion so you could save some money when you are starting out. Next up is the heat source, which is essential in order to get the acid dye method to work.
Heat Sources Materials
Recommended:
- Heat source:
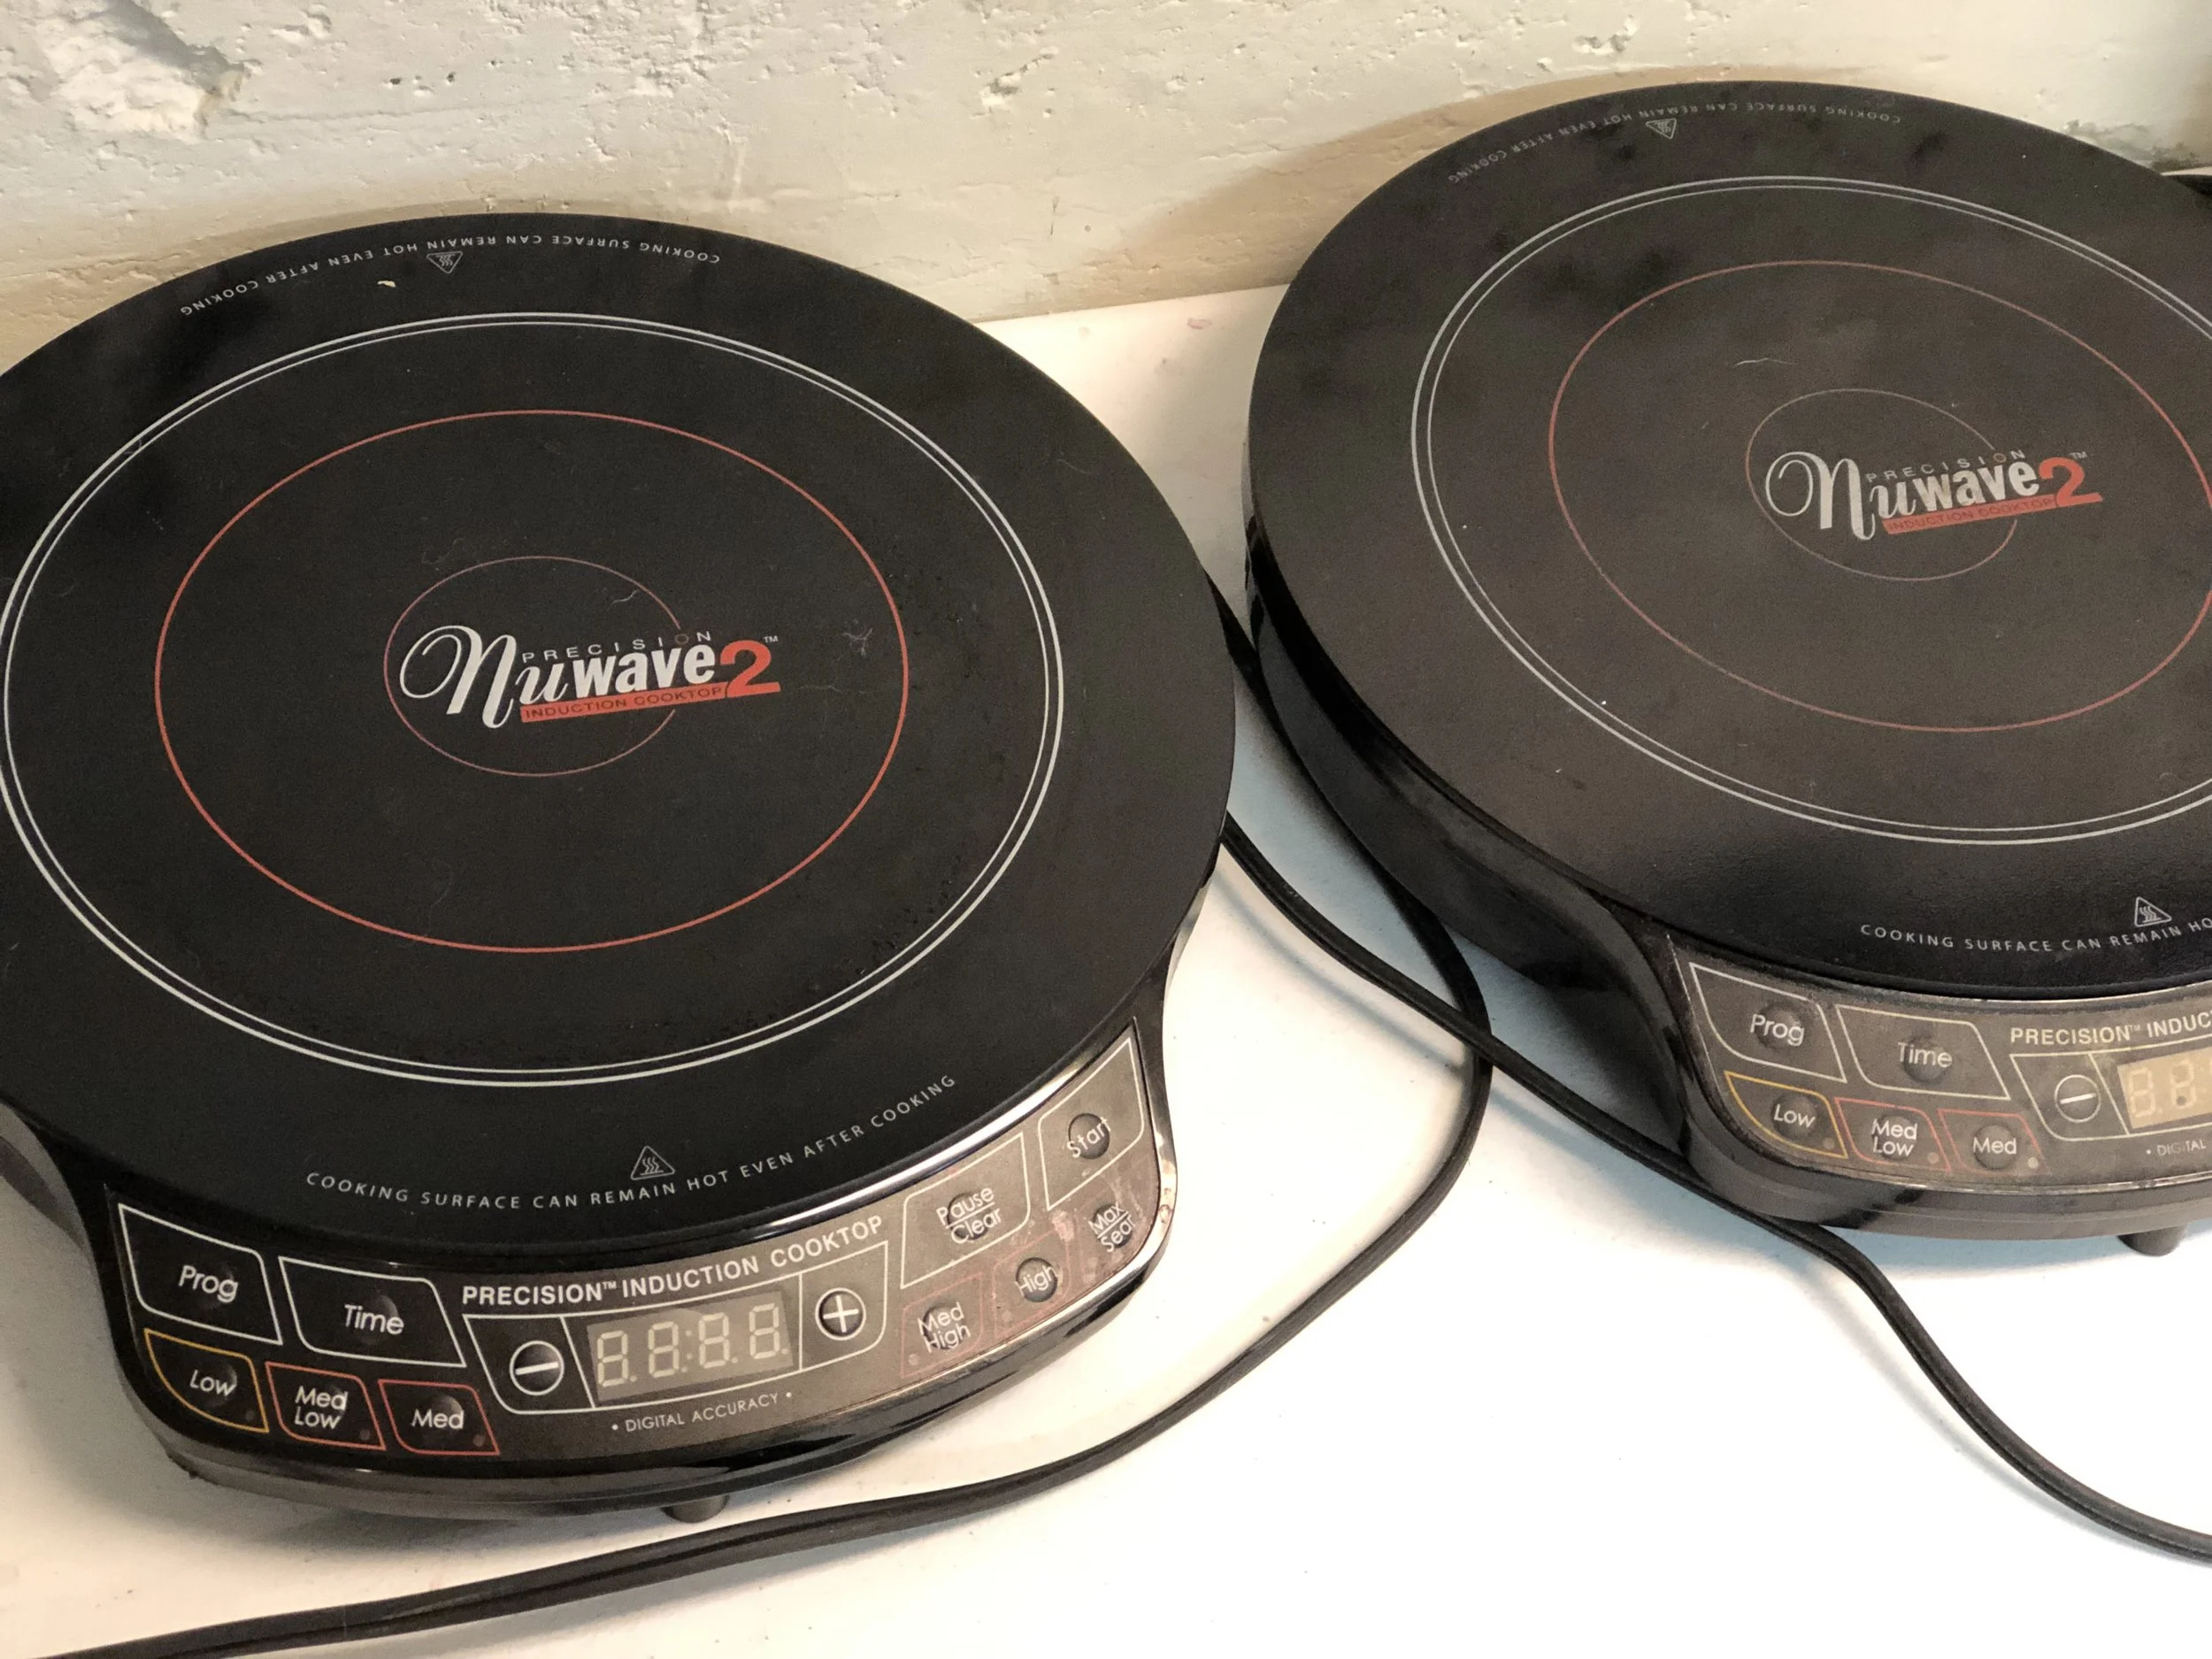
- digital hot plate (easier to choose specific temperature)
- crock pot
- turkey roaster
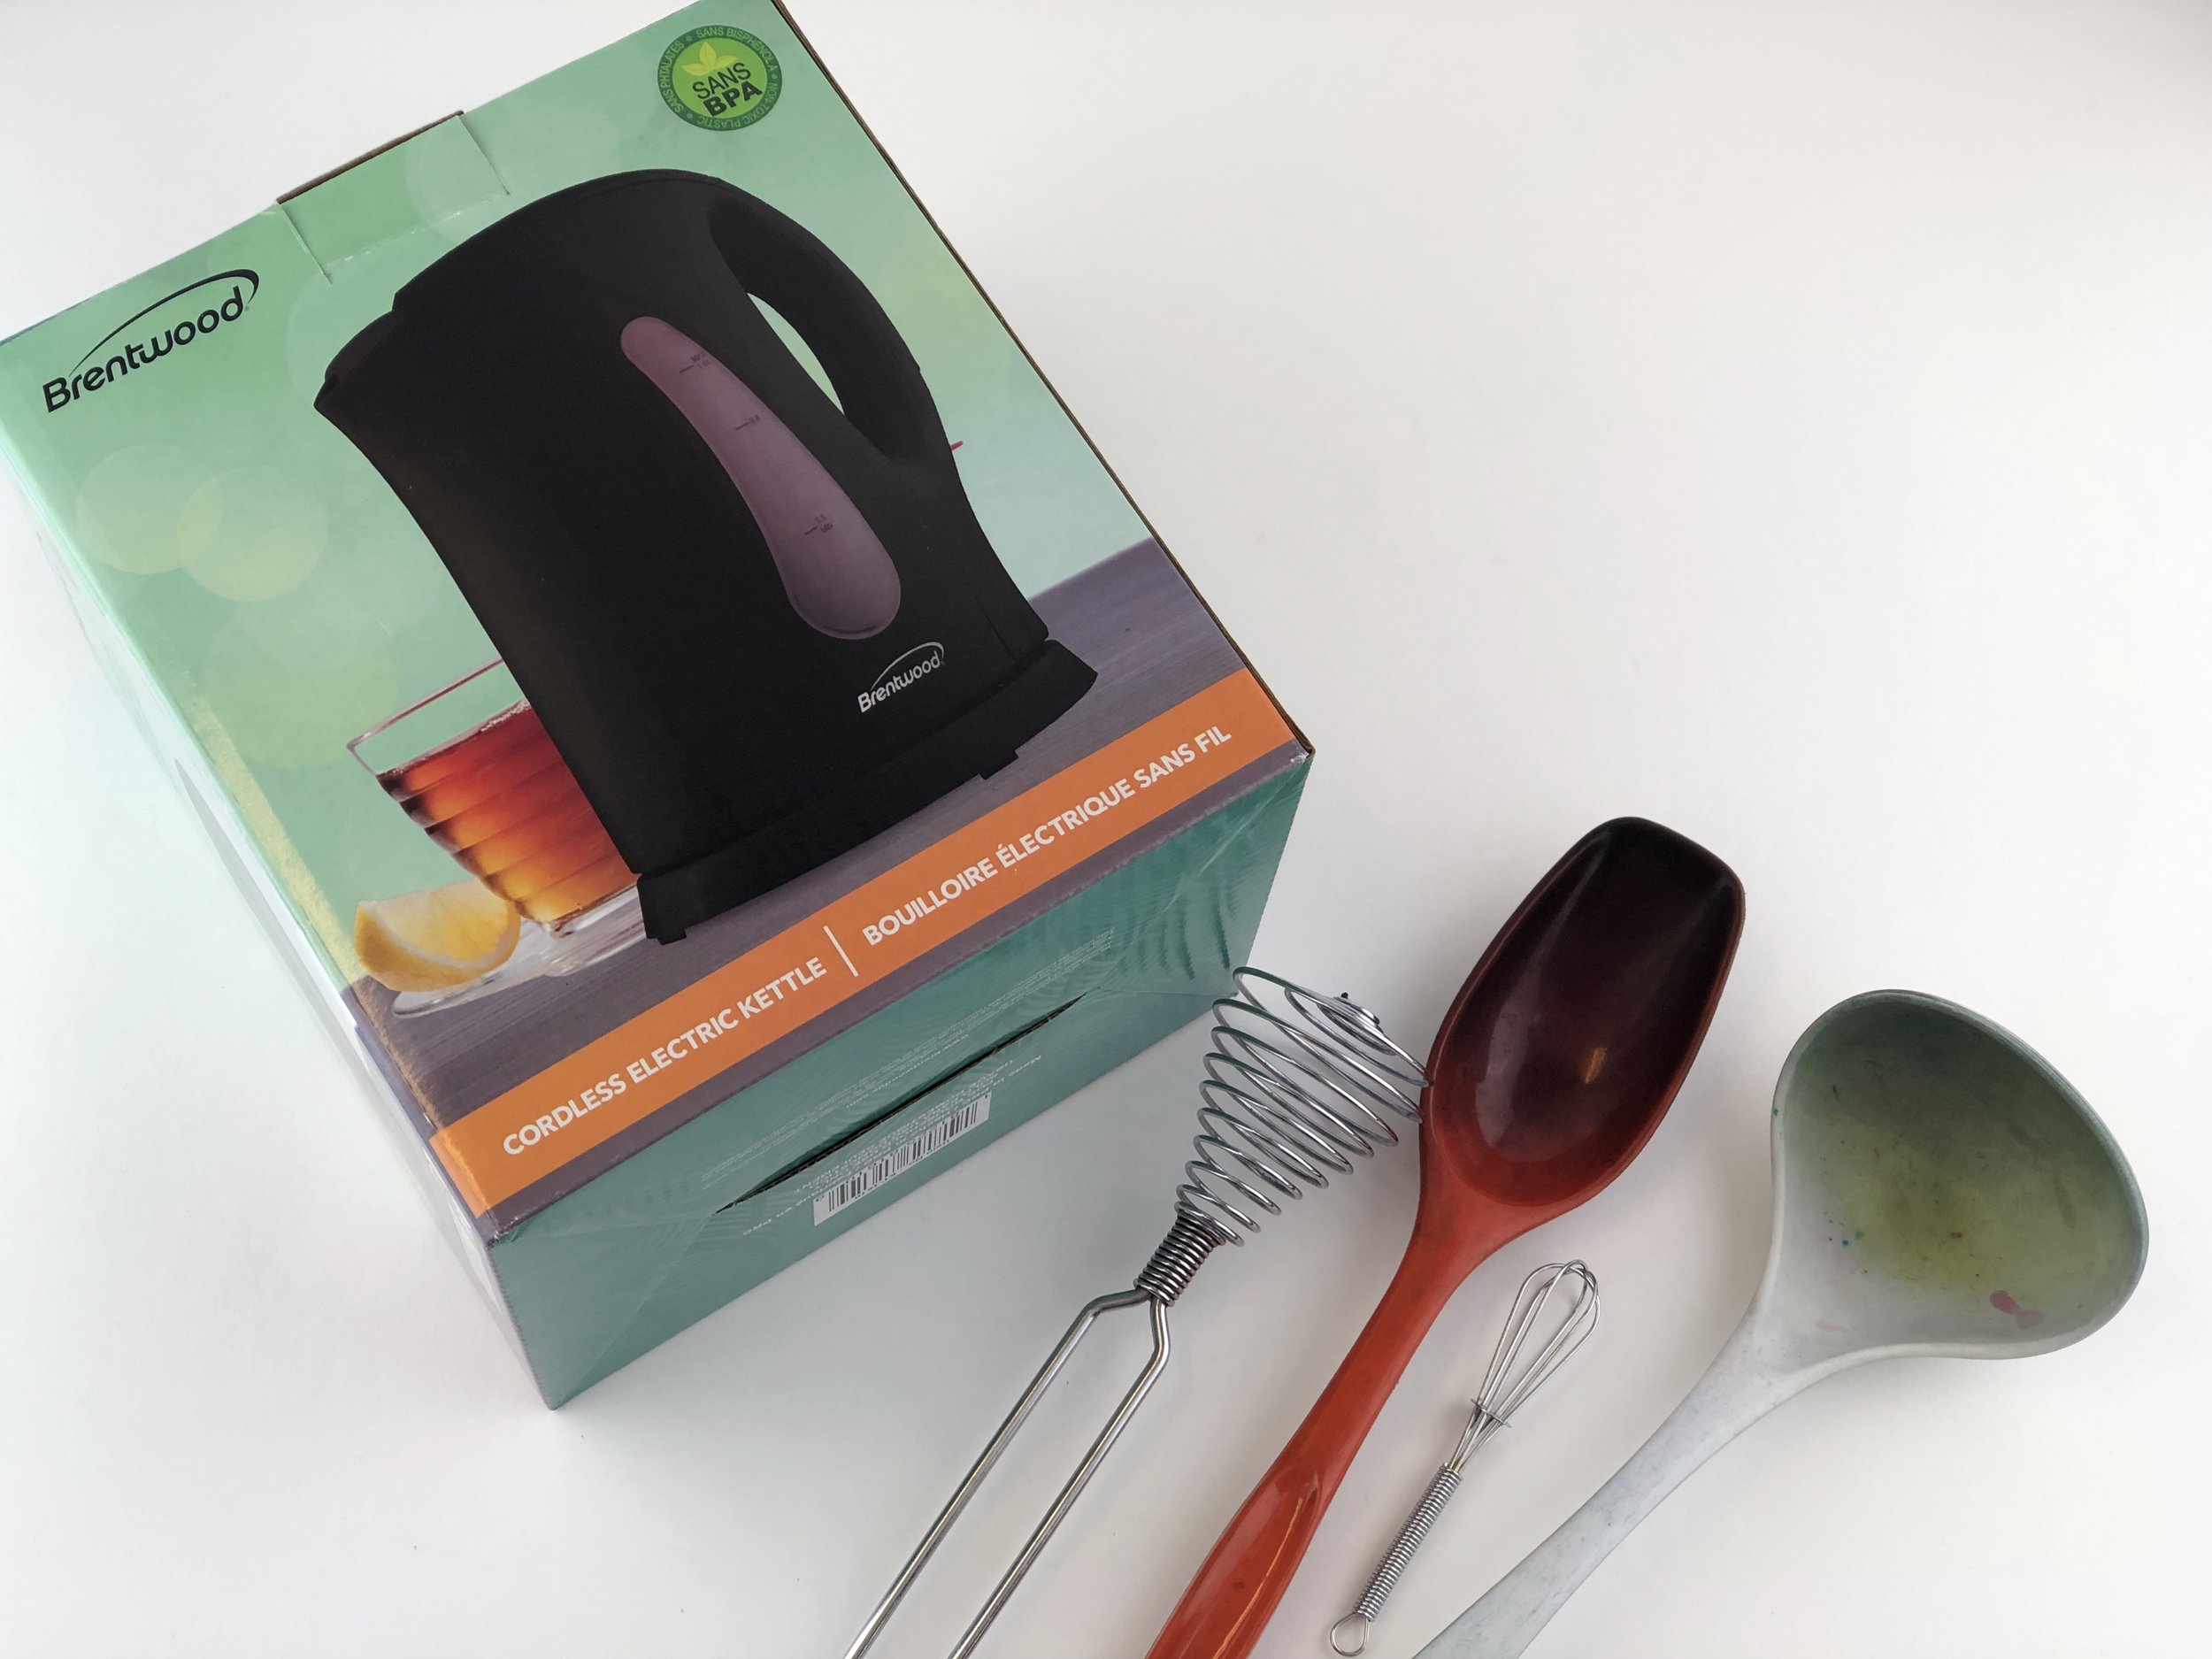
- Tea Kettle to heat water
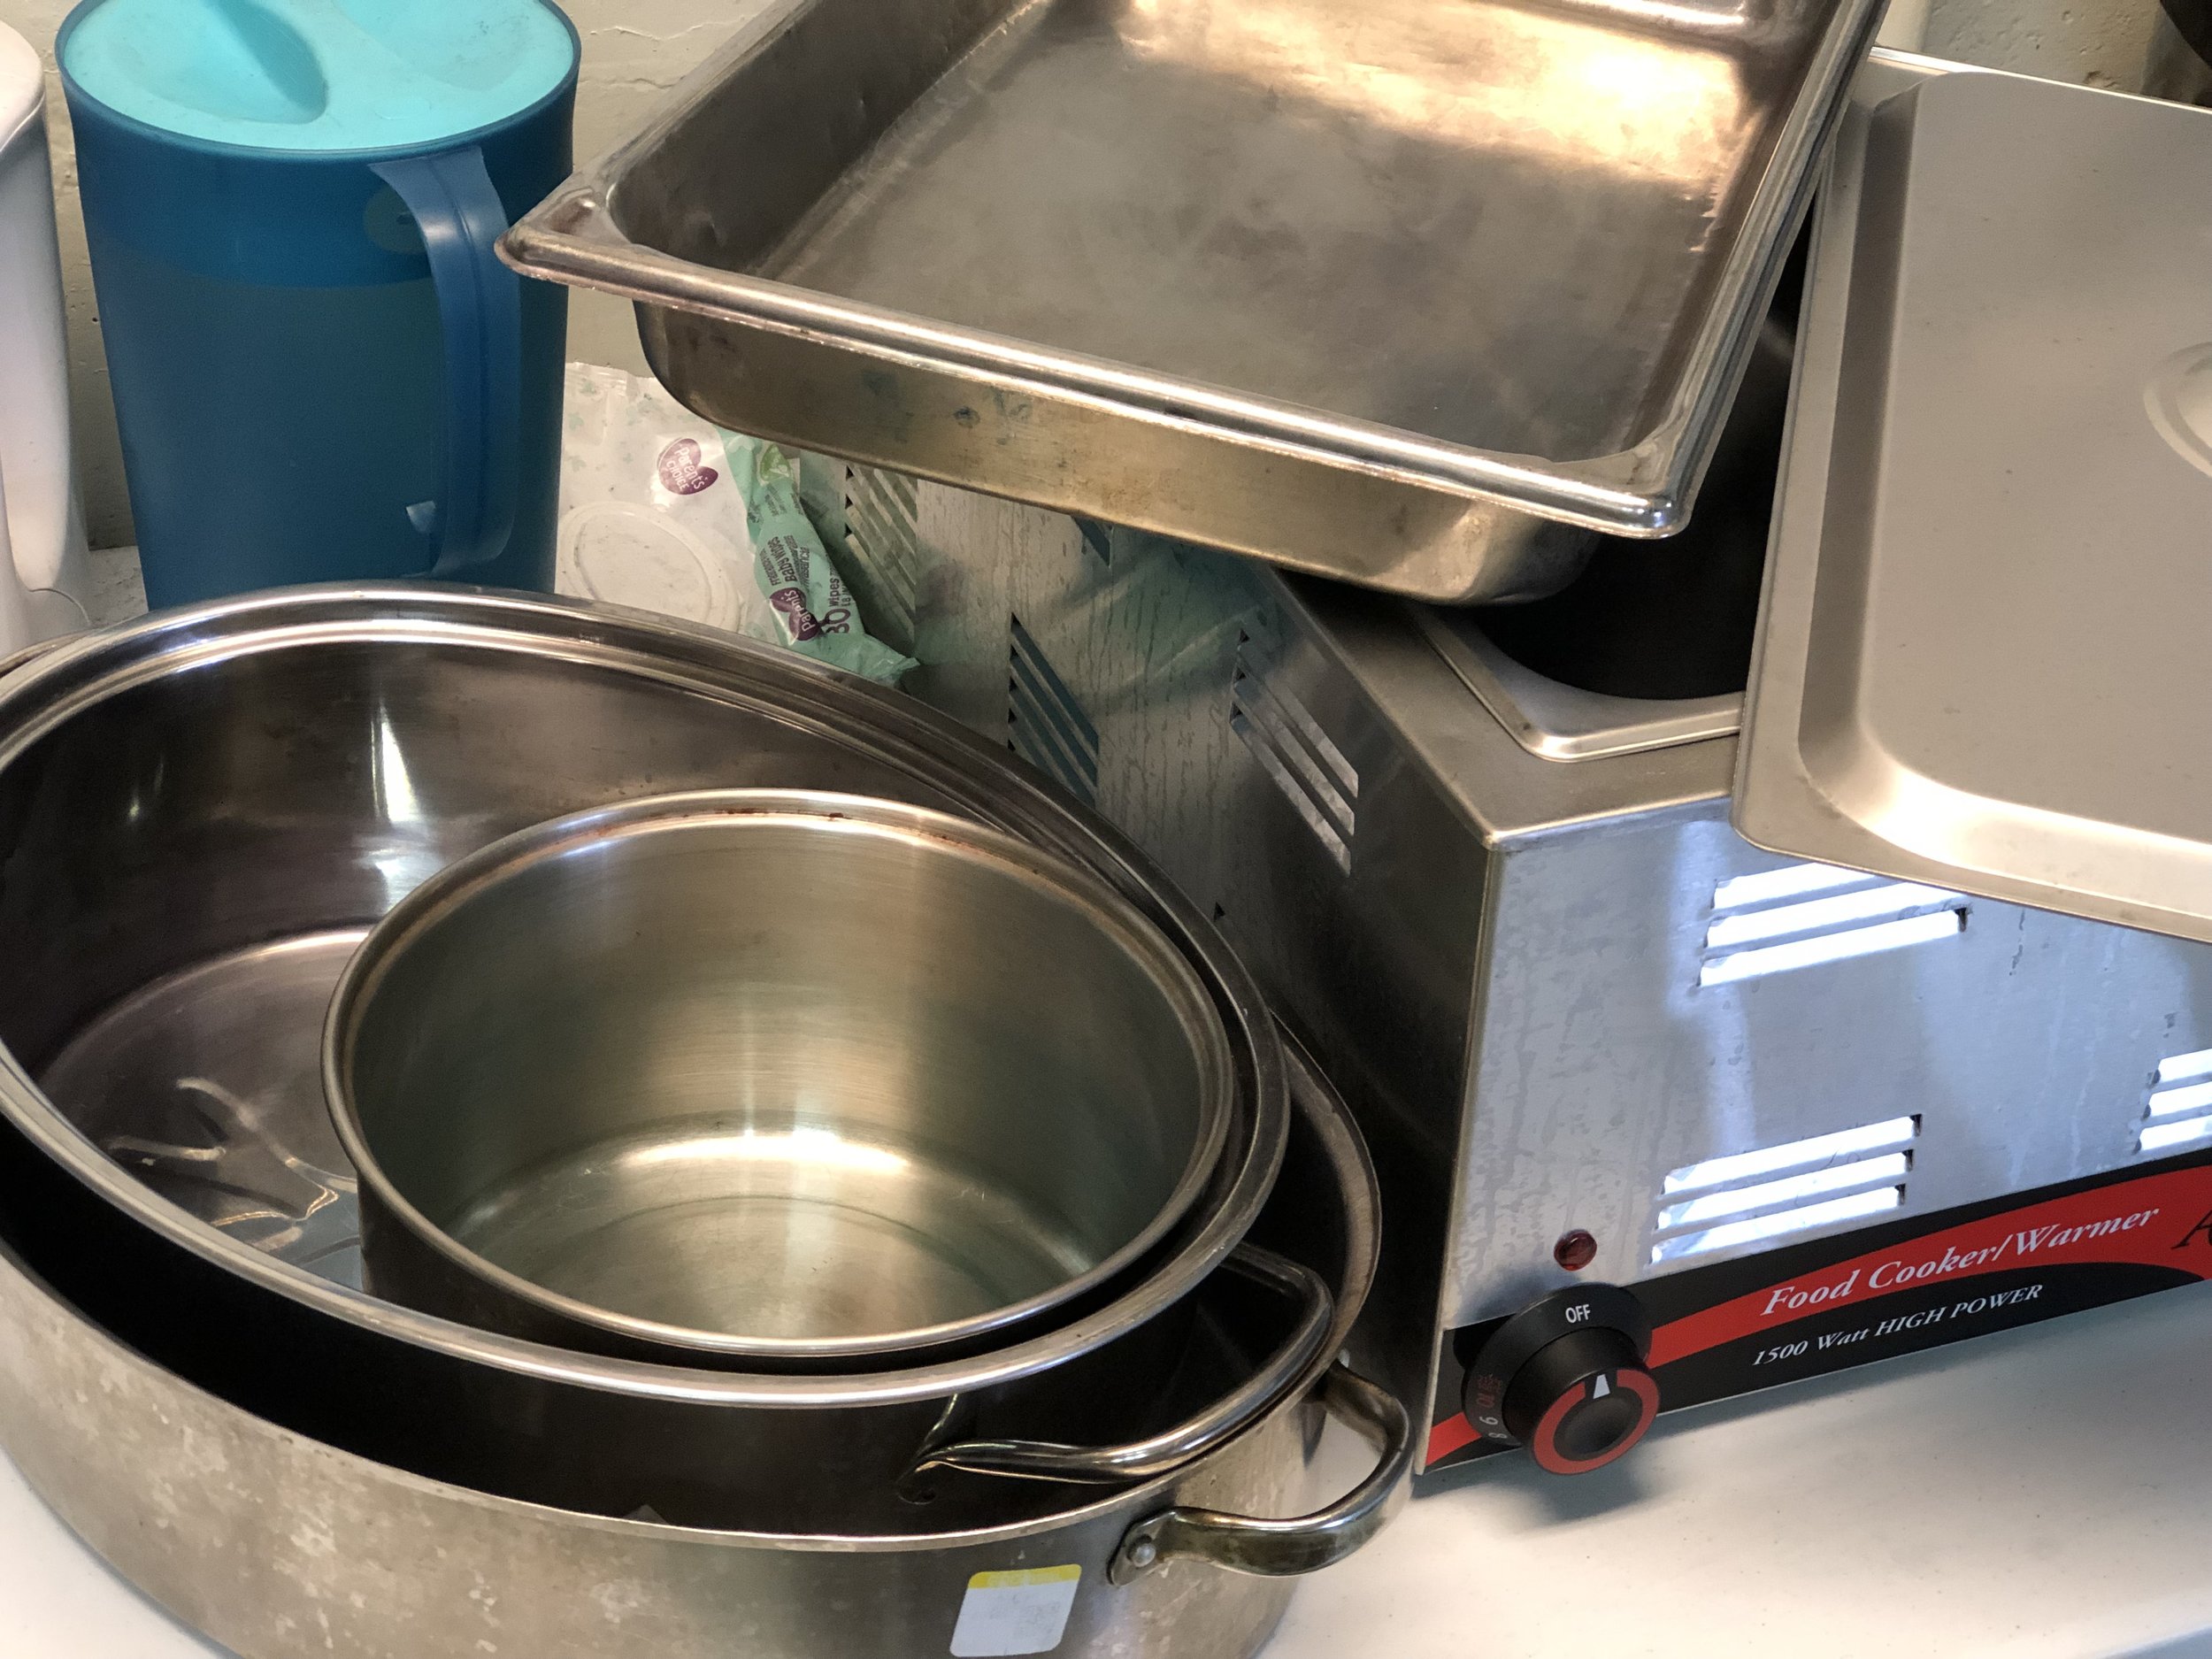
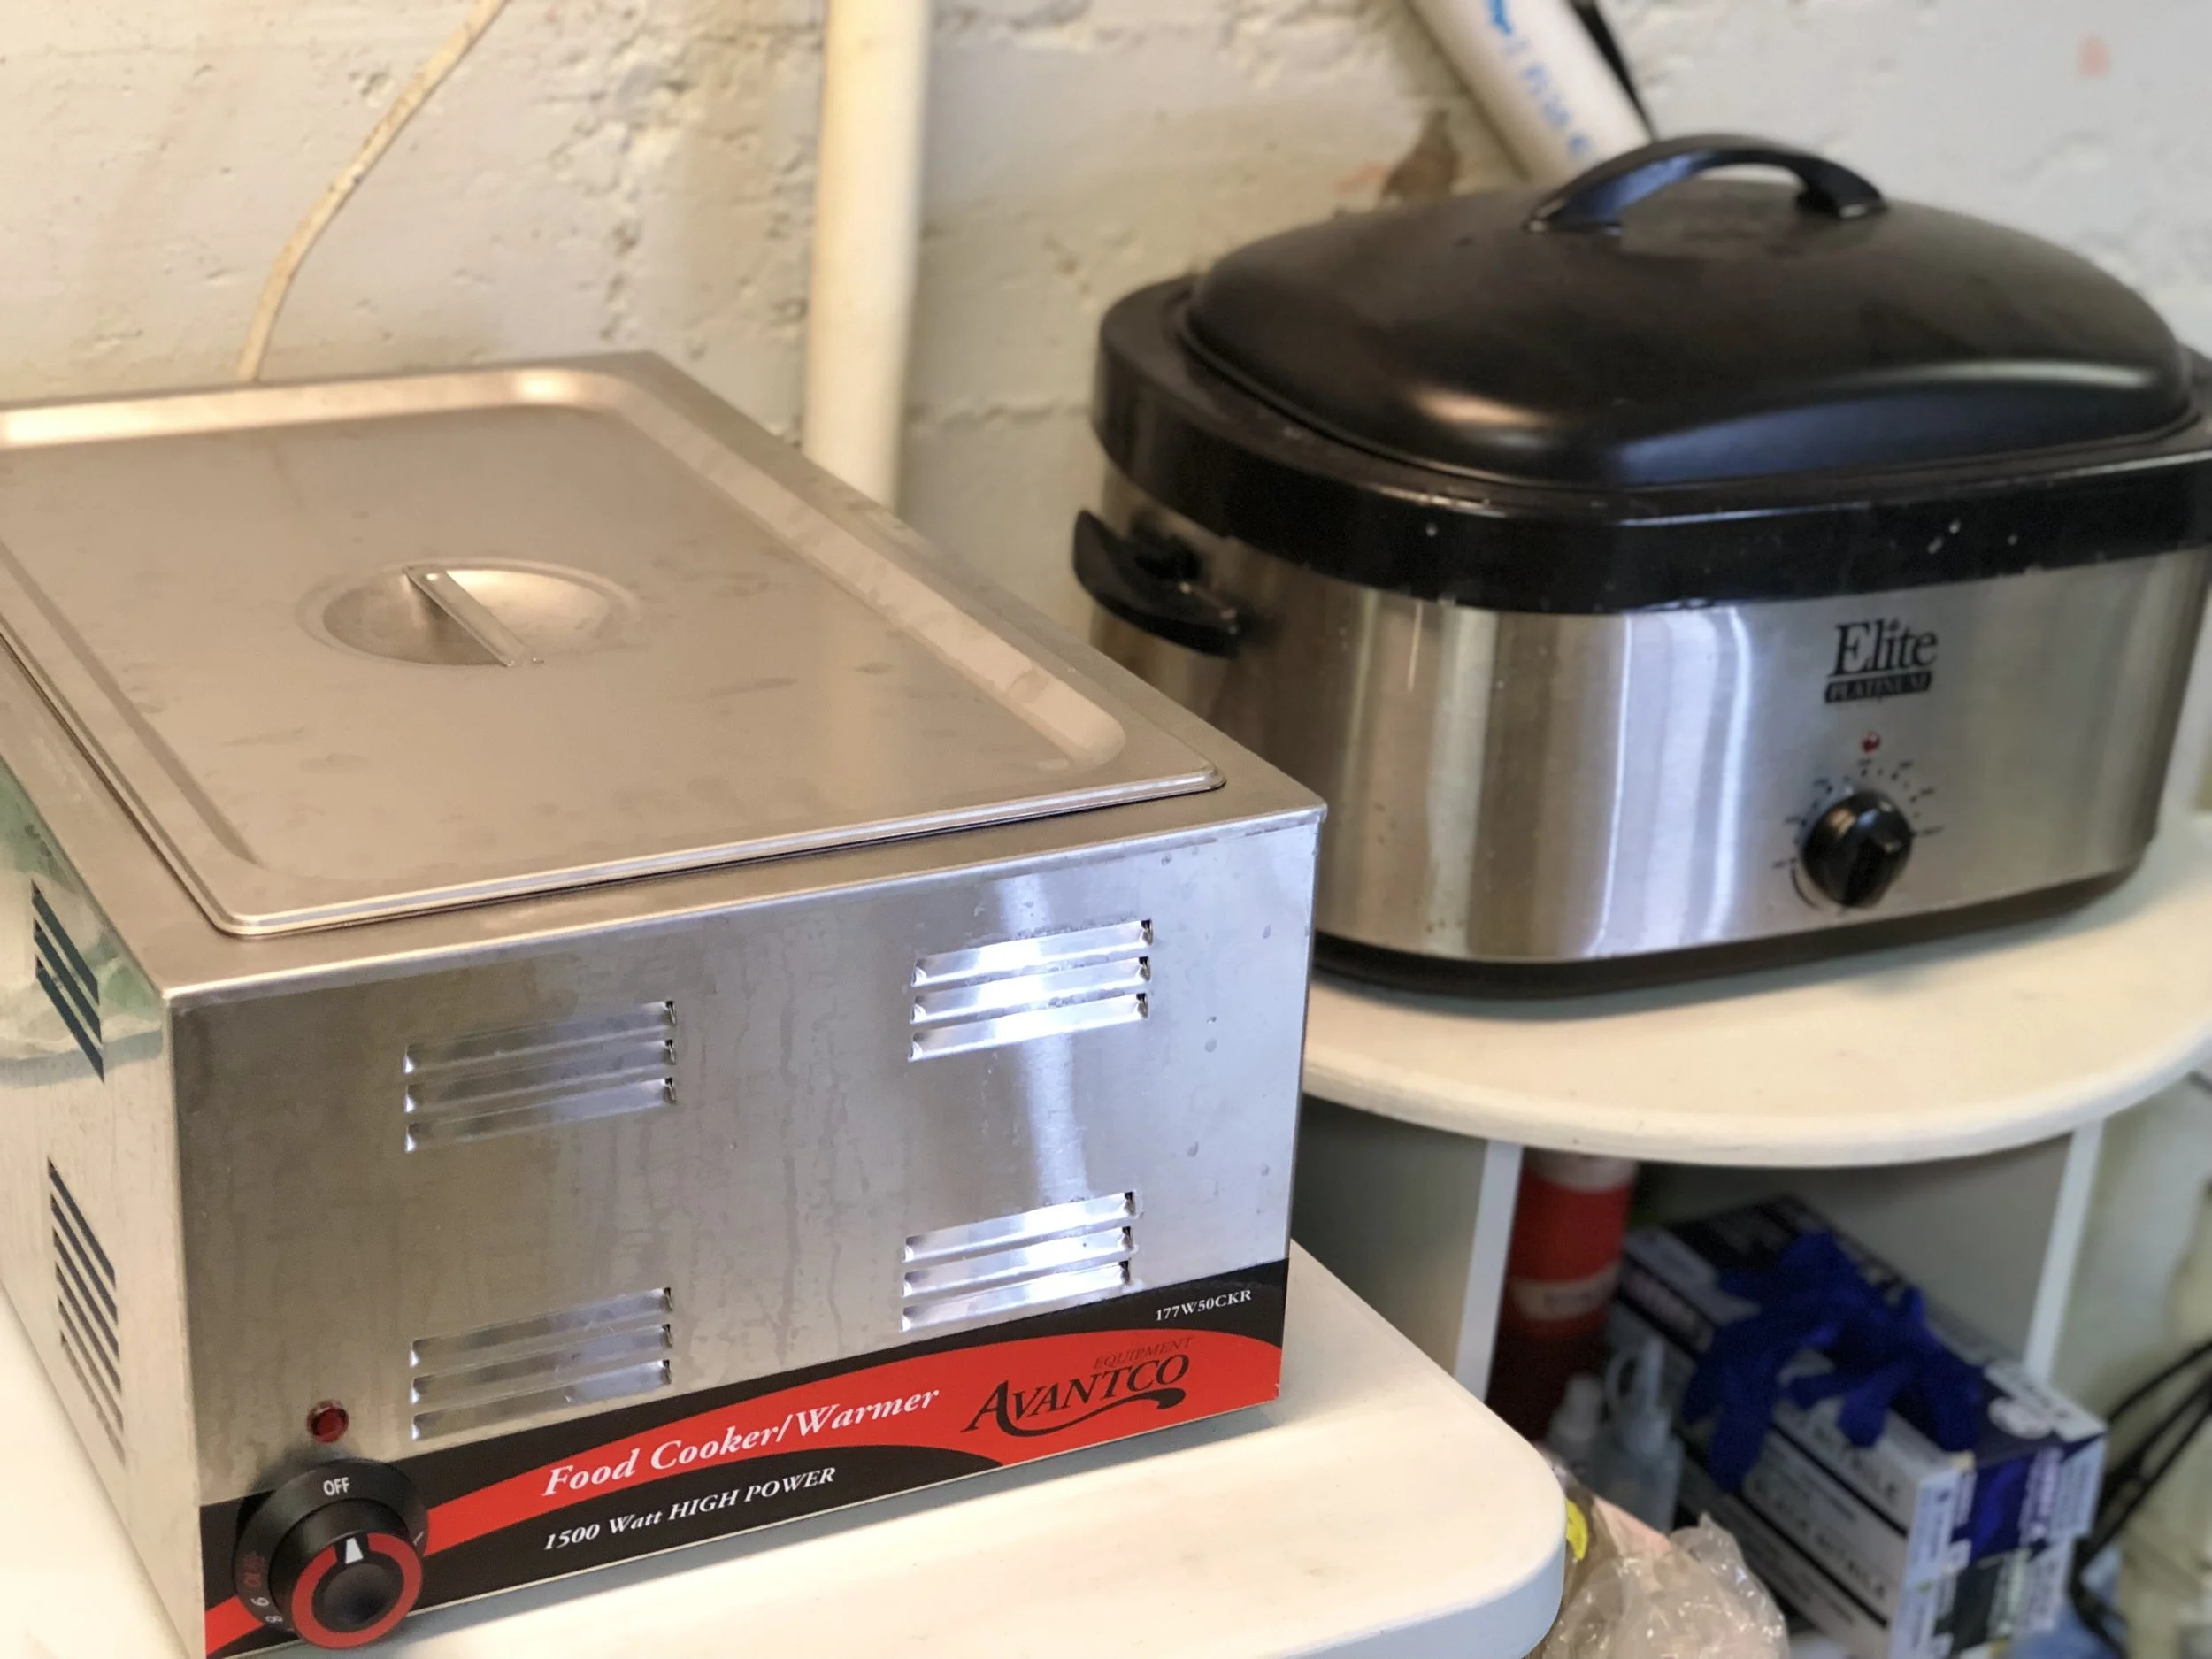
As mentioned before, the heat source is not only important, but essential to the dyeing process. Depending on what heat source you acquire, you may even be able to skip getting a pan to dye in because vessels such as crock pots and turkey roasters, and even buffet servers will come with their own pan inserts. Again I want to reiterate that stainless steel is the absolute best for the longest wear, but as long as you can find a vessel that will get to a temperature of at least 160 degrees Fahrenheit, you will be good as far as your heat source goes.
I want to repeat again that you SHOULD NEVER use these dyeing tools to cook with again, even though it can be tempting. Earlier on I mentioned that thrift stores and online market places are great haven for dyeing tools and the heat source is no exception.
The turkey roaster pictured I bought at a Goodwill and I still use it today for some dyeing. Also, probably the most obvious and easiest heat source to acquire is the stove and oven in your own kitchen. Now you can absolutely use your stove and oven again for food, just make sure you protect the surrounding areas with some type of splash guard (even just taping up trash bags will work). Also make sure you clean up sufficiently after dyeing so that you do not get any chemicals in the food you might prepare for dinner that night.
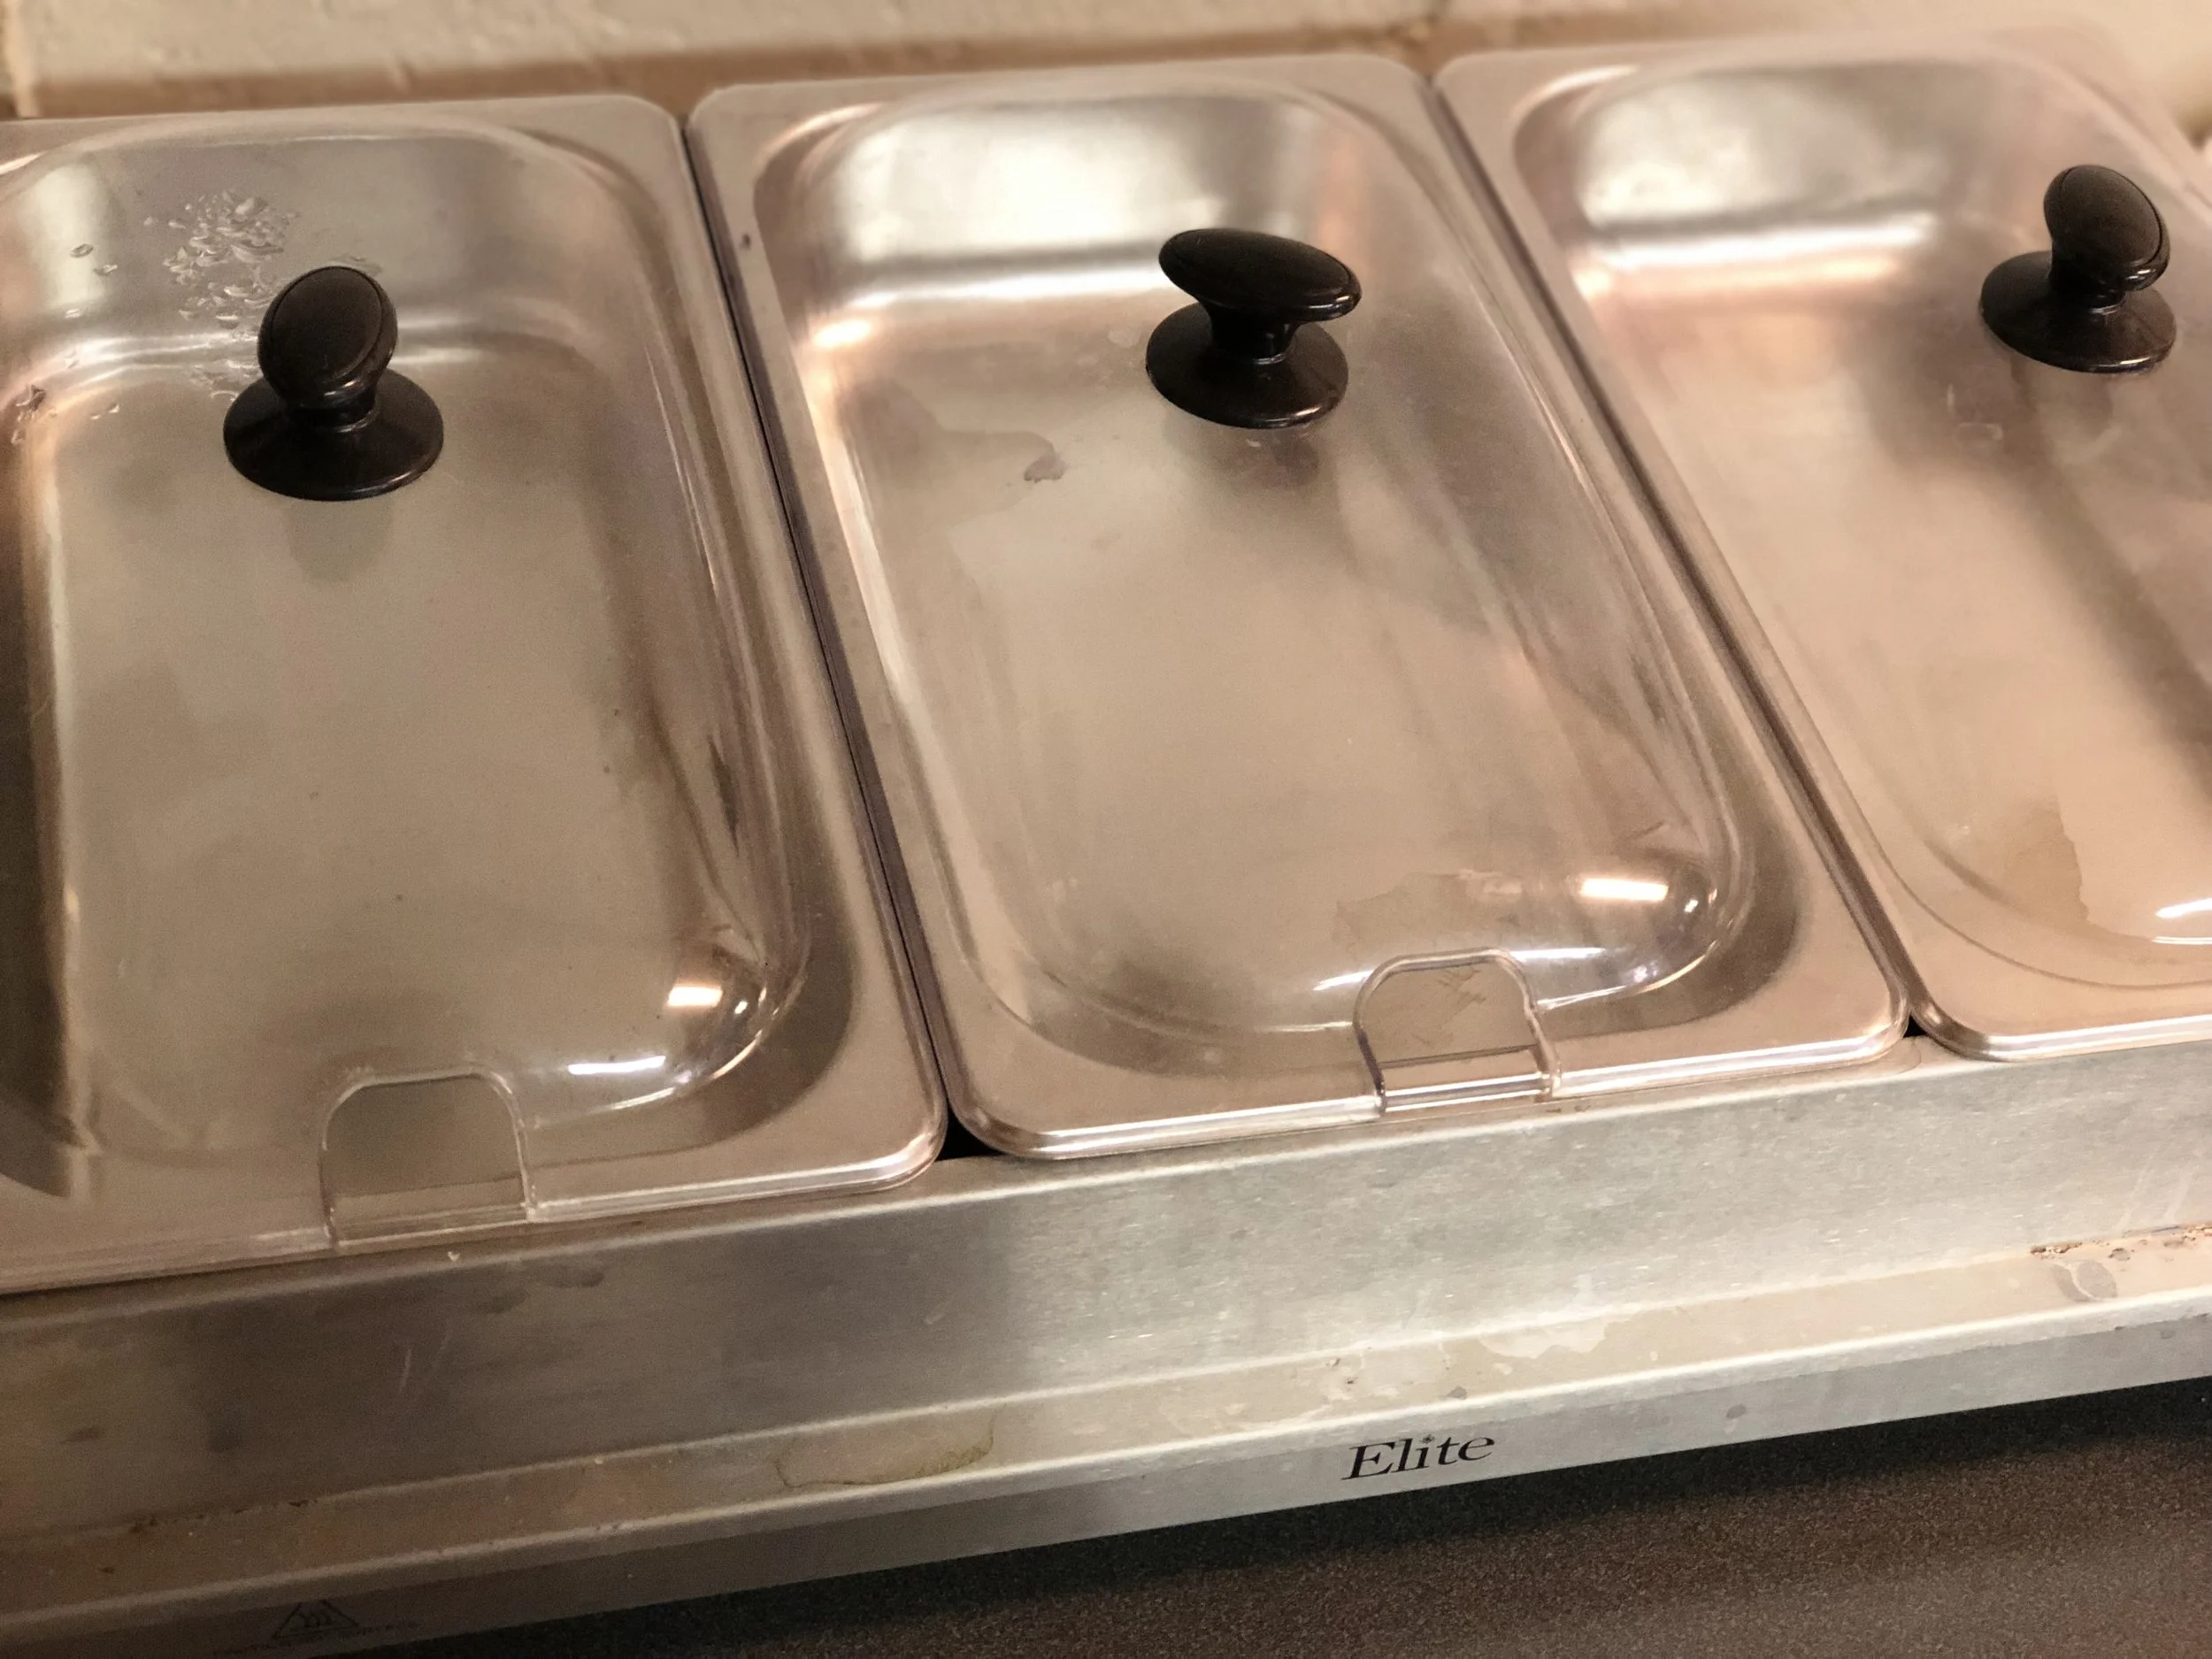
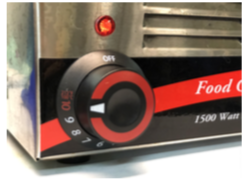
For the tutorial, I will be dyeing out of an Avantico food warmer that I purchased off of the WebRestaurantStore online for about $120. They also sell food warmers on Amazon for around the same price, just different brands. To me, a food warmer is a great investment for many reasons. Mostly because you can contain the dyeing process in one area, they heat up to temperatures of over 200 degrees Fahrenheit, and are almost always made from stainless steel. if your area has a restaurant supply store, these can even be purchased used locally for a great deal.
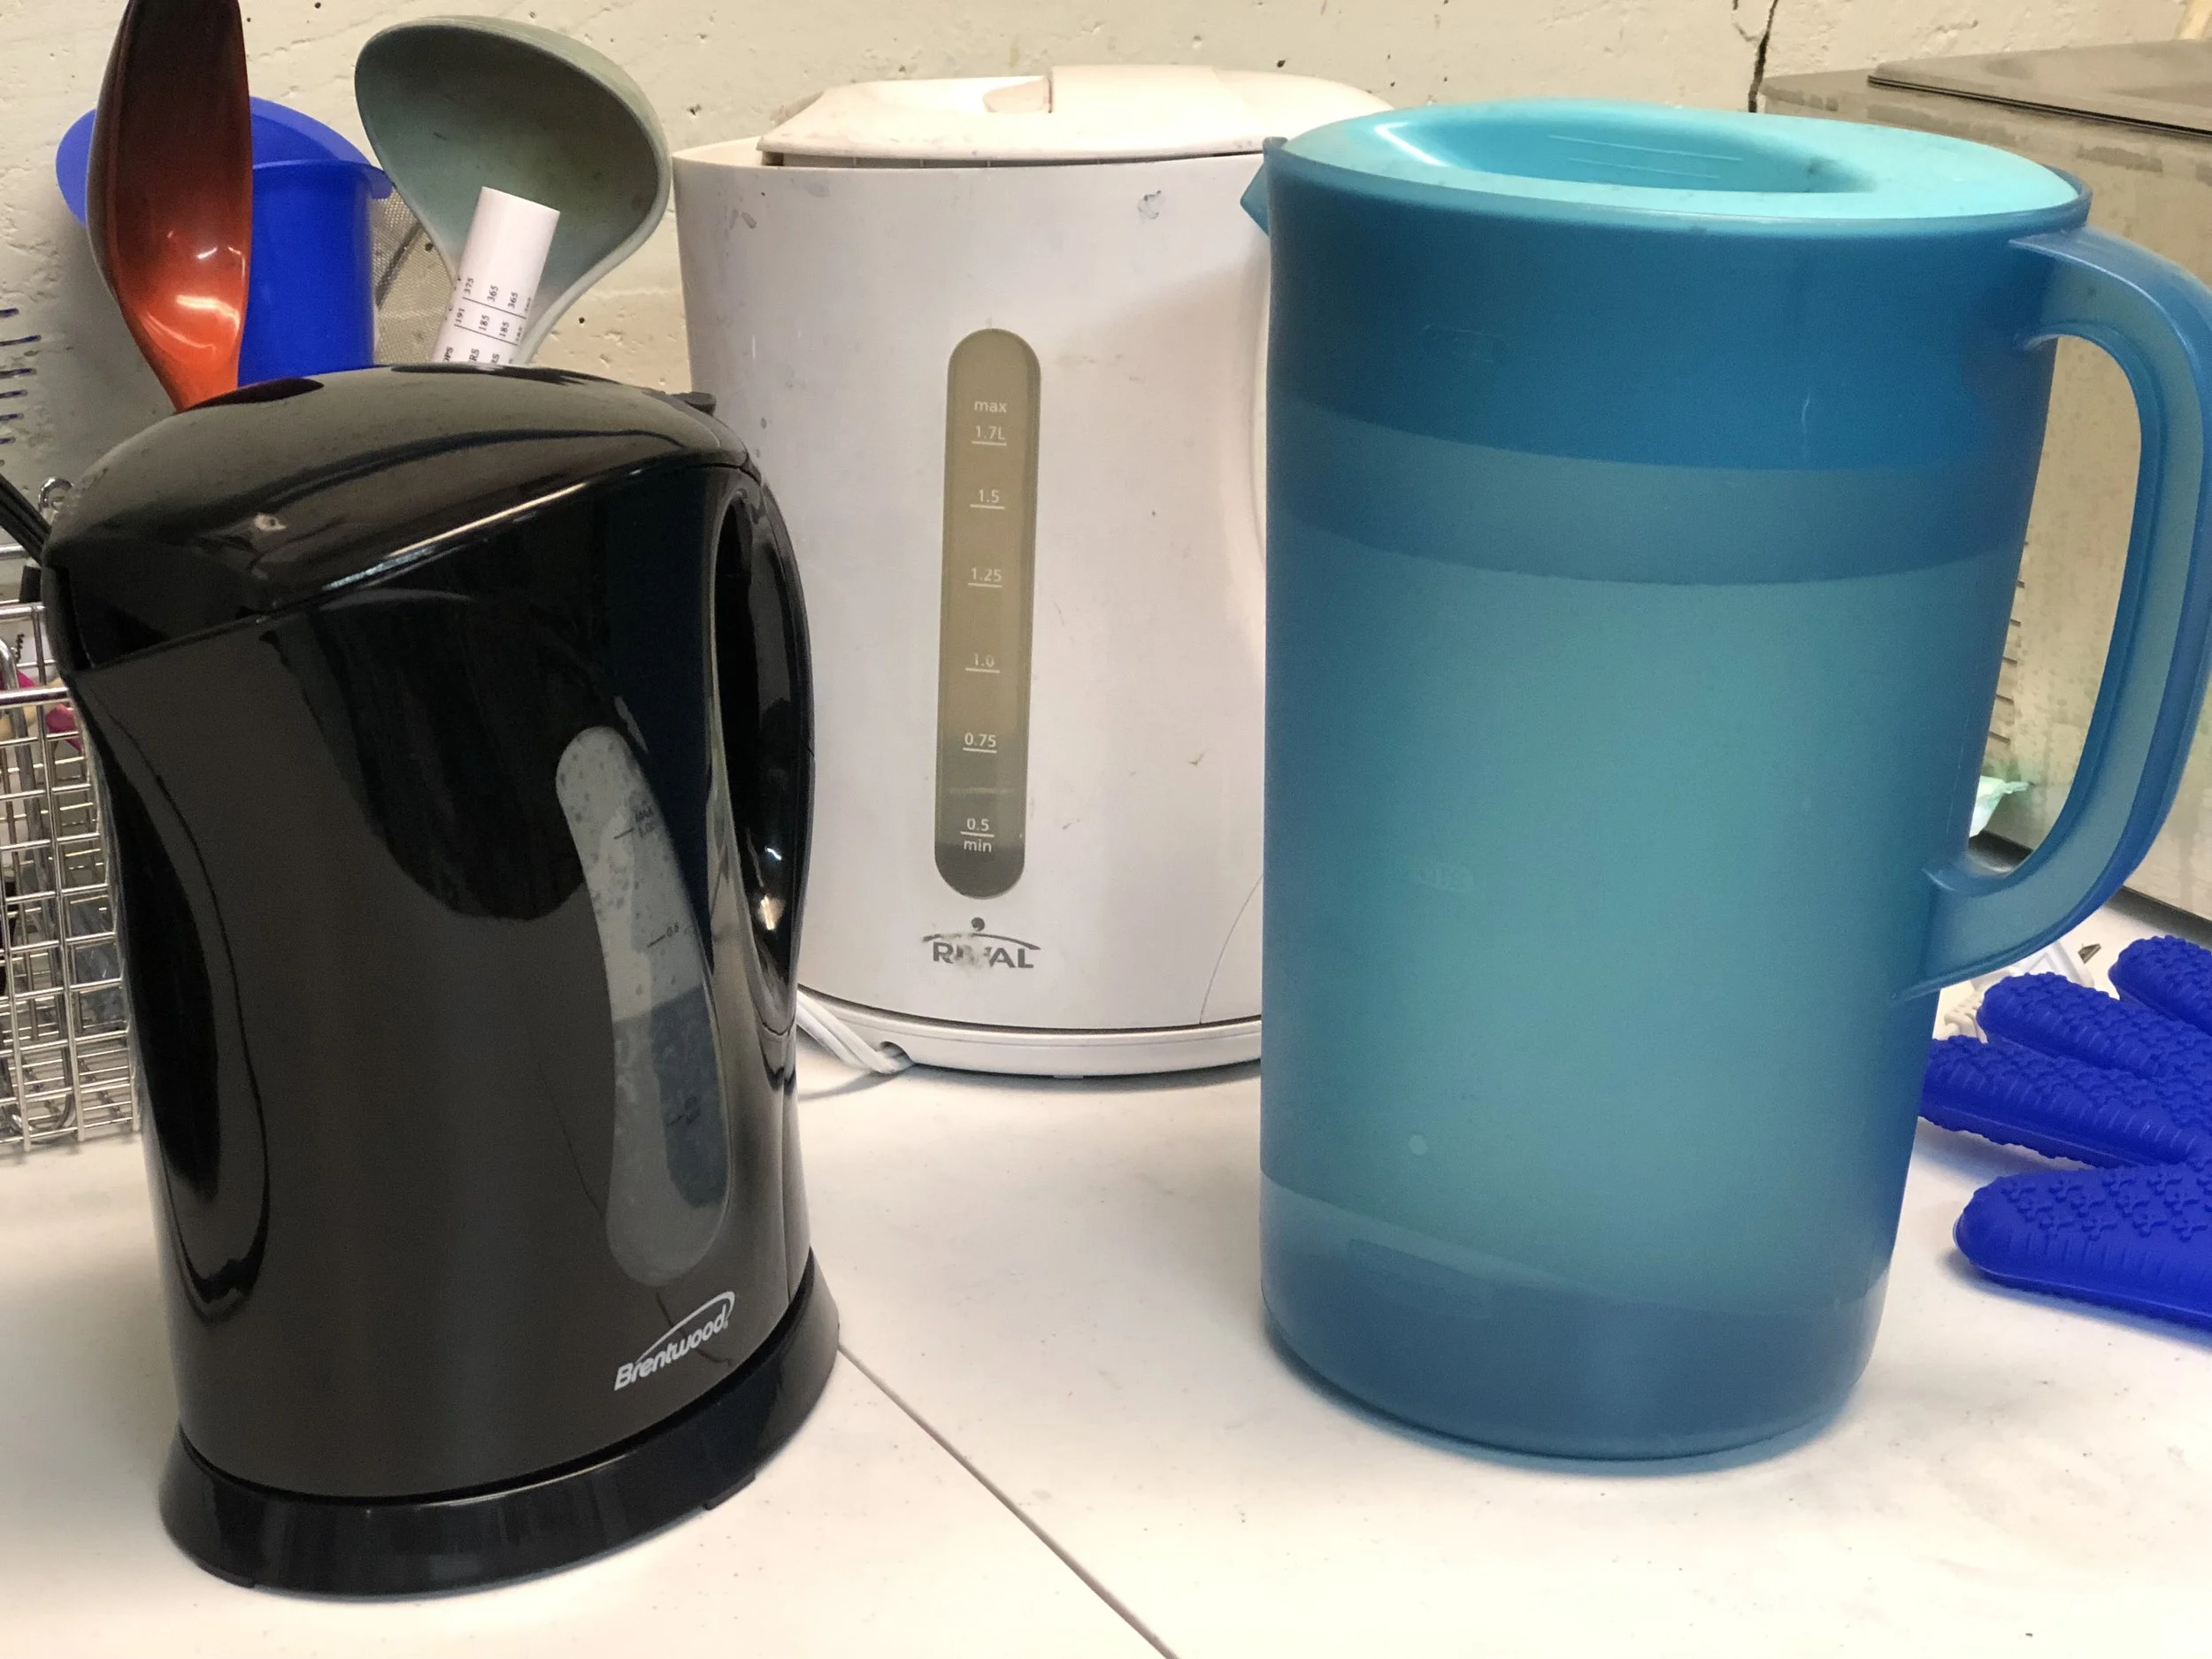
Besides the main heat source, you will need a tea kettle to boil water in order to mix the dye solution. Many dyers do not mix the dye with heated water and this ultimately leads to inconsistent colors and dye mixtures. The heated water is really what makes the dye activate so, in my honest opinion, the heated water is one of the most important tools you will need for the dyeing process. You can use a manual one that goes on the stove, but I recommend an electric tea kettle because they heat up to much faster than a standard one. I found the white electric tea kettle pictured above for around $7 at Goodwill and I still use it today because it can hold a lot of hot water.
Washing and Drying Materials
Recommended:
After you have acquired all materials for the actual dyeing process and before you gather the dyes and acid, you need to make sure you have the materials to wash and rinse out your yarn. Why is this important? For most yarn dyeing techniques, the yarn needs to be soaked in some sort of liquid solution prior to dyeing. Also, if you do not wash your yarn after dyeing, a multitude of problems can occur.
Yarn that still has acid in it will be rough to the touch and often times irritate most skin types. Another reason for washing is to ensure that you have in fact exhausted all of your dye. if your yarn is not exhausted, it might need to be reset. This is not because you messed up, it just means that either not enough acid was added, or that you may have a dye that is extra tricky to exhaust and that needs to be on heat longer with extra acid. Deep turquoise and red dyes tend to do this, so just keep that in mind.
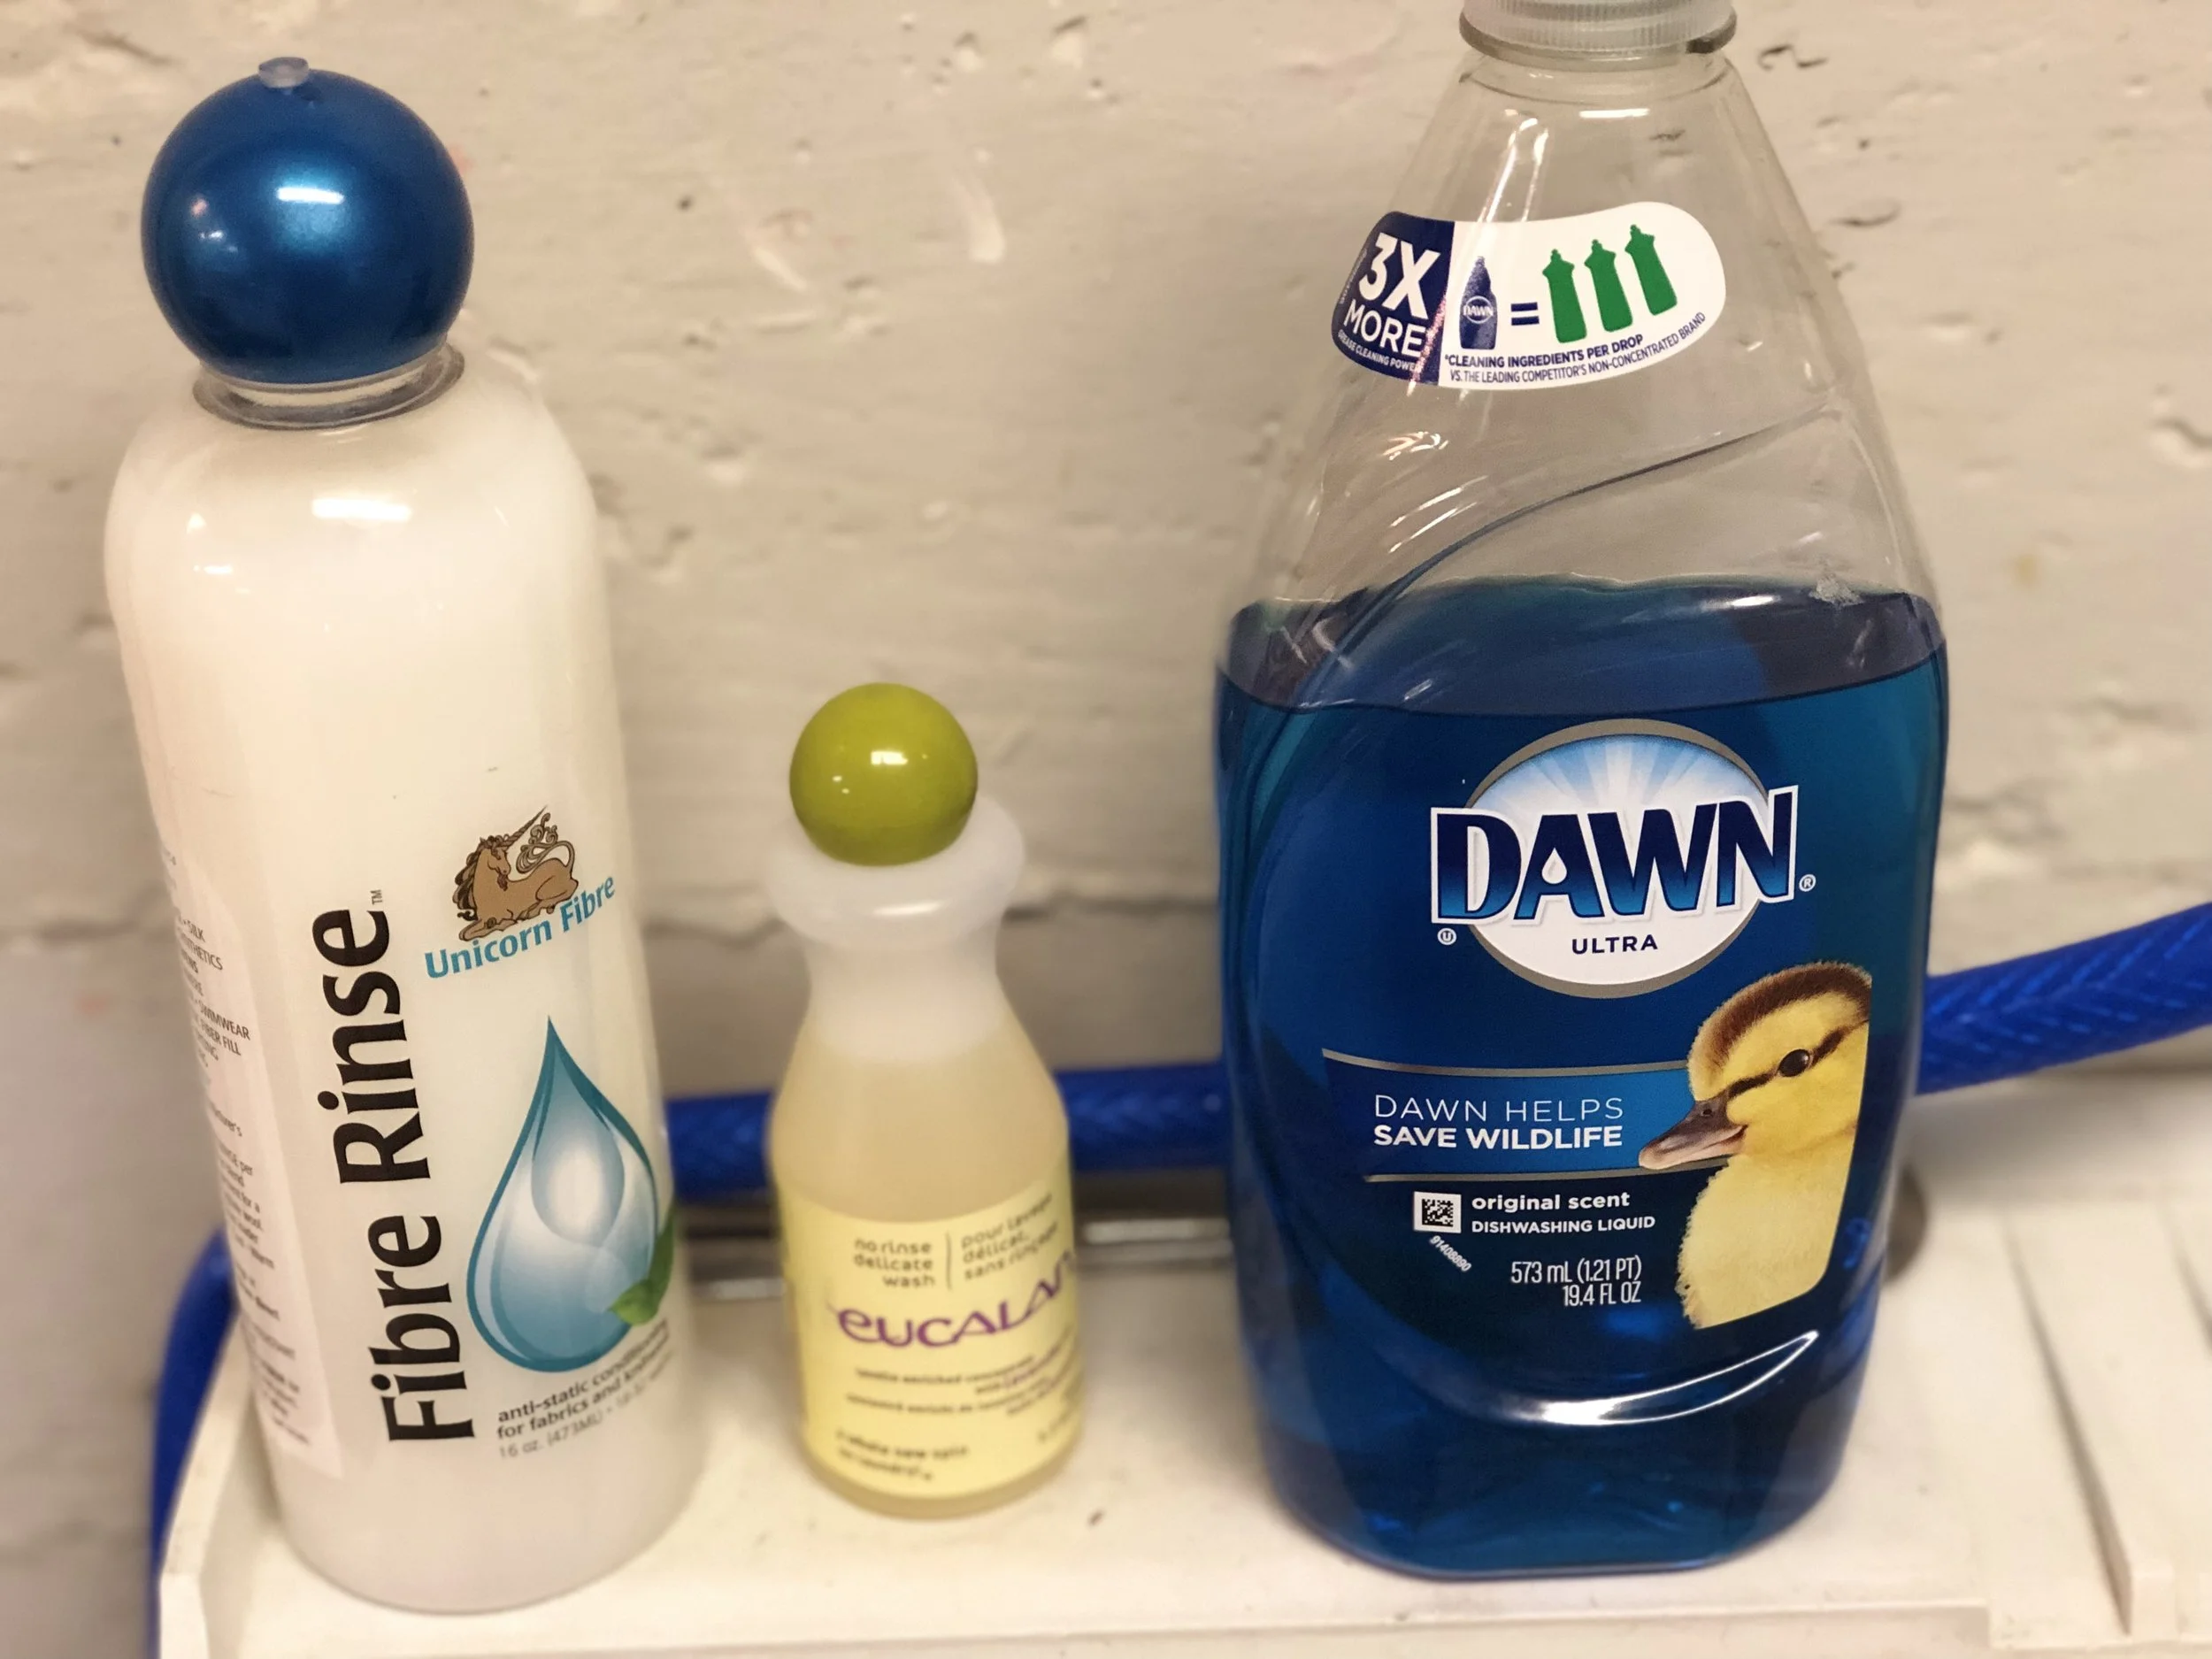
Soap: In order to wash the yarn after, and often times prior to, the dyeing process, you will want to acquire a good, scentless soap. Many dyers will use scented soap, but I do not recommend it if you plan on dyeing for others besides yourself. Many people have allergies to certain perfumes so I think as a general rule of thumb, unscented is the way to go. Personally, I use a drop or two of blue Dawn for most of my yarn, because blue Dawn is easy to acquire, is scentless, and I feel that if it is safe to use on wildlife in oil spill situations, it is good to use with the yarn. I have also not had any issues from any of my sensitive skin customers with the yarn being harsh. In fact, I am known for having some of the softest yarn.
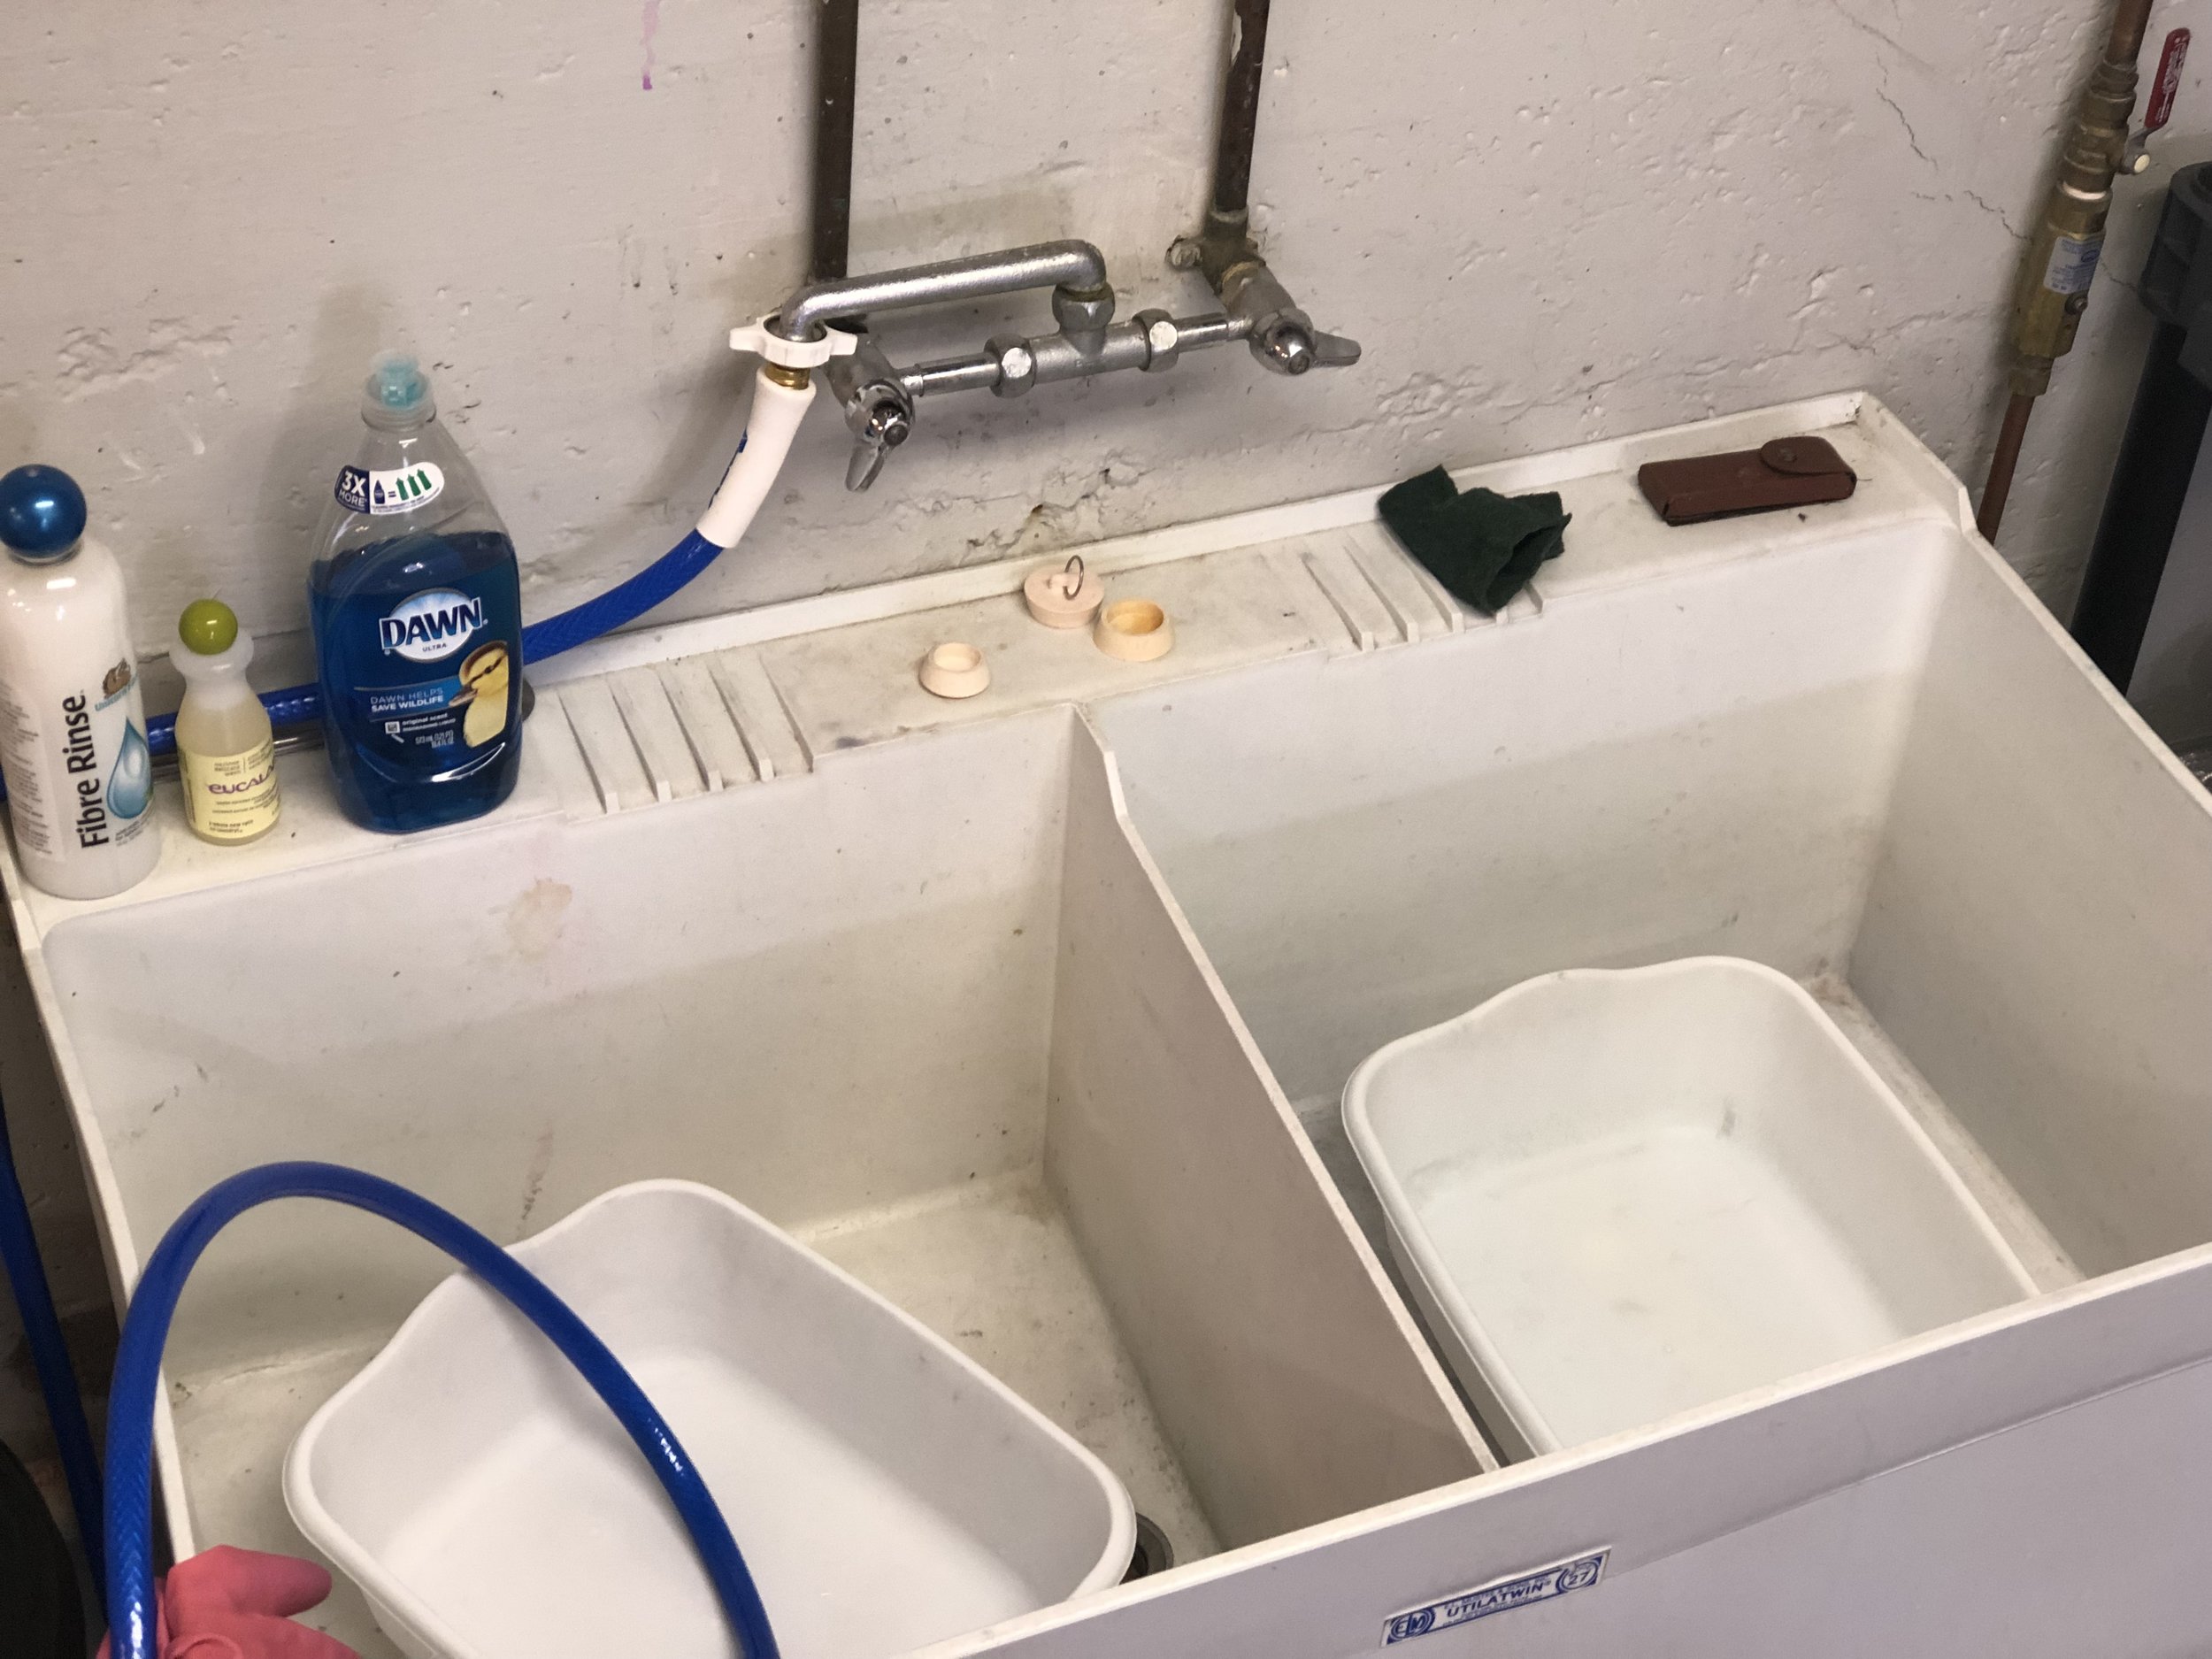
Sink: Besides soap, a good-sized sink is key in the dyeing process. If need be, you can use a shower and it is no problem. Just make sure that you buy dish pans to wash the yarn in no matter where you choose to soak or wash your yarn. I personally do not want my yarn touching food particles or surfaces where feet have been, so I highly recommend grabbing a few dish pans from the dollar store prior to starting this venture.

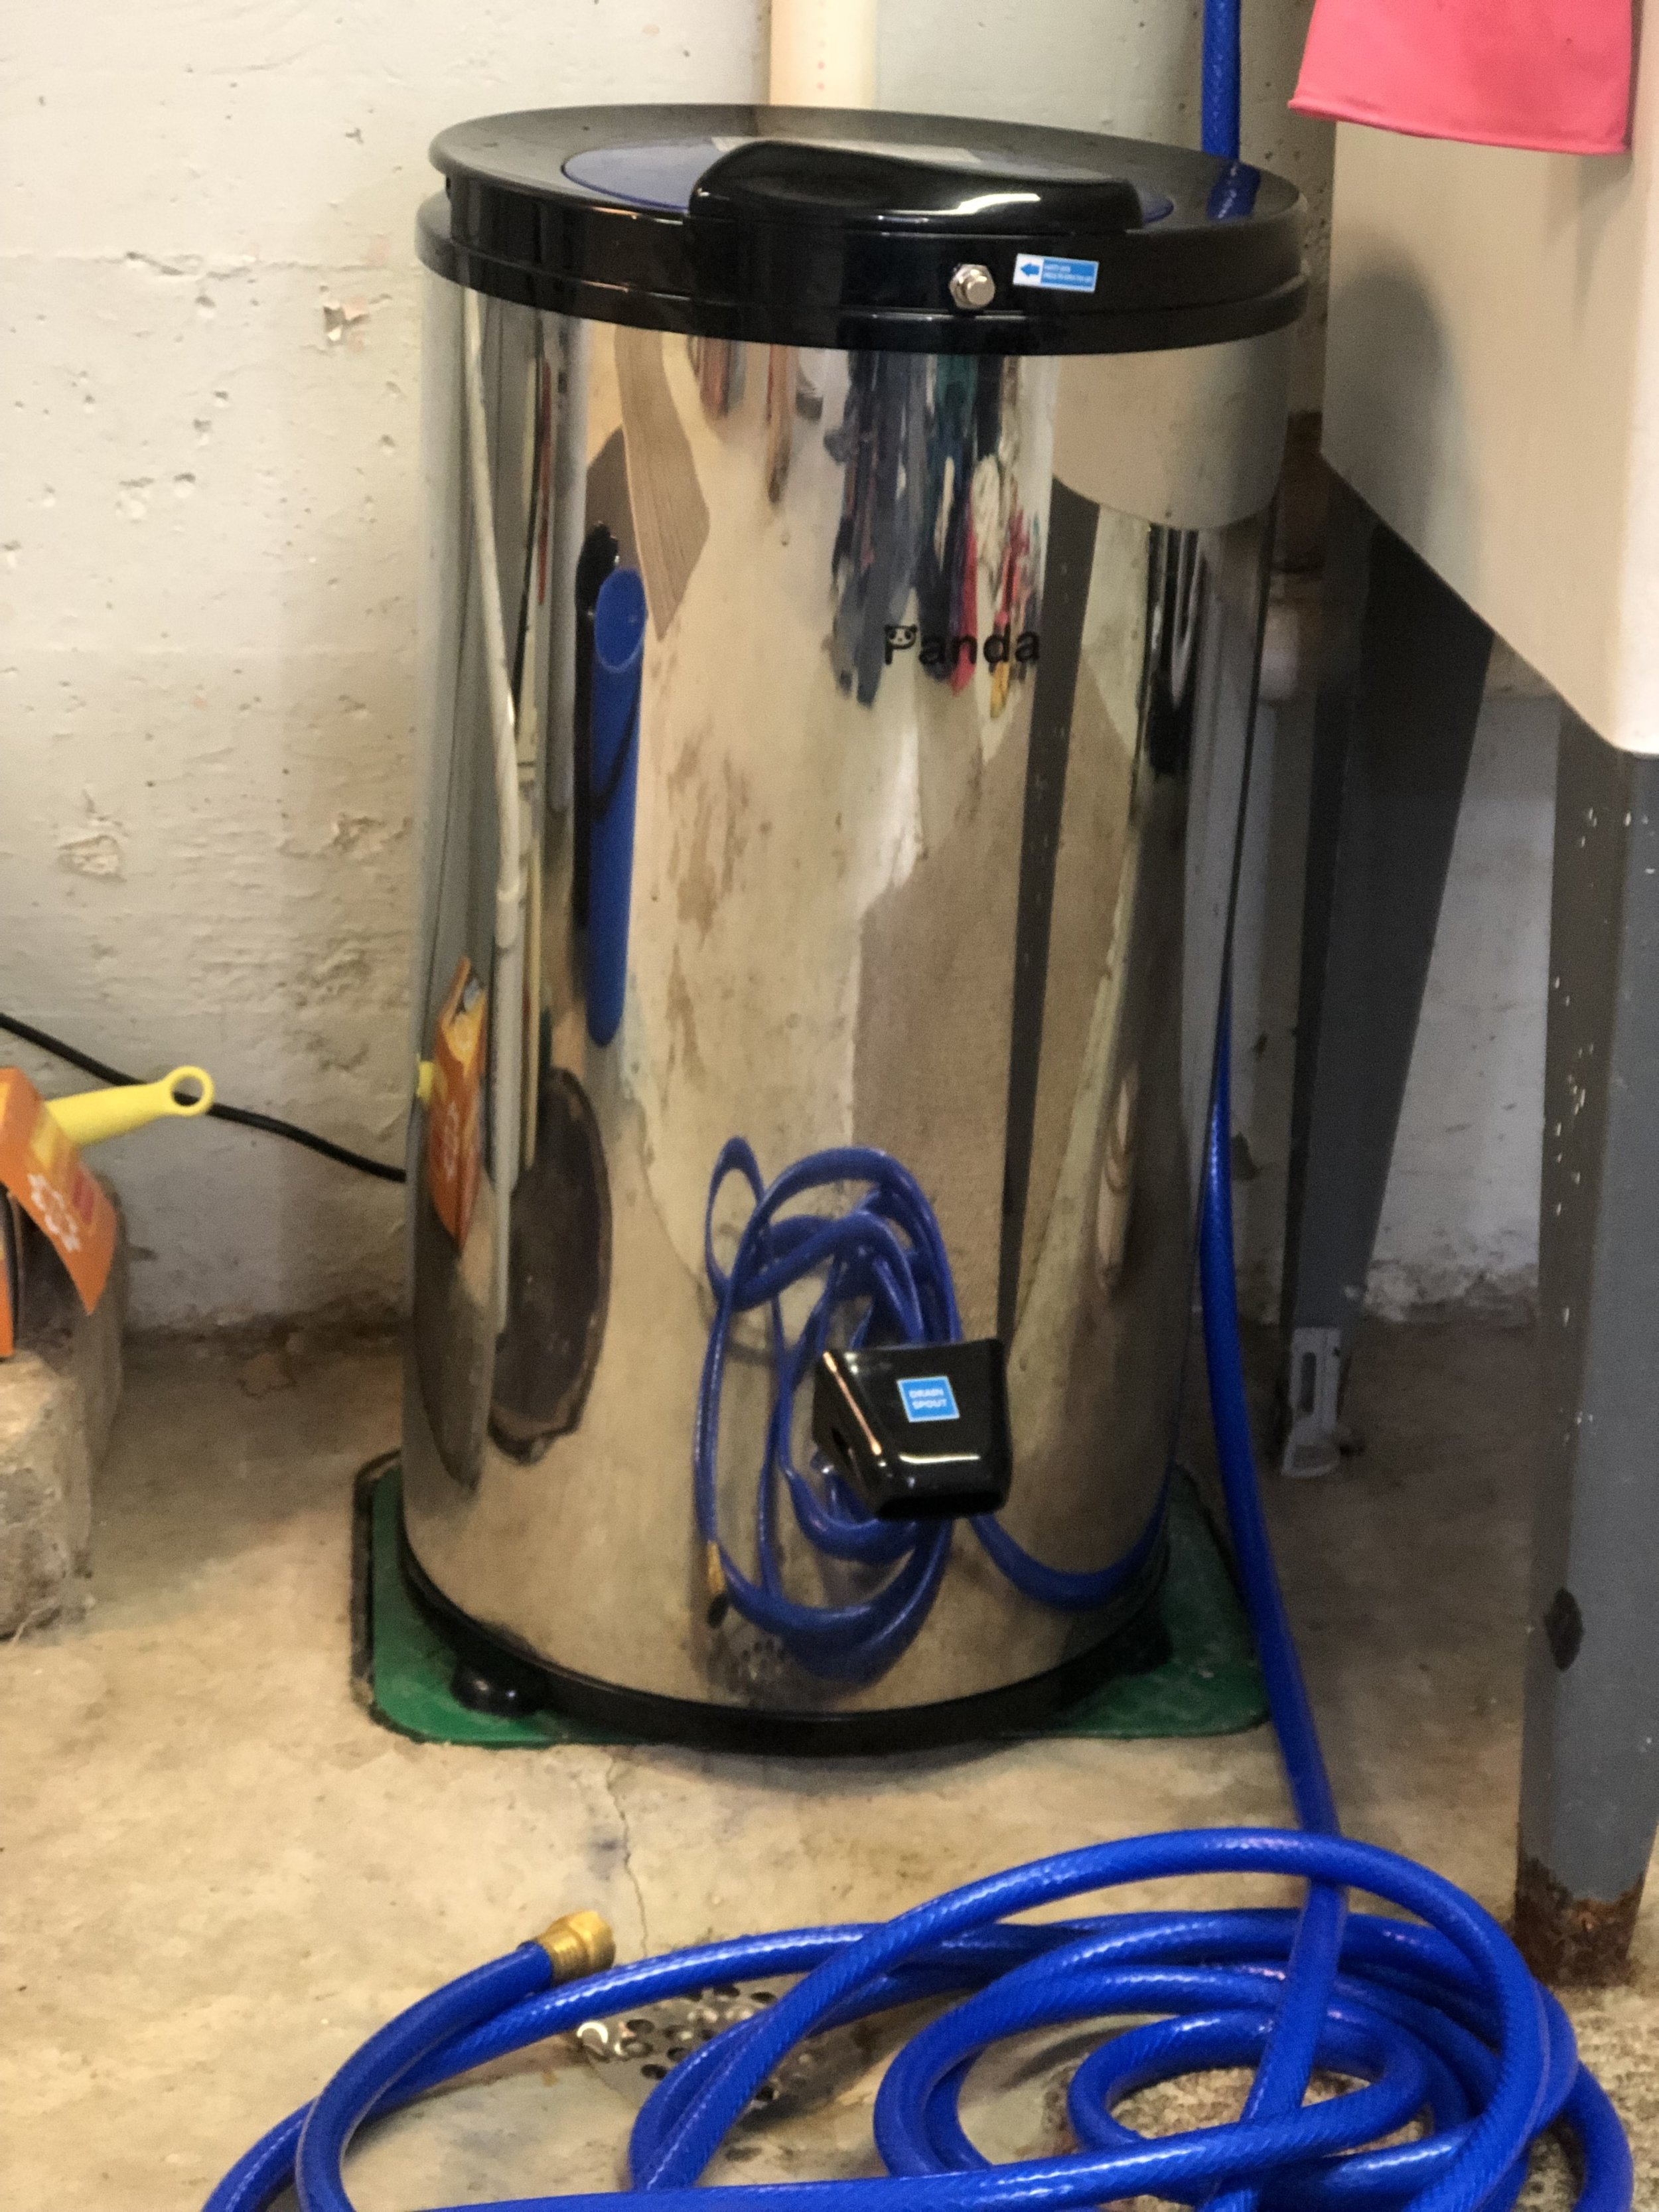
Spinner: Other tools that are good to get but that are not essential are spinners. Just one spinner is fine and electric spin dryer versus salad spinner is not important, but it does make the process easier if you have an electric one. The spin dryer I use is a Panda that i got off of Amazon and I absolutely love it. There is another brand called Nina and they work exactly the same. They both cost upwards of $180, so that is something to keep in mind. When I started, I purchased a salad spinner from a thrift store because I knew i would never use it for food. You can also find salad spinners brand new at big box stores and Amazon for fairly cheap.
Drying Rack: Another tool I use that is not pictured is a drying rack. Again, this is helpful but not essential. The one I have is heated and I purchased it for $40 off of Amazon, but you can also find non-heated ones in most places, especially thrift stores. You can even just use your shower rod, just remember that you have your yarn hanging there before you start the shower in the morning so you do not re-wet your yarn. Ask me how I know.
Acid and Dyes Materials
Recommended:
Dyes - see below
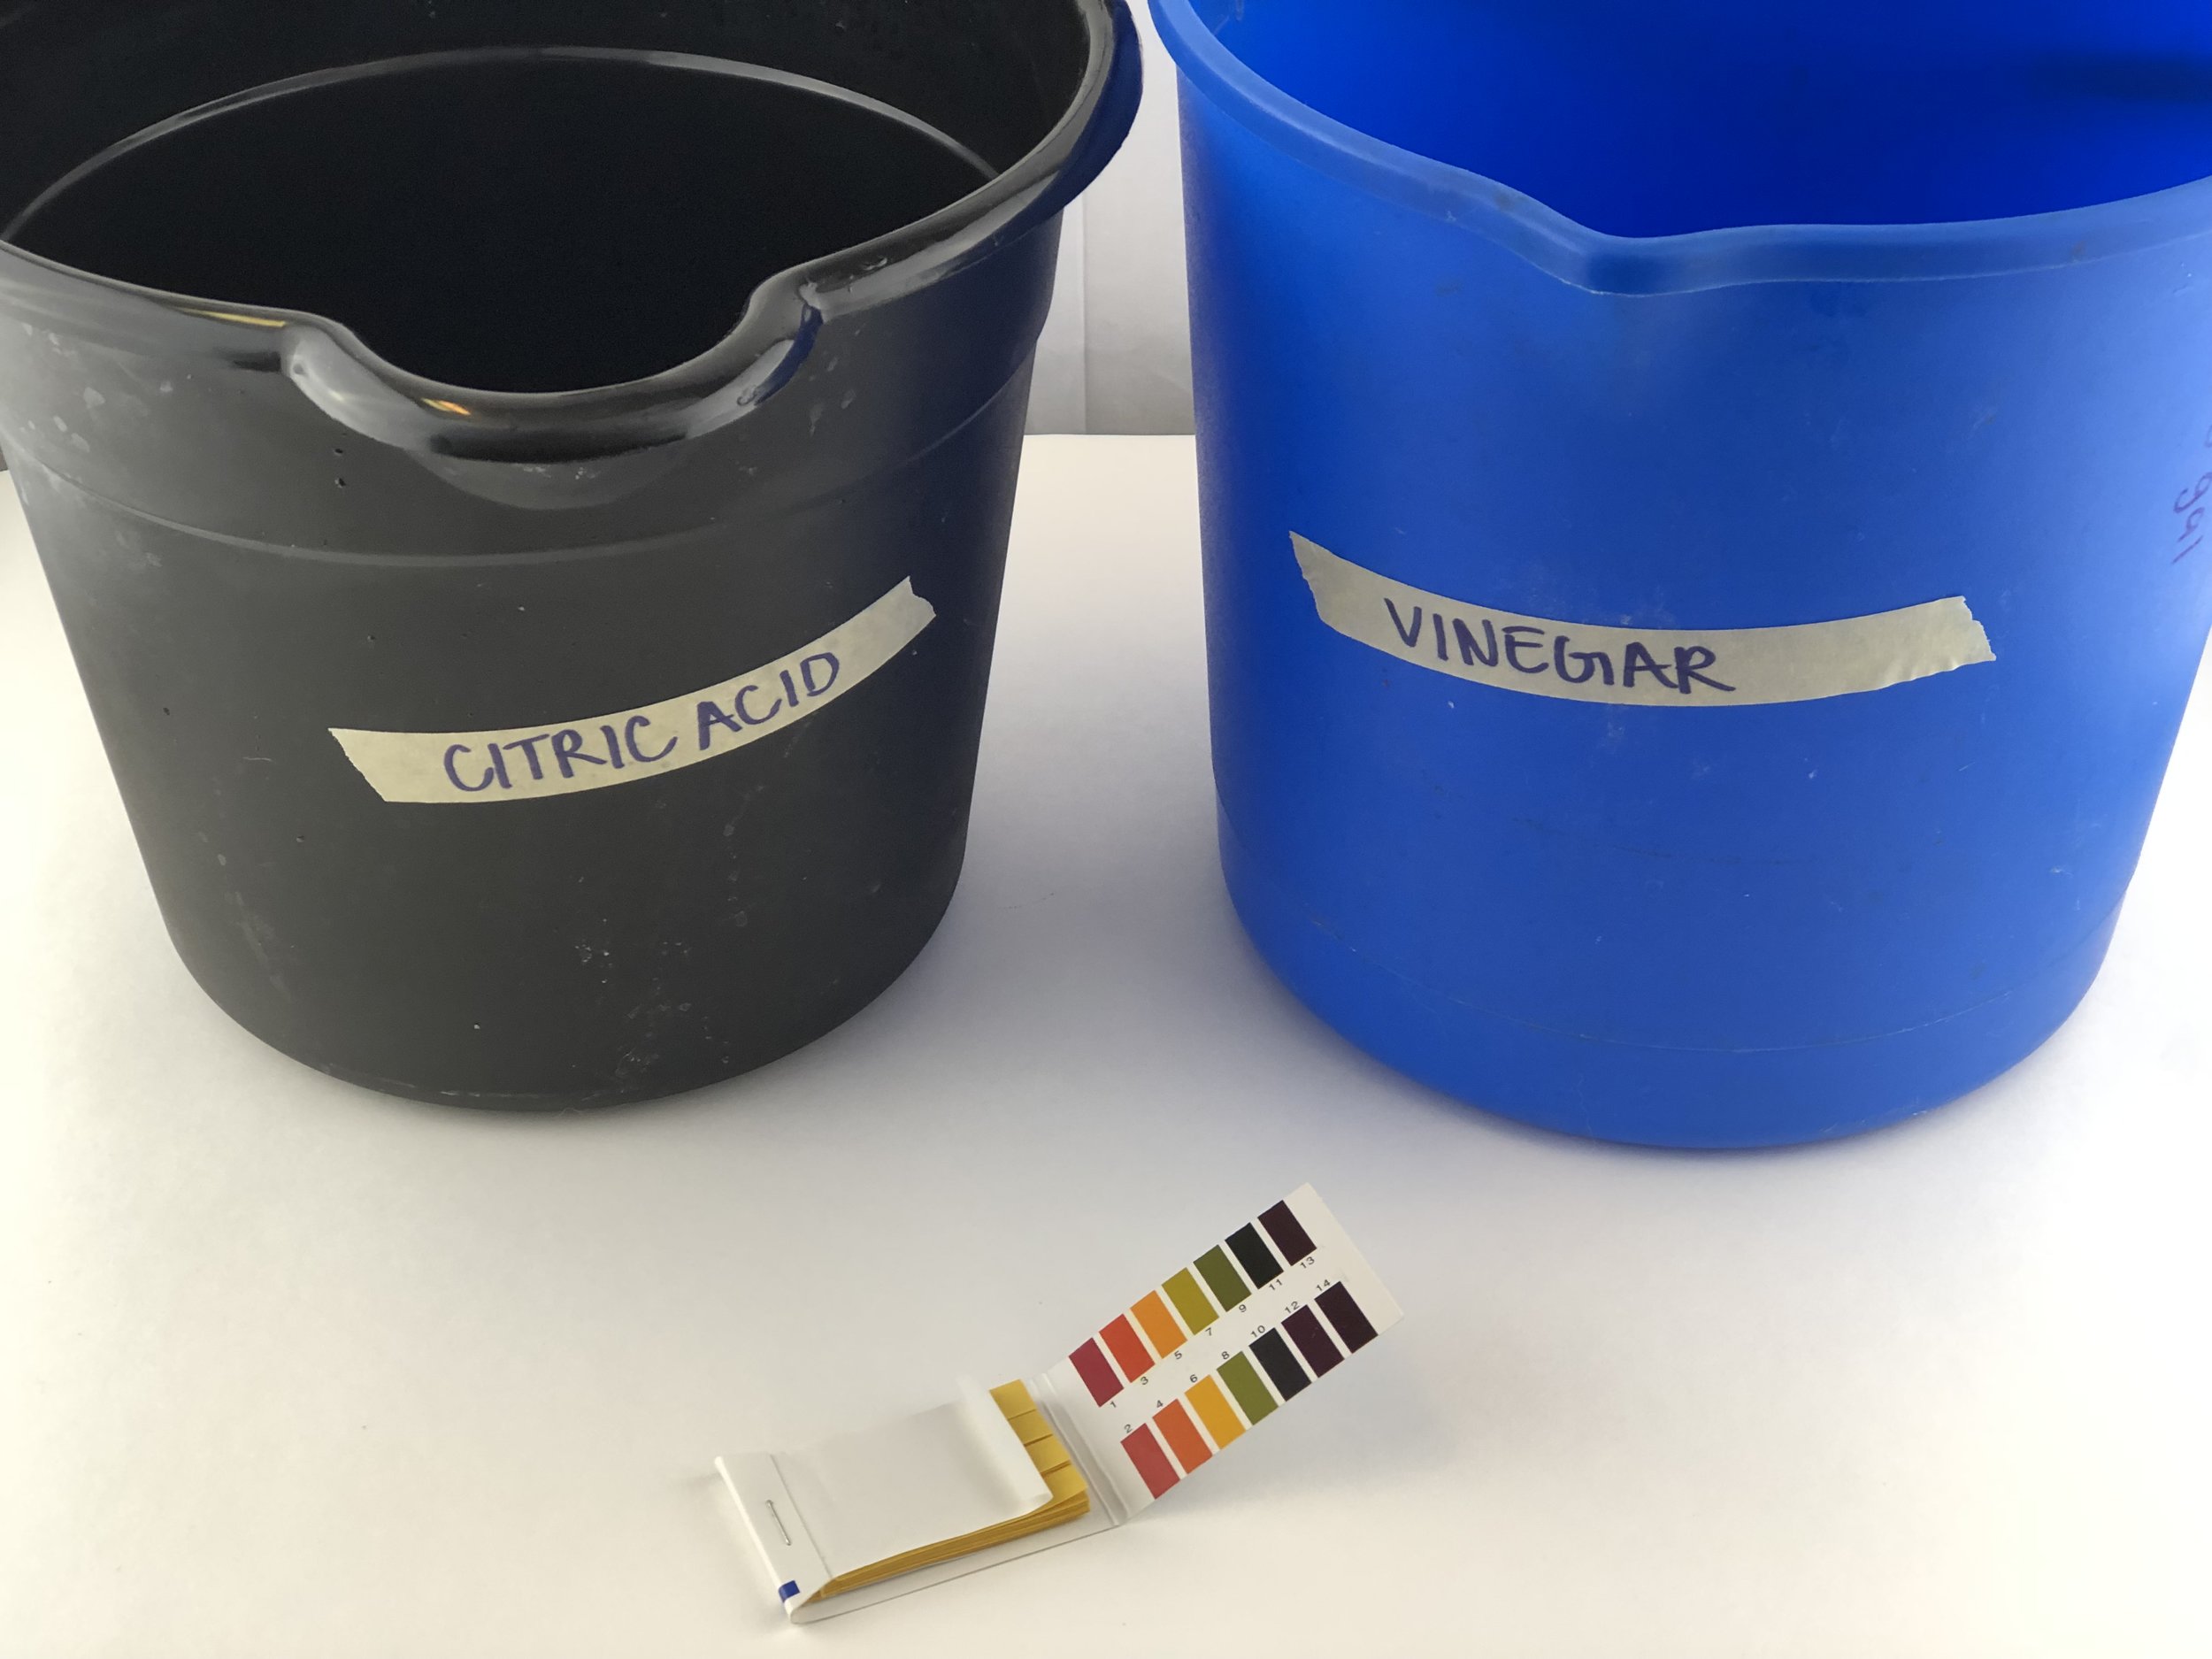
Citric Acid, Vinegar, and Urea - all chemicals needed for yarn dyeing techniques
Now here comes the fun part! Acquiring your acid and dyes. In order to dye with acid dyes you WILL NEED acid. The dye won’t chemically adhere to the protein fibers if you do not get acid. If you have seen Kool-Aid dyeing tutorials, they do not need acid because it is already included. I do not recommend dyeing yarn with Kool-Aid. Unless you are dyeing for yourself and even with that, unless you adore the smell of Kool-Aid, you will not want to dye with it. The yarn and finished project will forever smell like Kool-Aid. I just don’t recommend it. Although it can be a safe alternative for dyeing with kids, I recommend using food coloring instead (I will go over that later).
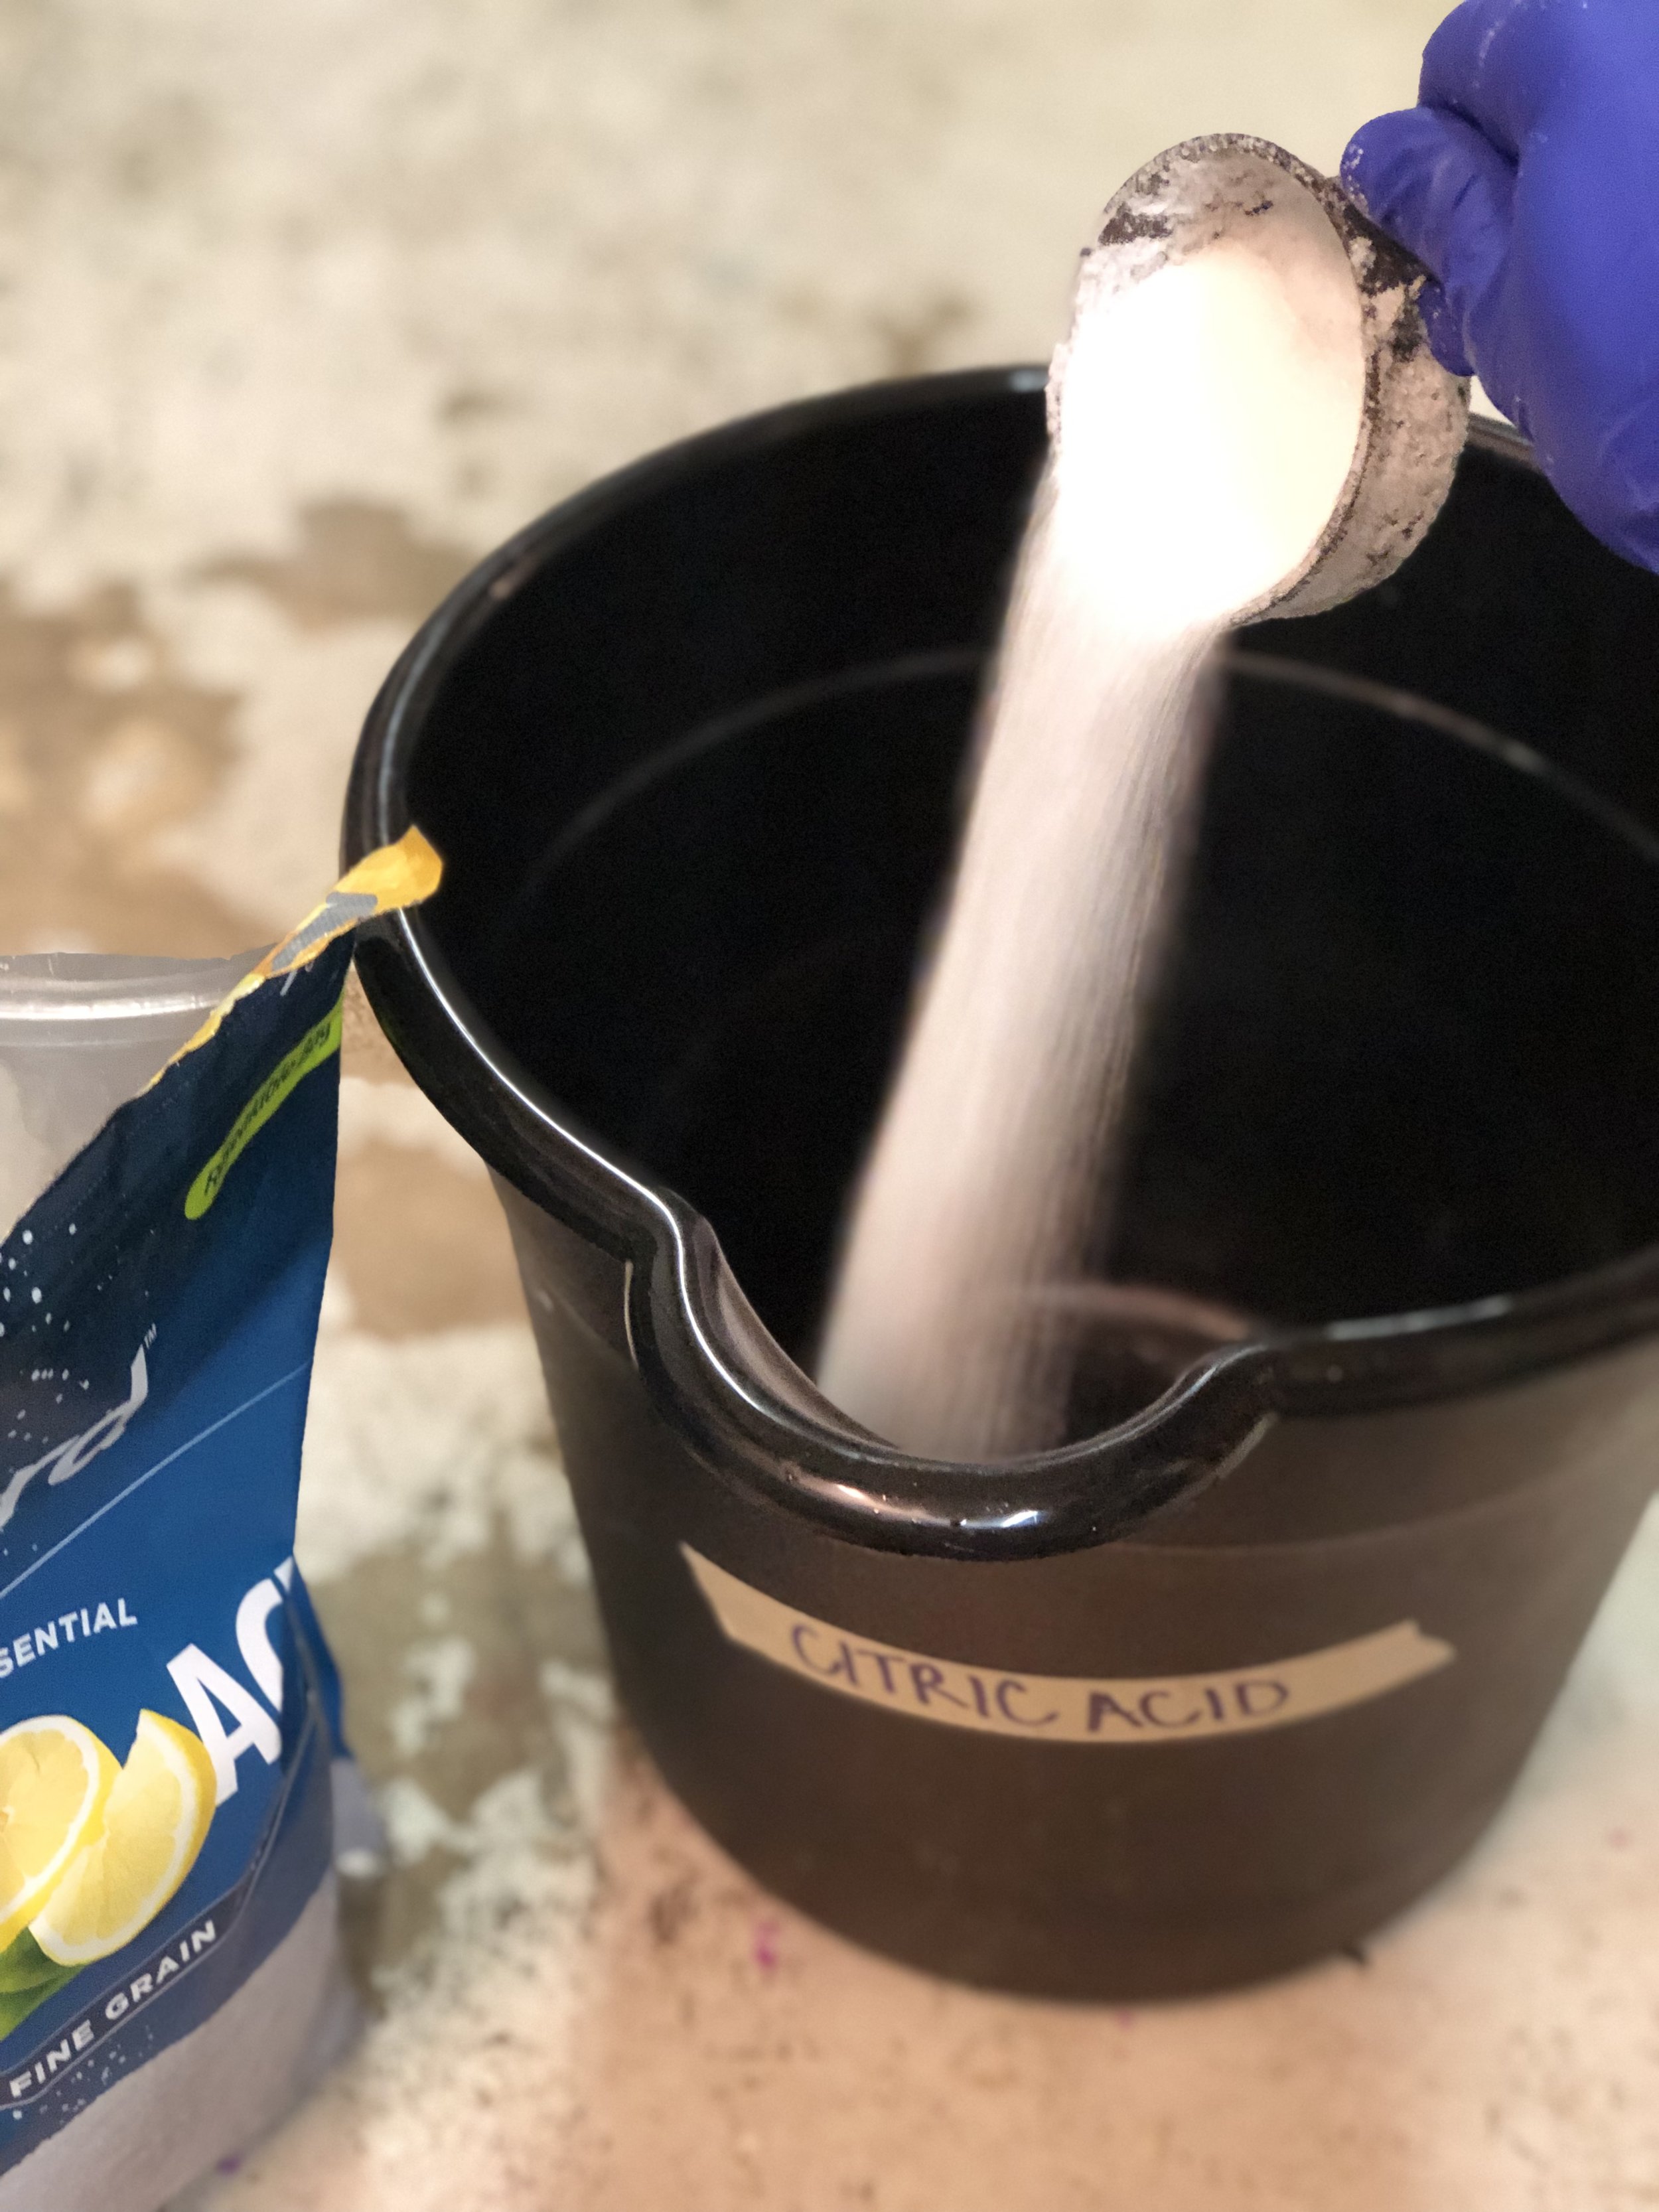
Acid: Acid is not only important, but this process simply won’t work without it. You can use WHITE DISTILLED vinegar, but it stinks and some people can’t stand the smell. In my honest opinion, citric acid is the way to go even though it is harder to find. Make sure you buy pure food grade citric acid. Blended citric acid will give you weird unrepeatable results, plus it isn’t the safest to work with. Most times you can find pure citric acid in the canning aisle of most grocery and big box stores, but i recommend buying a big bag off of Amazon like I do because buying acid in small increments gets pricy over time. If this is just a one time thing, a small batch is just fine.
Dyes: My favorite part of purchasing materials is buying the dyes! I love all the colors and it is the main reason I started dyeing. I wasn’t seeing my favorite colors in the yarn I was purchasing. There are so many places to buy acid dyes from, such as Amazon, Etsy, Dharma Trading Co., Prochemical and Dye, etc. I highly recommend Dharma Trading Co., because they offer many brands and you will have a lot to choose from.
I recommend starting with acid dyes, but you can actually use fiber reactive dyes as well. You would need to use them the same way as the acid dyes. The label will say not to use acid for the fiber reactive dyes, but that is because those dyes are mainly used for plant fibers. To dye yarn with protein fibers with those dyes, you WILL NEED ACID. The same goes for food coloring.
If children are involved in the process, which can be a fun family event, I say go with food coloring because you won’t have to worry about buying everyone a mask, you will just need one for yourself to mix the acid into the water prior to the process.
Urea: Another chemical pictured is urea. This can be purchased online through Dharma and Etsy. Please make sure you get urea intended for dying. This is optional.
I use urea for yellows and reds that are hard to dissolve, even with hot water. This is something I will go over later. Again, please note that urea is not required, although I highly recommend it so you don’t have color spots on the yarn when dyeing with yellows and reds.
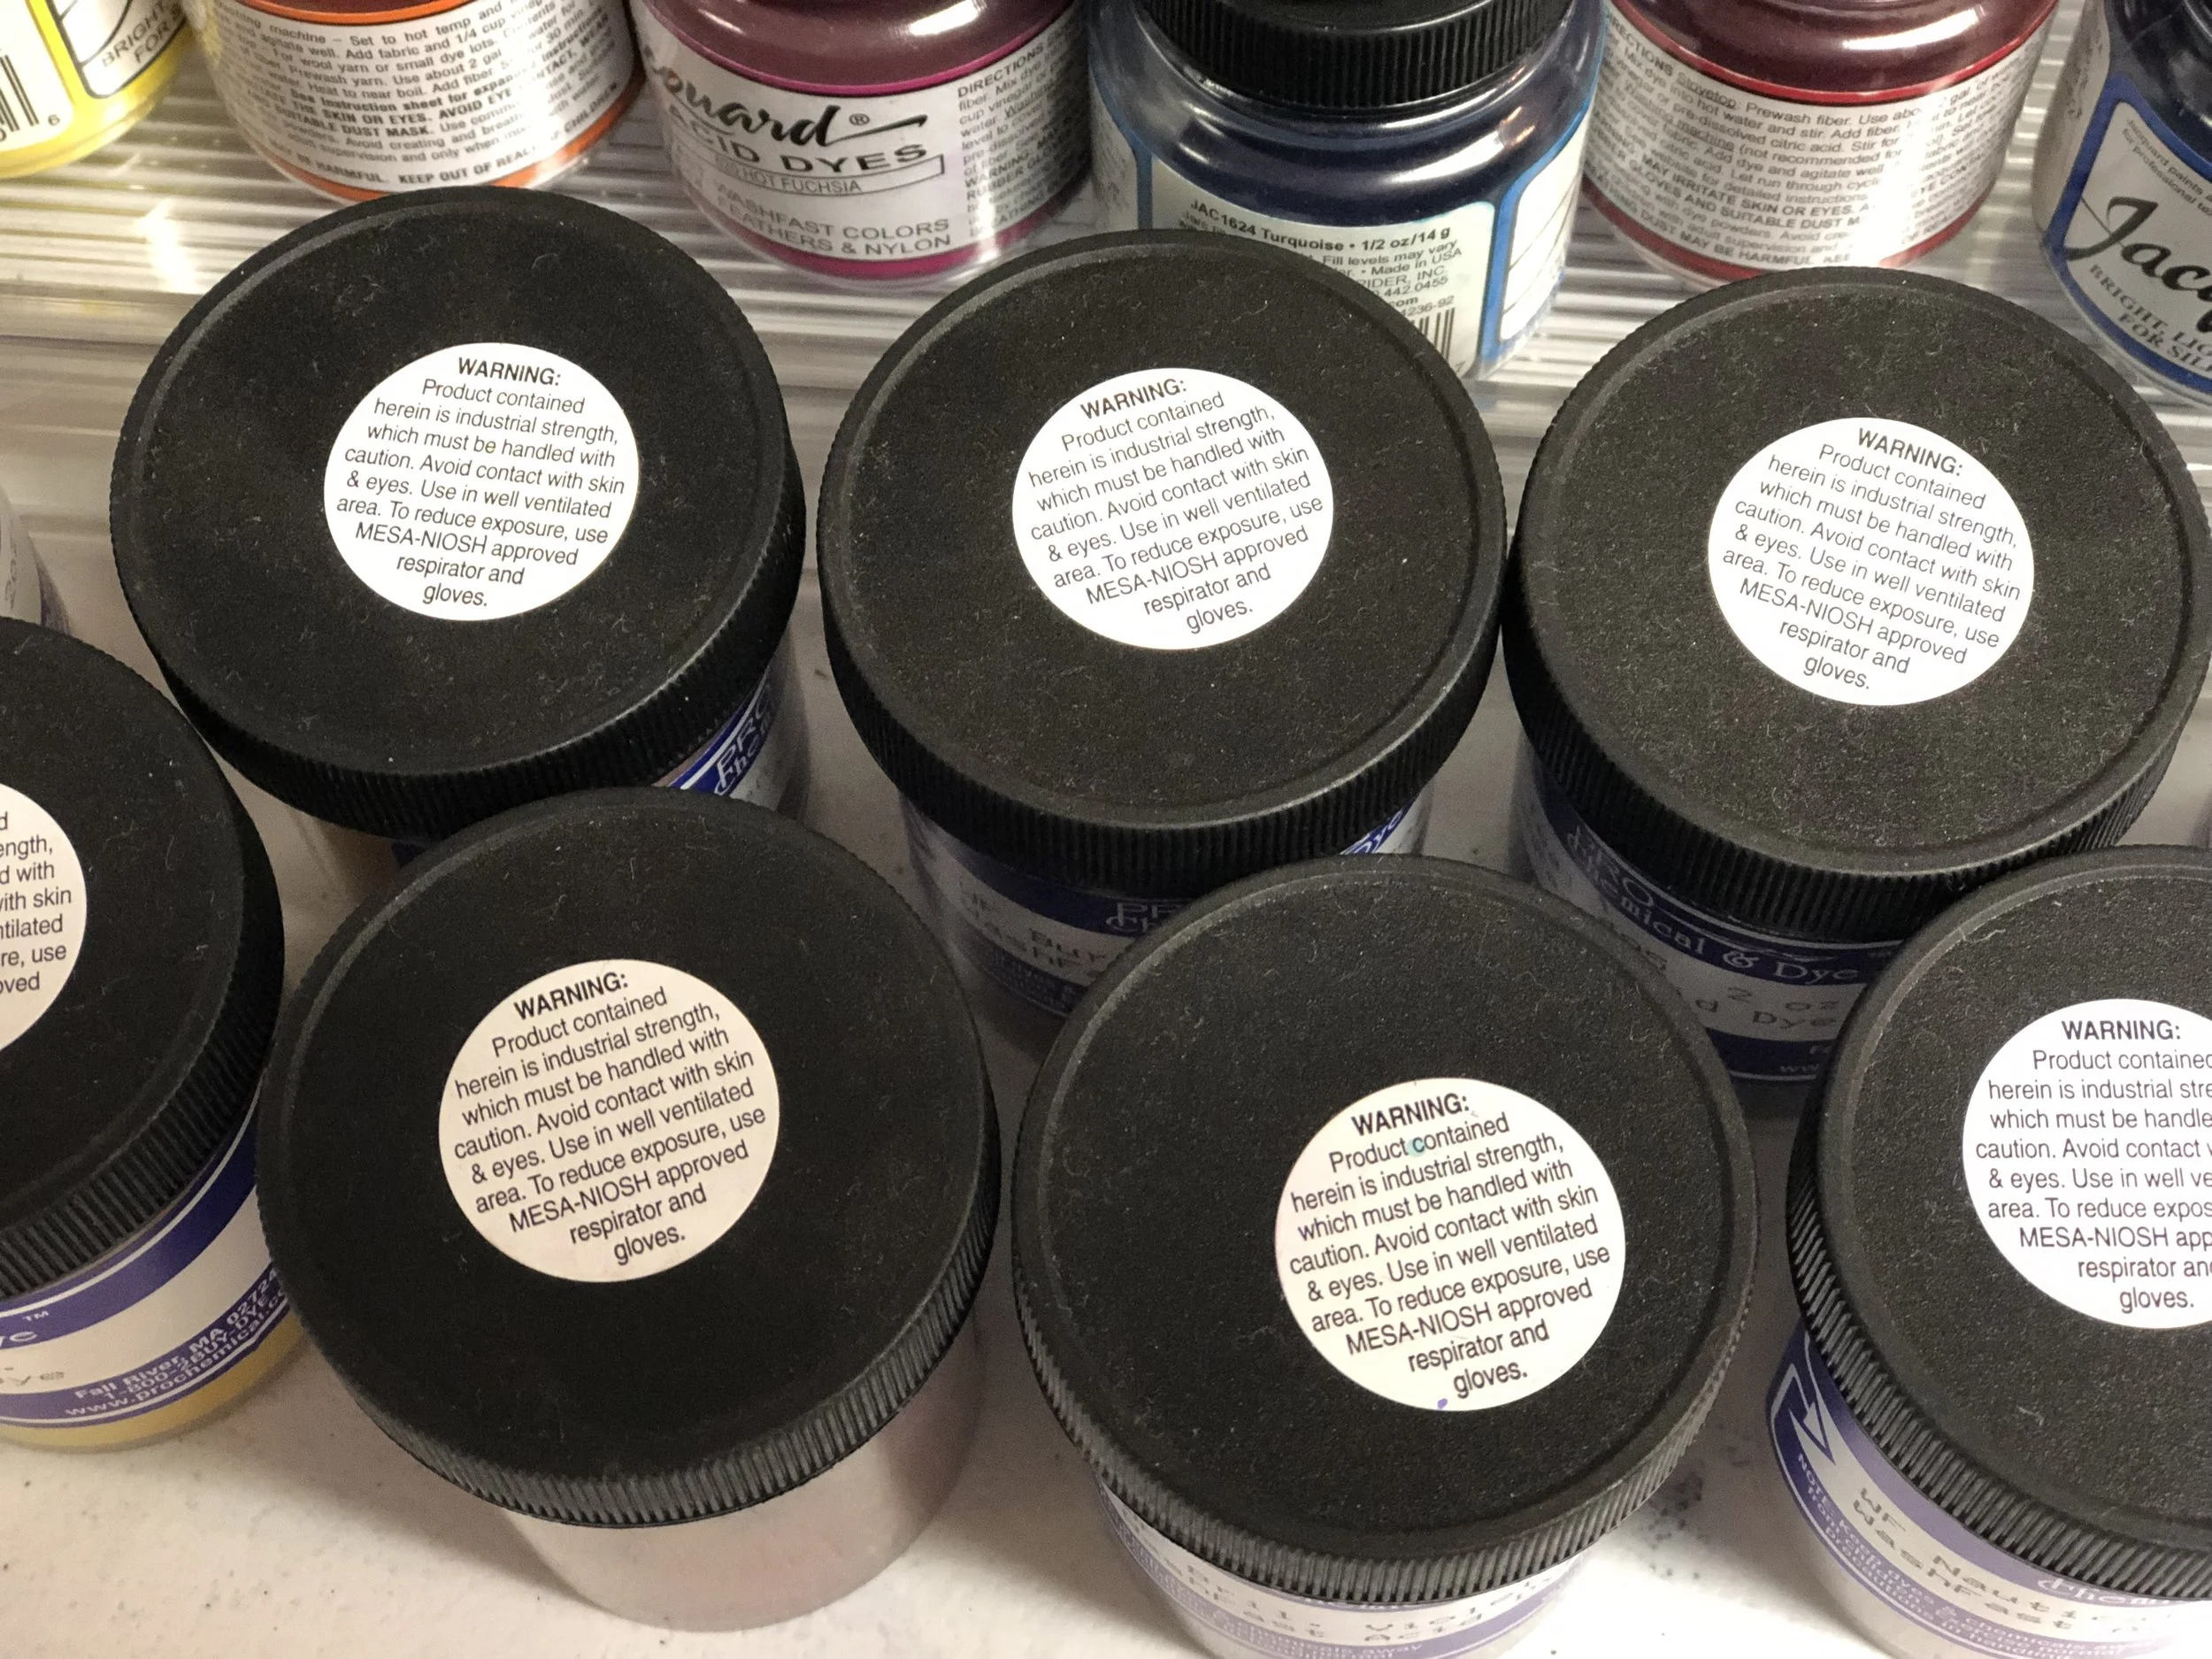
Lastly, and I cannot stress this enough, safety is the most important part of this process. Please do not mix acid or dyes without your mask on. Although food grade acid is not harmful on its own, small particles can get trapped in your lungs and can make even the most seasoned of dyers give up a career they once loved for health reasons.
Also, the dyes are sometimes made with all kinds of metals and chemicals and you WILL NEED your particulate mask on whenever the cap to the dye is open. I am serious. You only get one set of lungs and although it can be tedious to keep putting a mask on and off, it is very, very important.
Please read all safety labels on the dyes and acid. Please also take the time to read any material and safety data sheets (MSDS) prior to your purchase of these materials because you never know if one or more of these materials contains a chemical you or someone working with you may be allergic too. I always say read labels 3 times, dye once.
Yarn Materials
Who is ready for the most exciting and last part of this materials purchasing venture?! I am. Yarn is so fun to buy! You can purchase yarn from sooo many places. Most commonly dyers purchase from Wool 2 Dye 4, Yarn Undyed, Dyer Supplier, and Knit Picks.
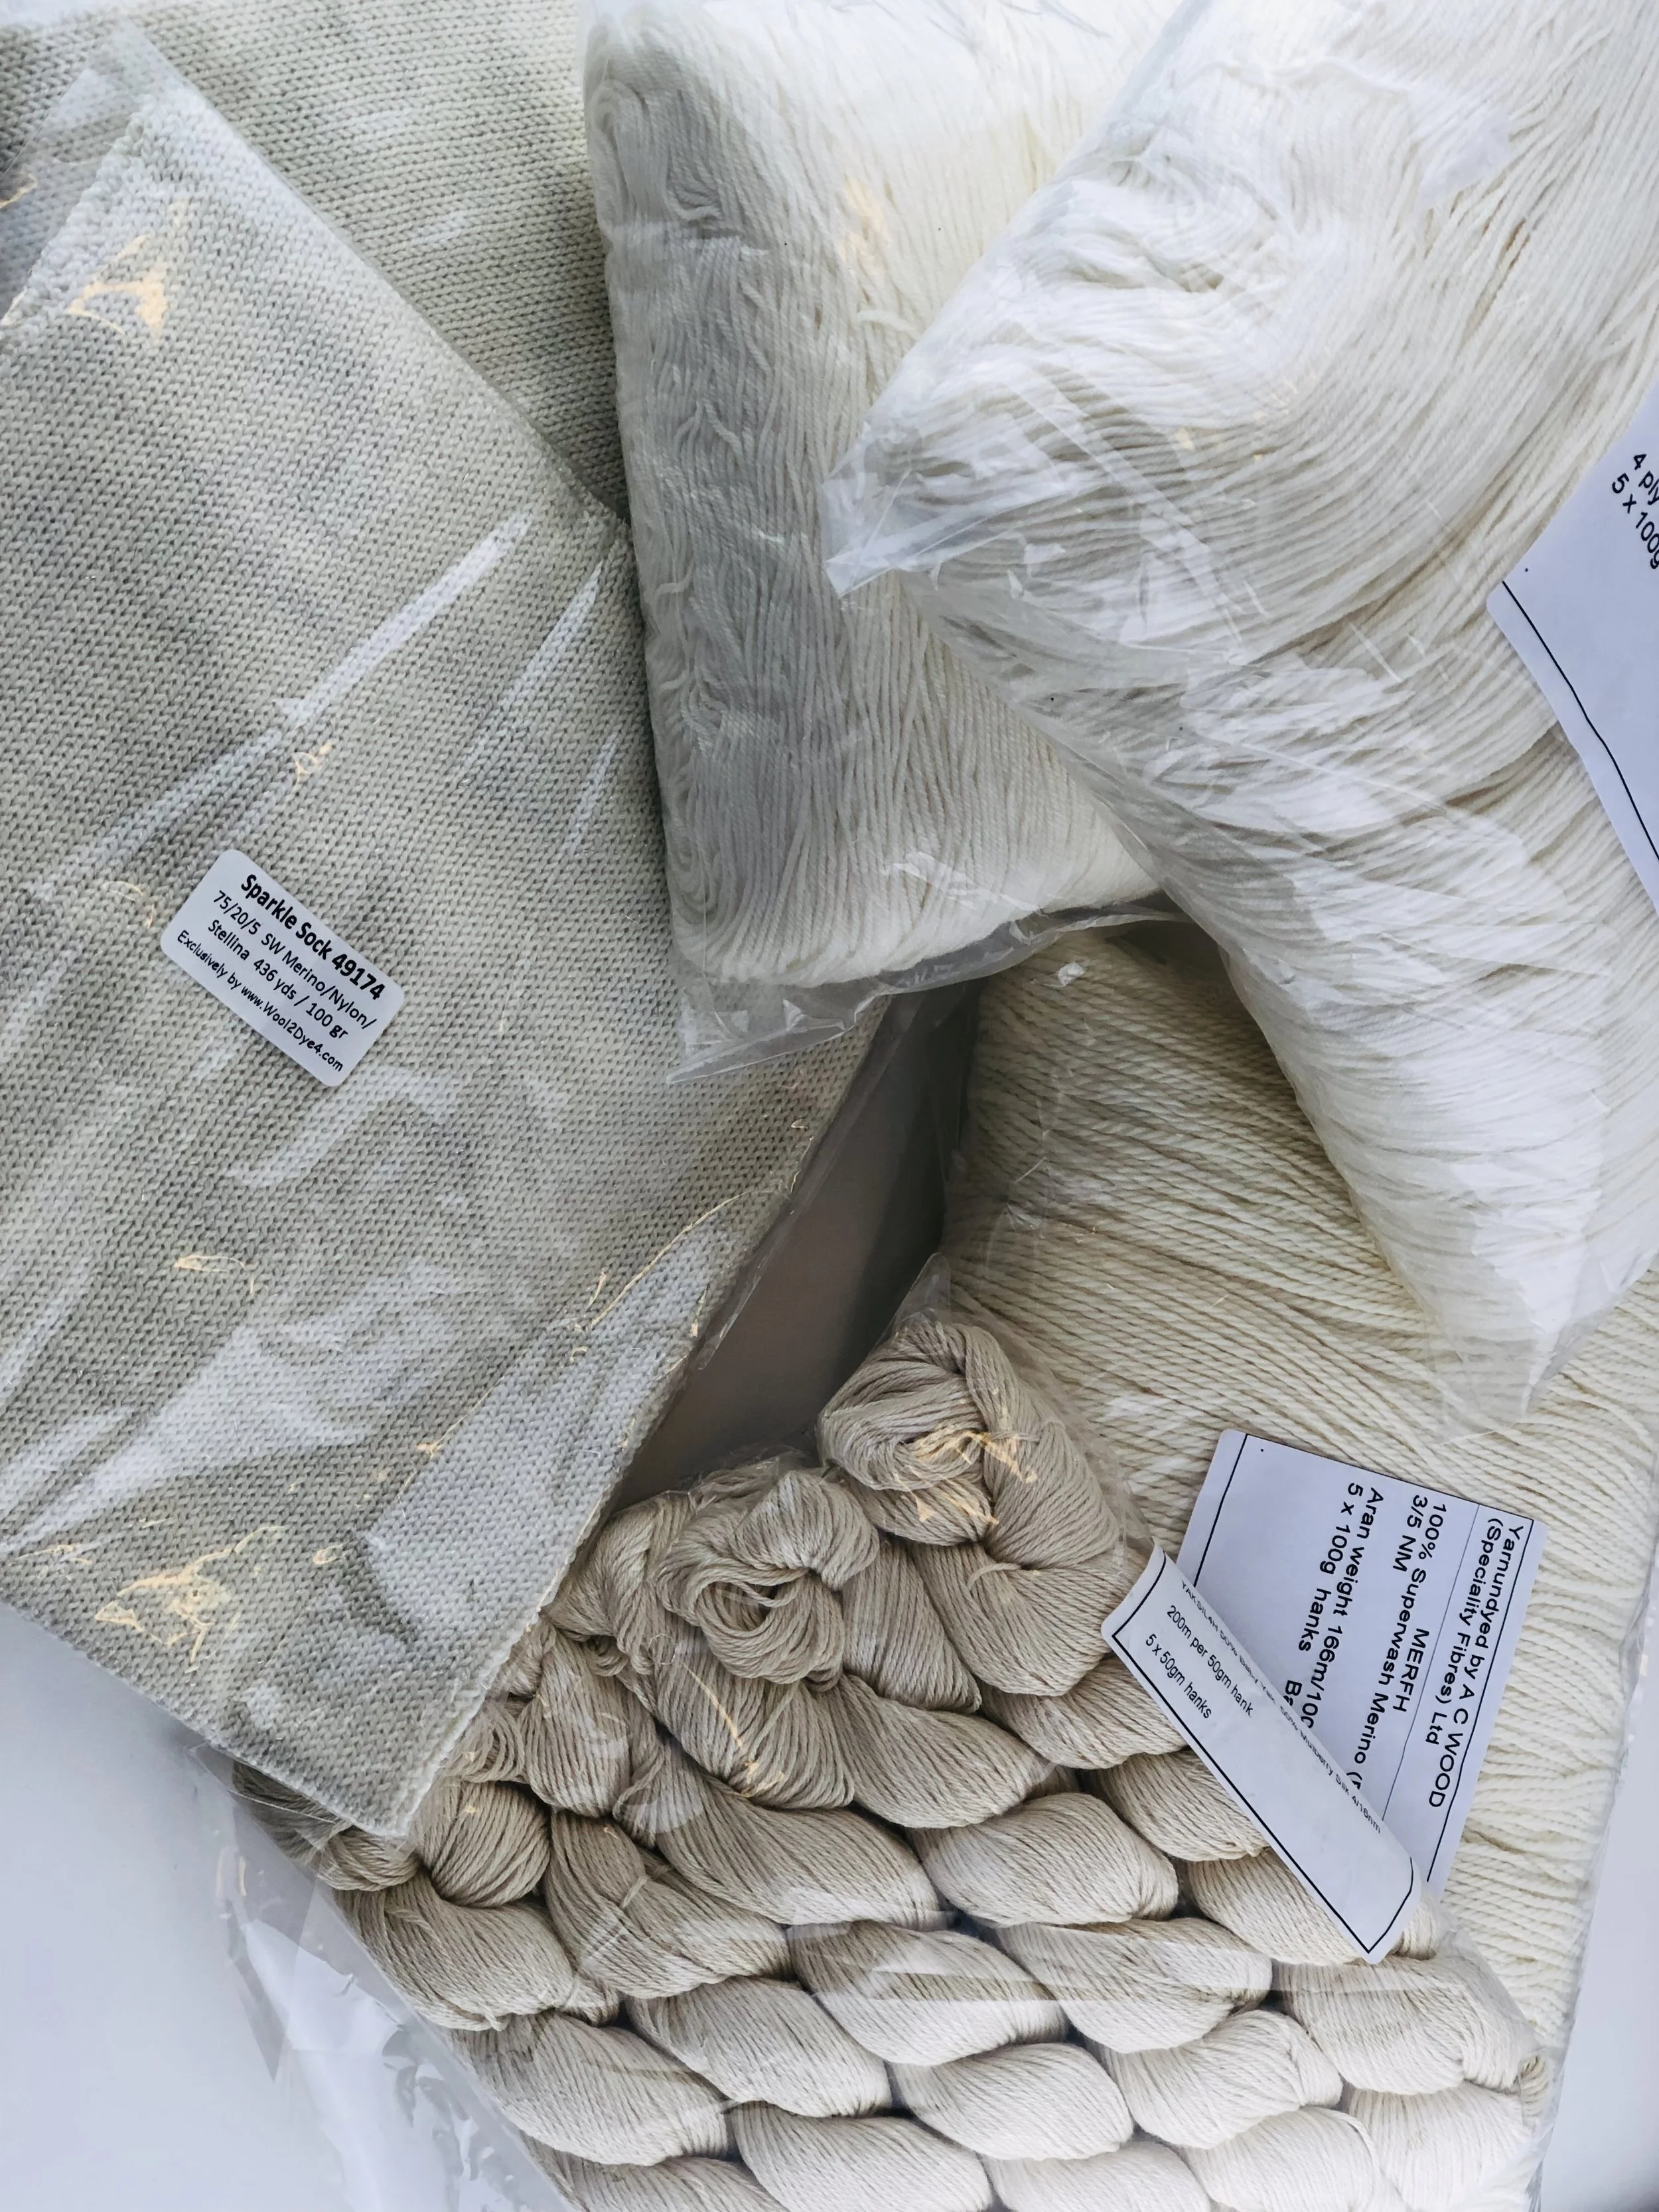
Honestly, if this is your first time and you just can’t wait, you can go to any craft store and purchase wool. MAKE SURE that the yarn you are purchasing is at least 60% wool or you will not get the results you desire. Acrylic yarn WILL NOT WORK. I have to stress this because I made this mistake when I first started dyeing. It’ll take the color when wet, but when you wash it out, you might even cry from all the hours of lost work. Any protein fiber will work and even nylon, as it tends to dye as a protein fiber.
If you must go to a craft store instead of purchasing online, I suggest the brand Patons and also Lion Brand Fisherman’s wool. Lion Brand sells mostly acrylic so make sure you read the label to ensure that it is at least 60% wool. Silk is also great! It needs more dye but yields beautiful results. Allergic to wool? No problem! You can also use alpaca, yak, camel, and really any protein (animal) fiber will work. Wool just happens to be the easiest to acquire and often times is white or lighter in color so it yields the brightest, most saturated dyeing results.
Also, when buying yarn you will see options for superwash versus non-superwash. What is the difference? Regular yarn (non-superwash) is untreated and in its natural state. Superwash has been treated and the scales of the fibers have been removed to open up the fibers so it is easier for the dye to penetrate. The scales left in natural yarn can make it easy to felt when dyeing and washing and can also make for less bright yarn so if you are a beginner, I suggest going the superwash route and then moving to non once you get a little more confident. Before you start the next step, PUT ON YOUR GLOVES AND MASK AND DON’T TAKE THEM OFF UNTIL ALL YOU ARE FINISHED APPLYING DYE TO THE YARN!!!
Step 2: Citric Acid and Testing PH
I keep saying this but acid really is the most important part of this process. While heat and acid together are what activate the dyes, but without the acid the dye will not adhere. In my opinion, adding acid and testing pH go hand in hand. Sure, you can add a guessed amount without testing the pH but your results will not be repeatable. Plus, it will be harder to exhaust the dye without having correct measurements and it will add on extra hours of trying to reset the dye. Measure 3 times, dye once.
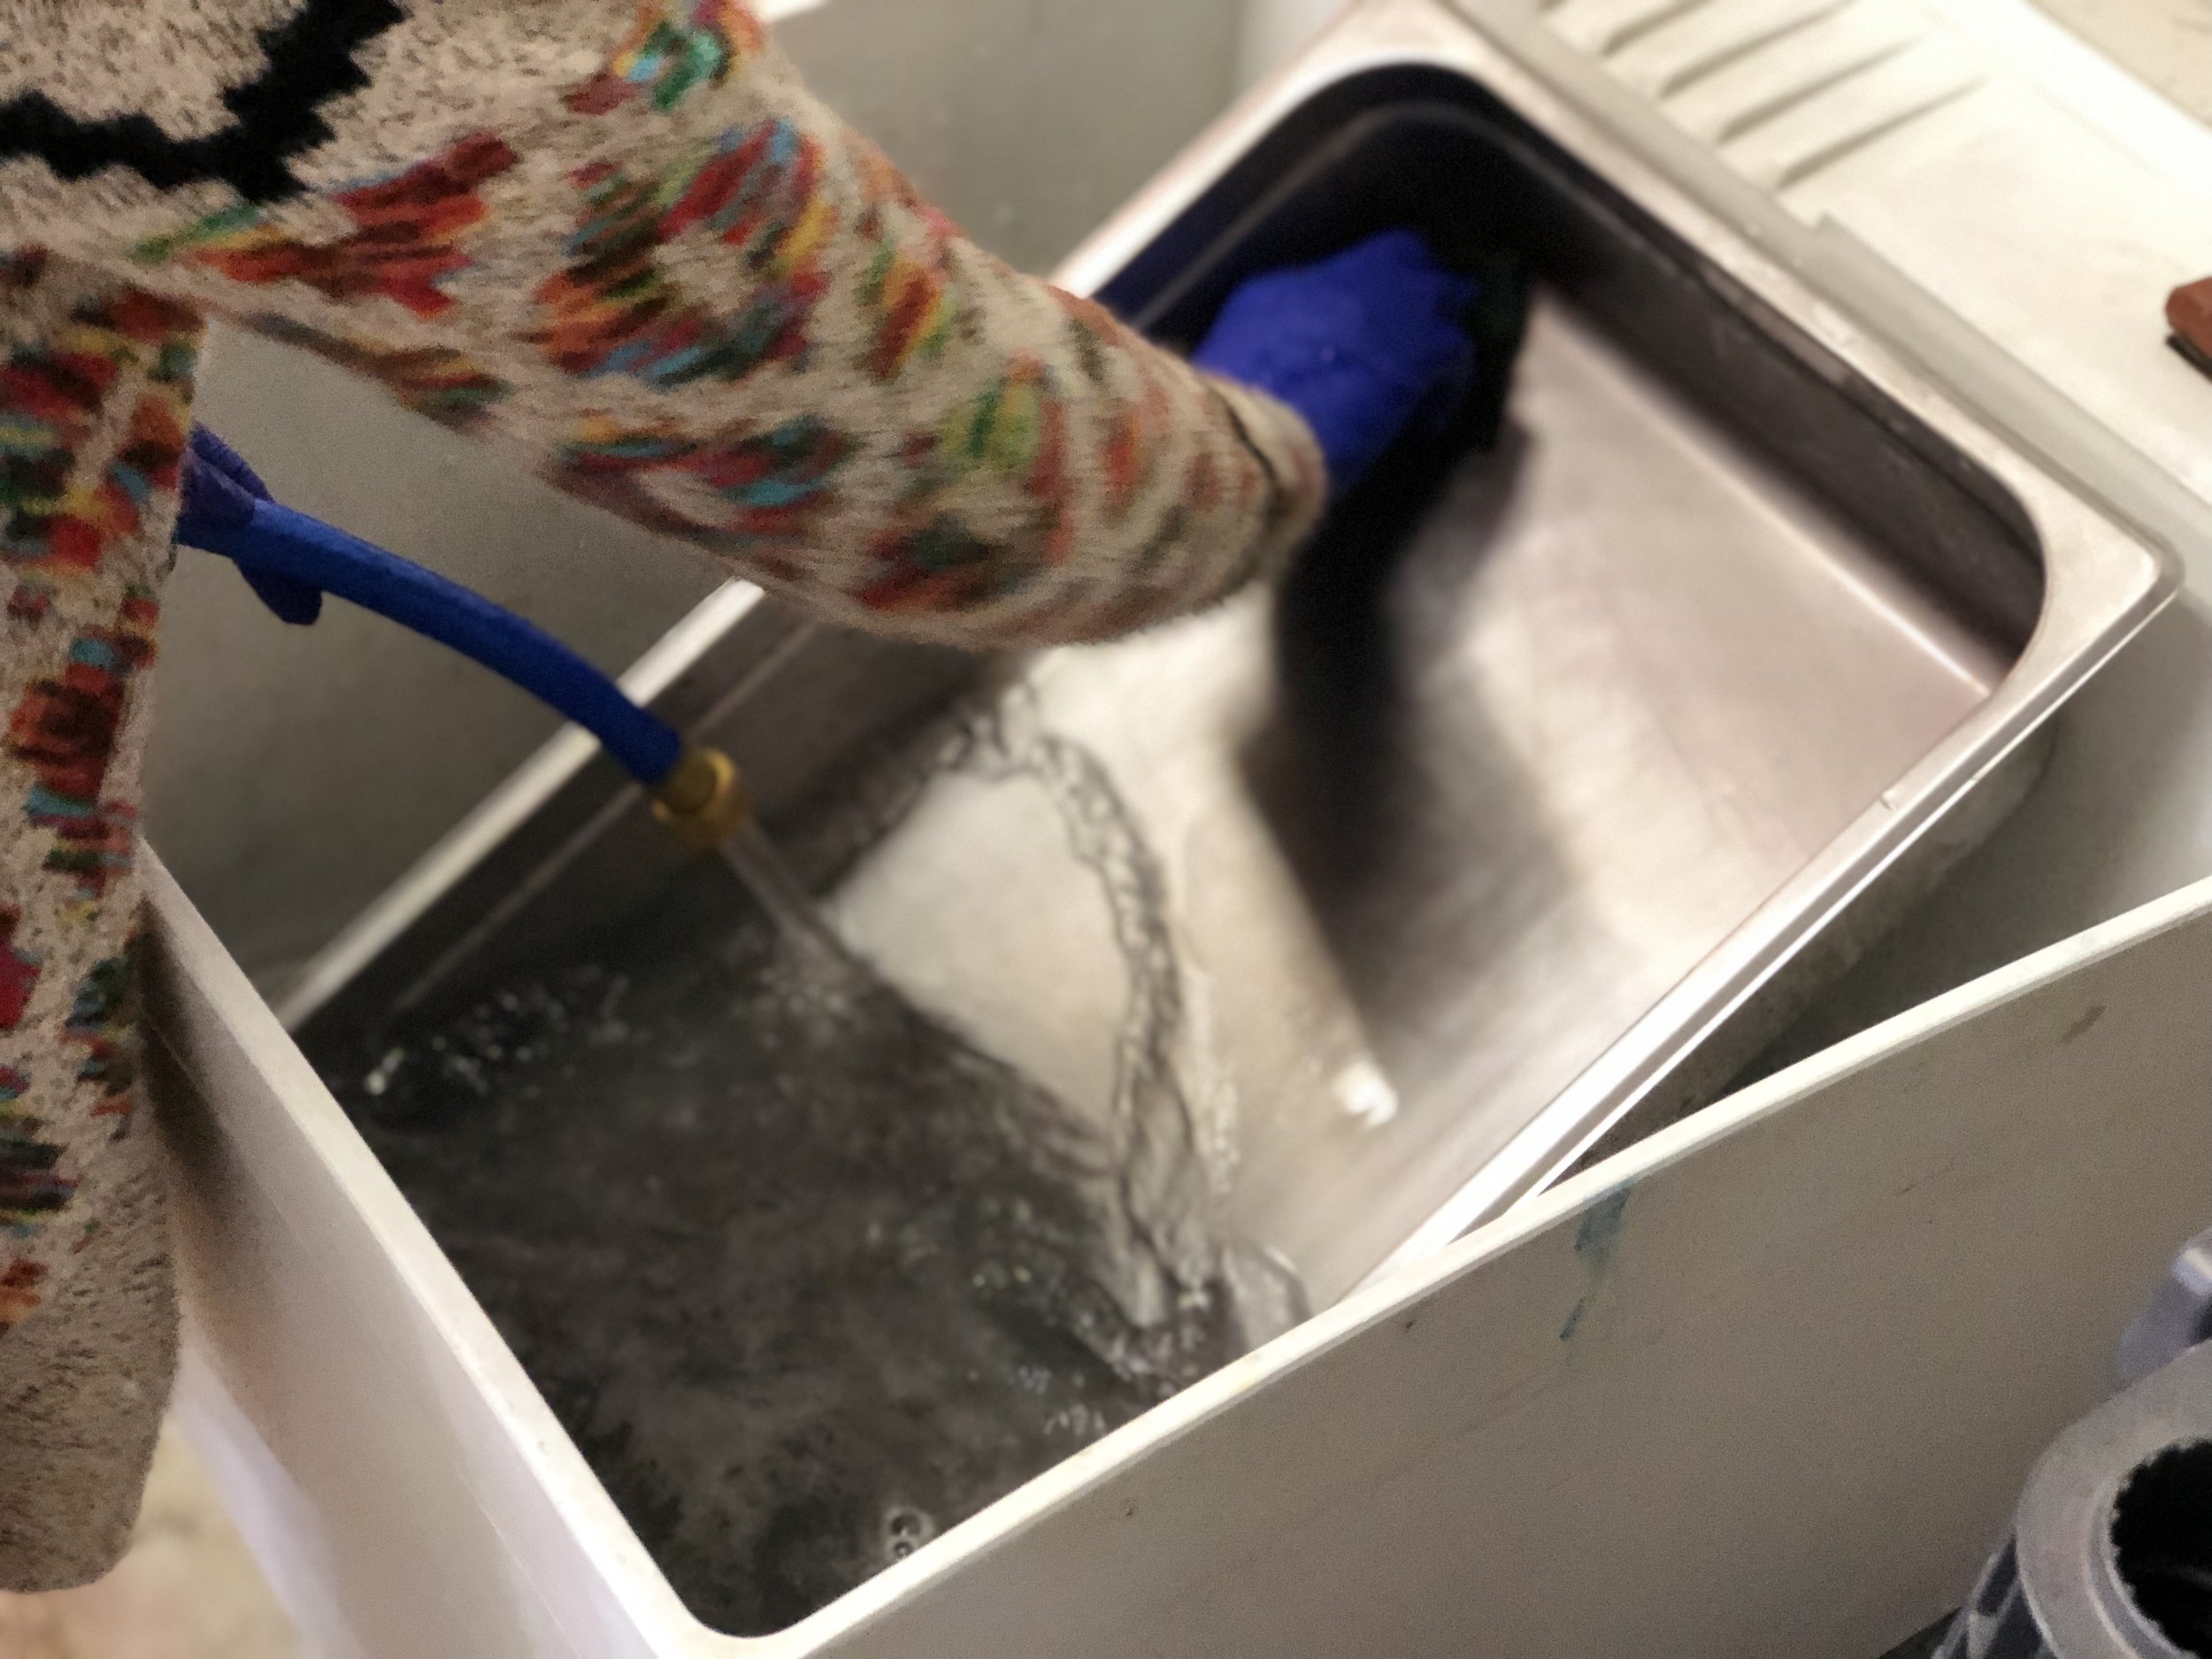
So in order to know how much acid you will need you will have to test your water first. I personally recommend a filtered hose if you can make that work with your set up because it already gives you a good start by providing neutral water. Your water can be more acidic or basic depending on where in the world you live.
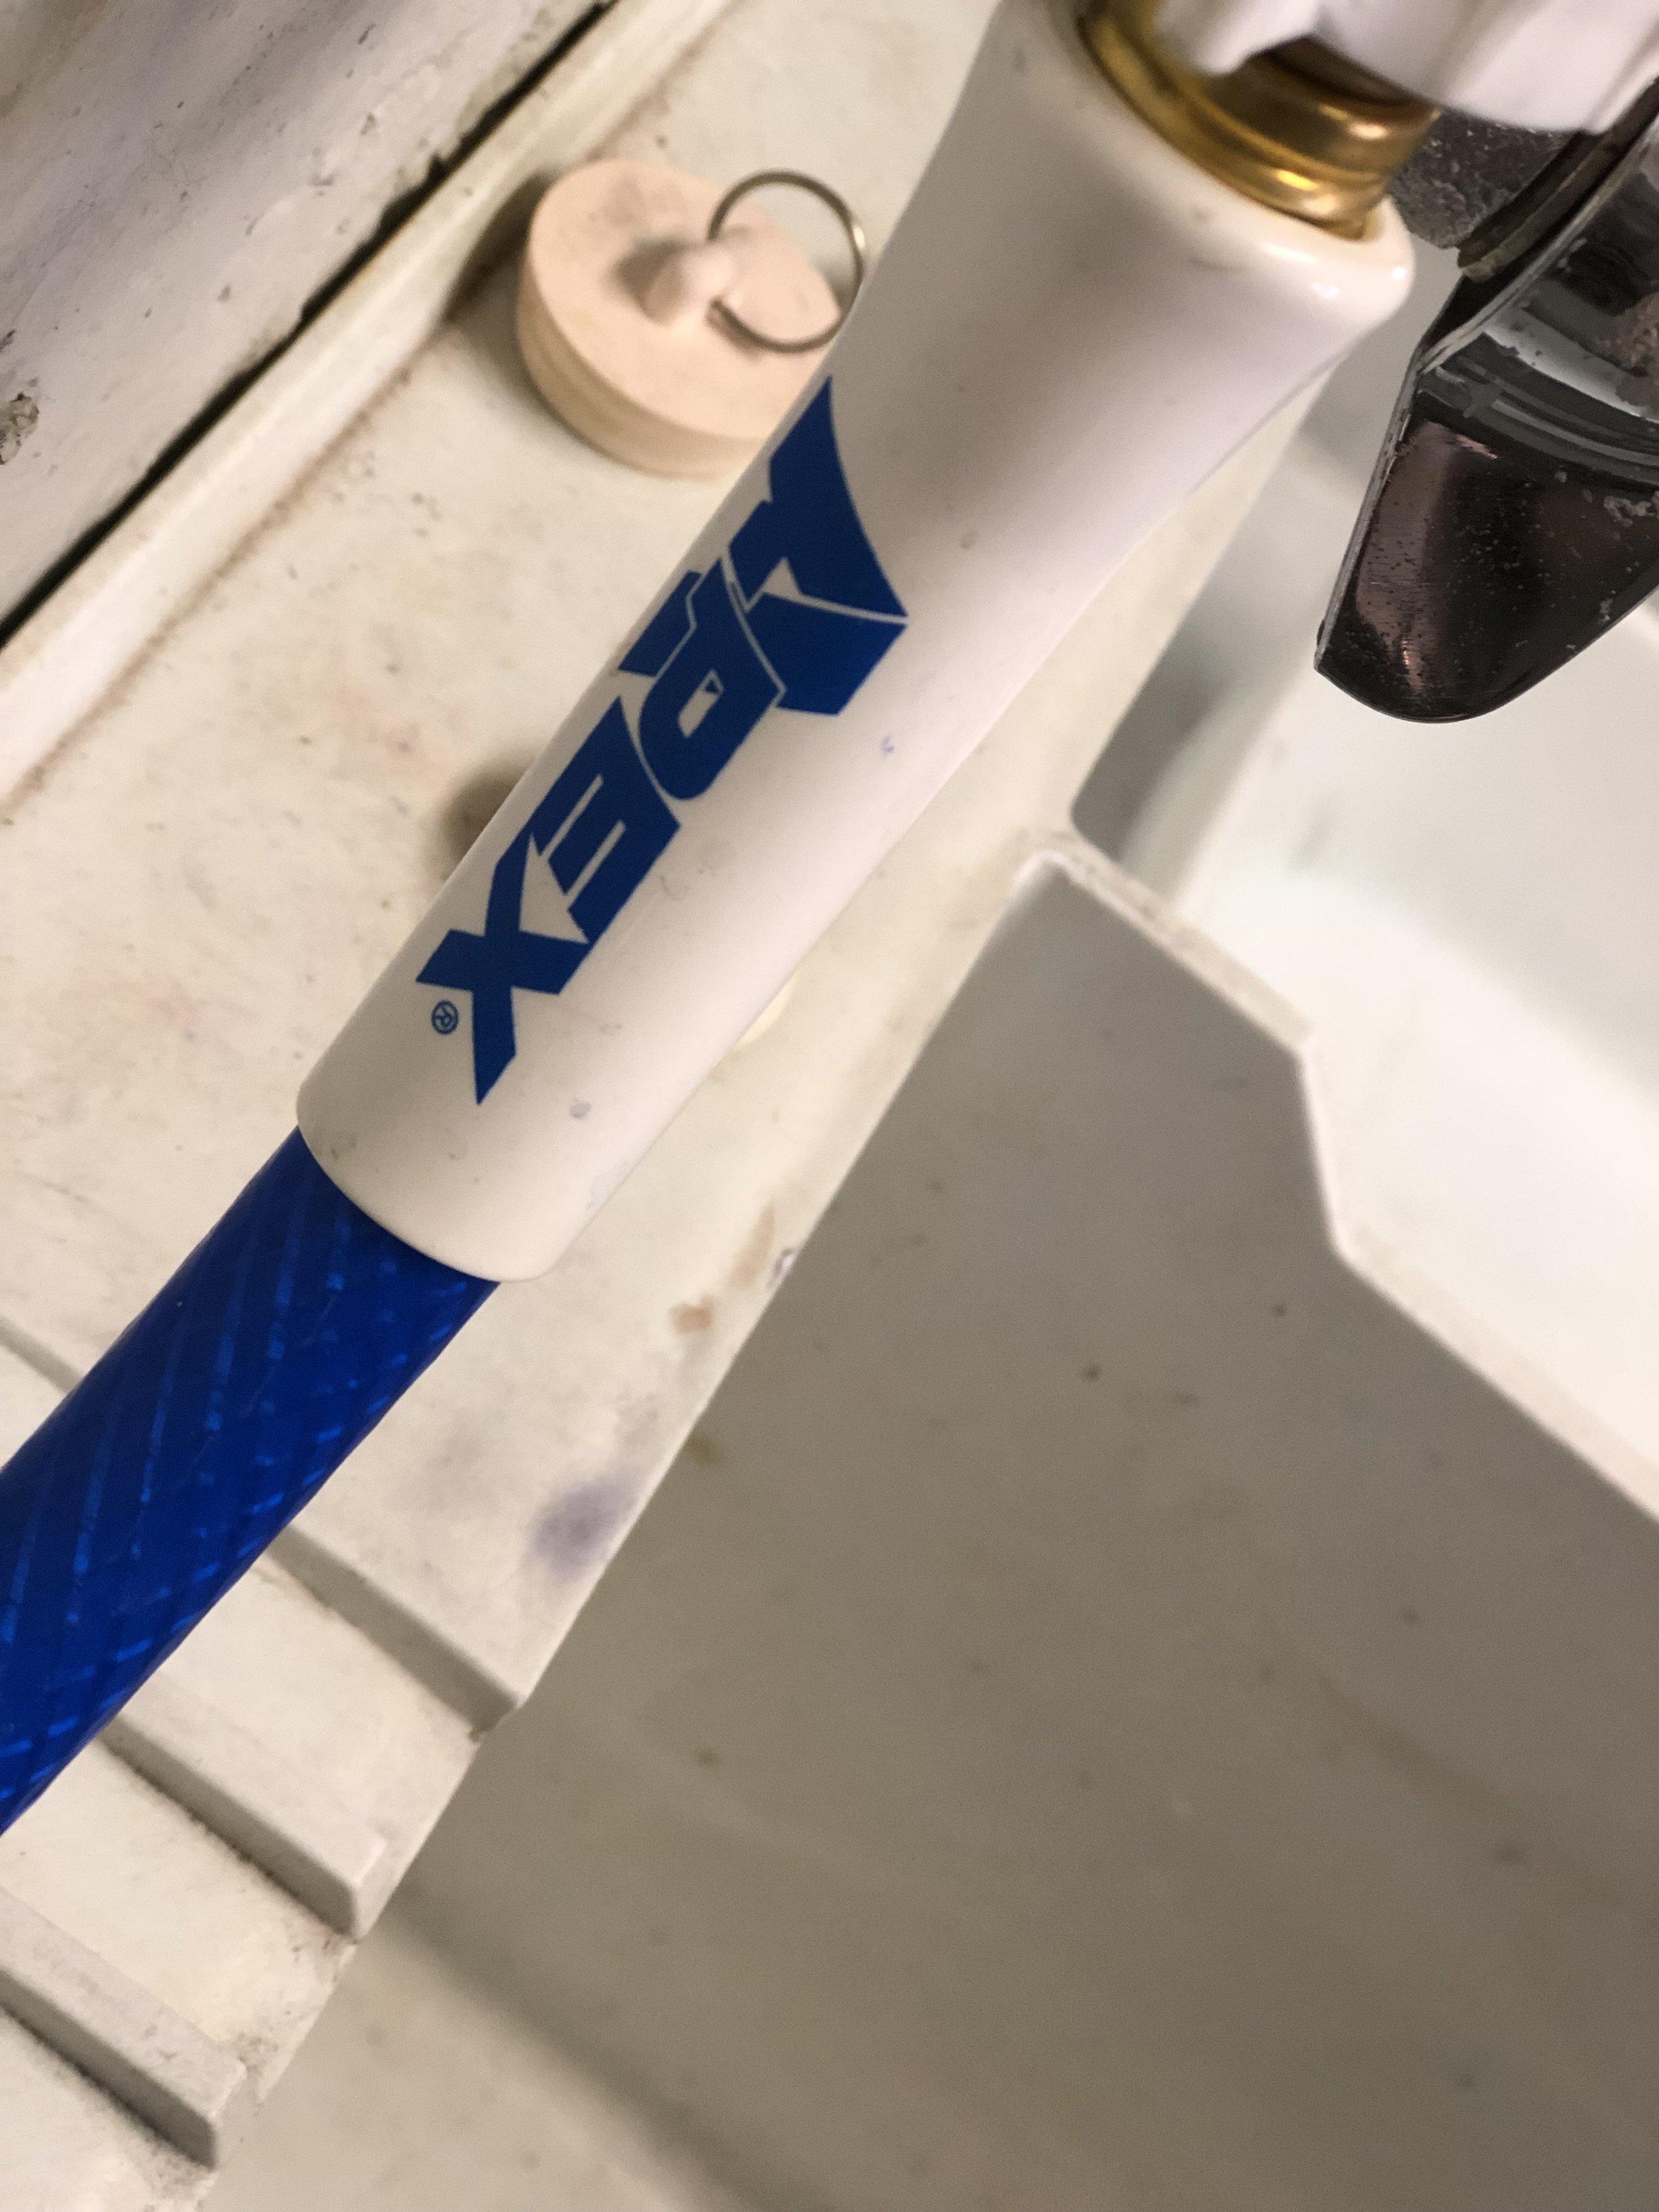
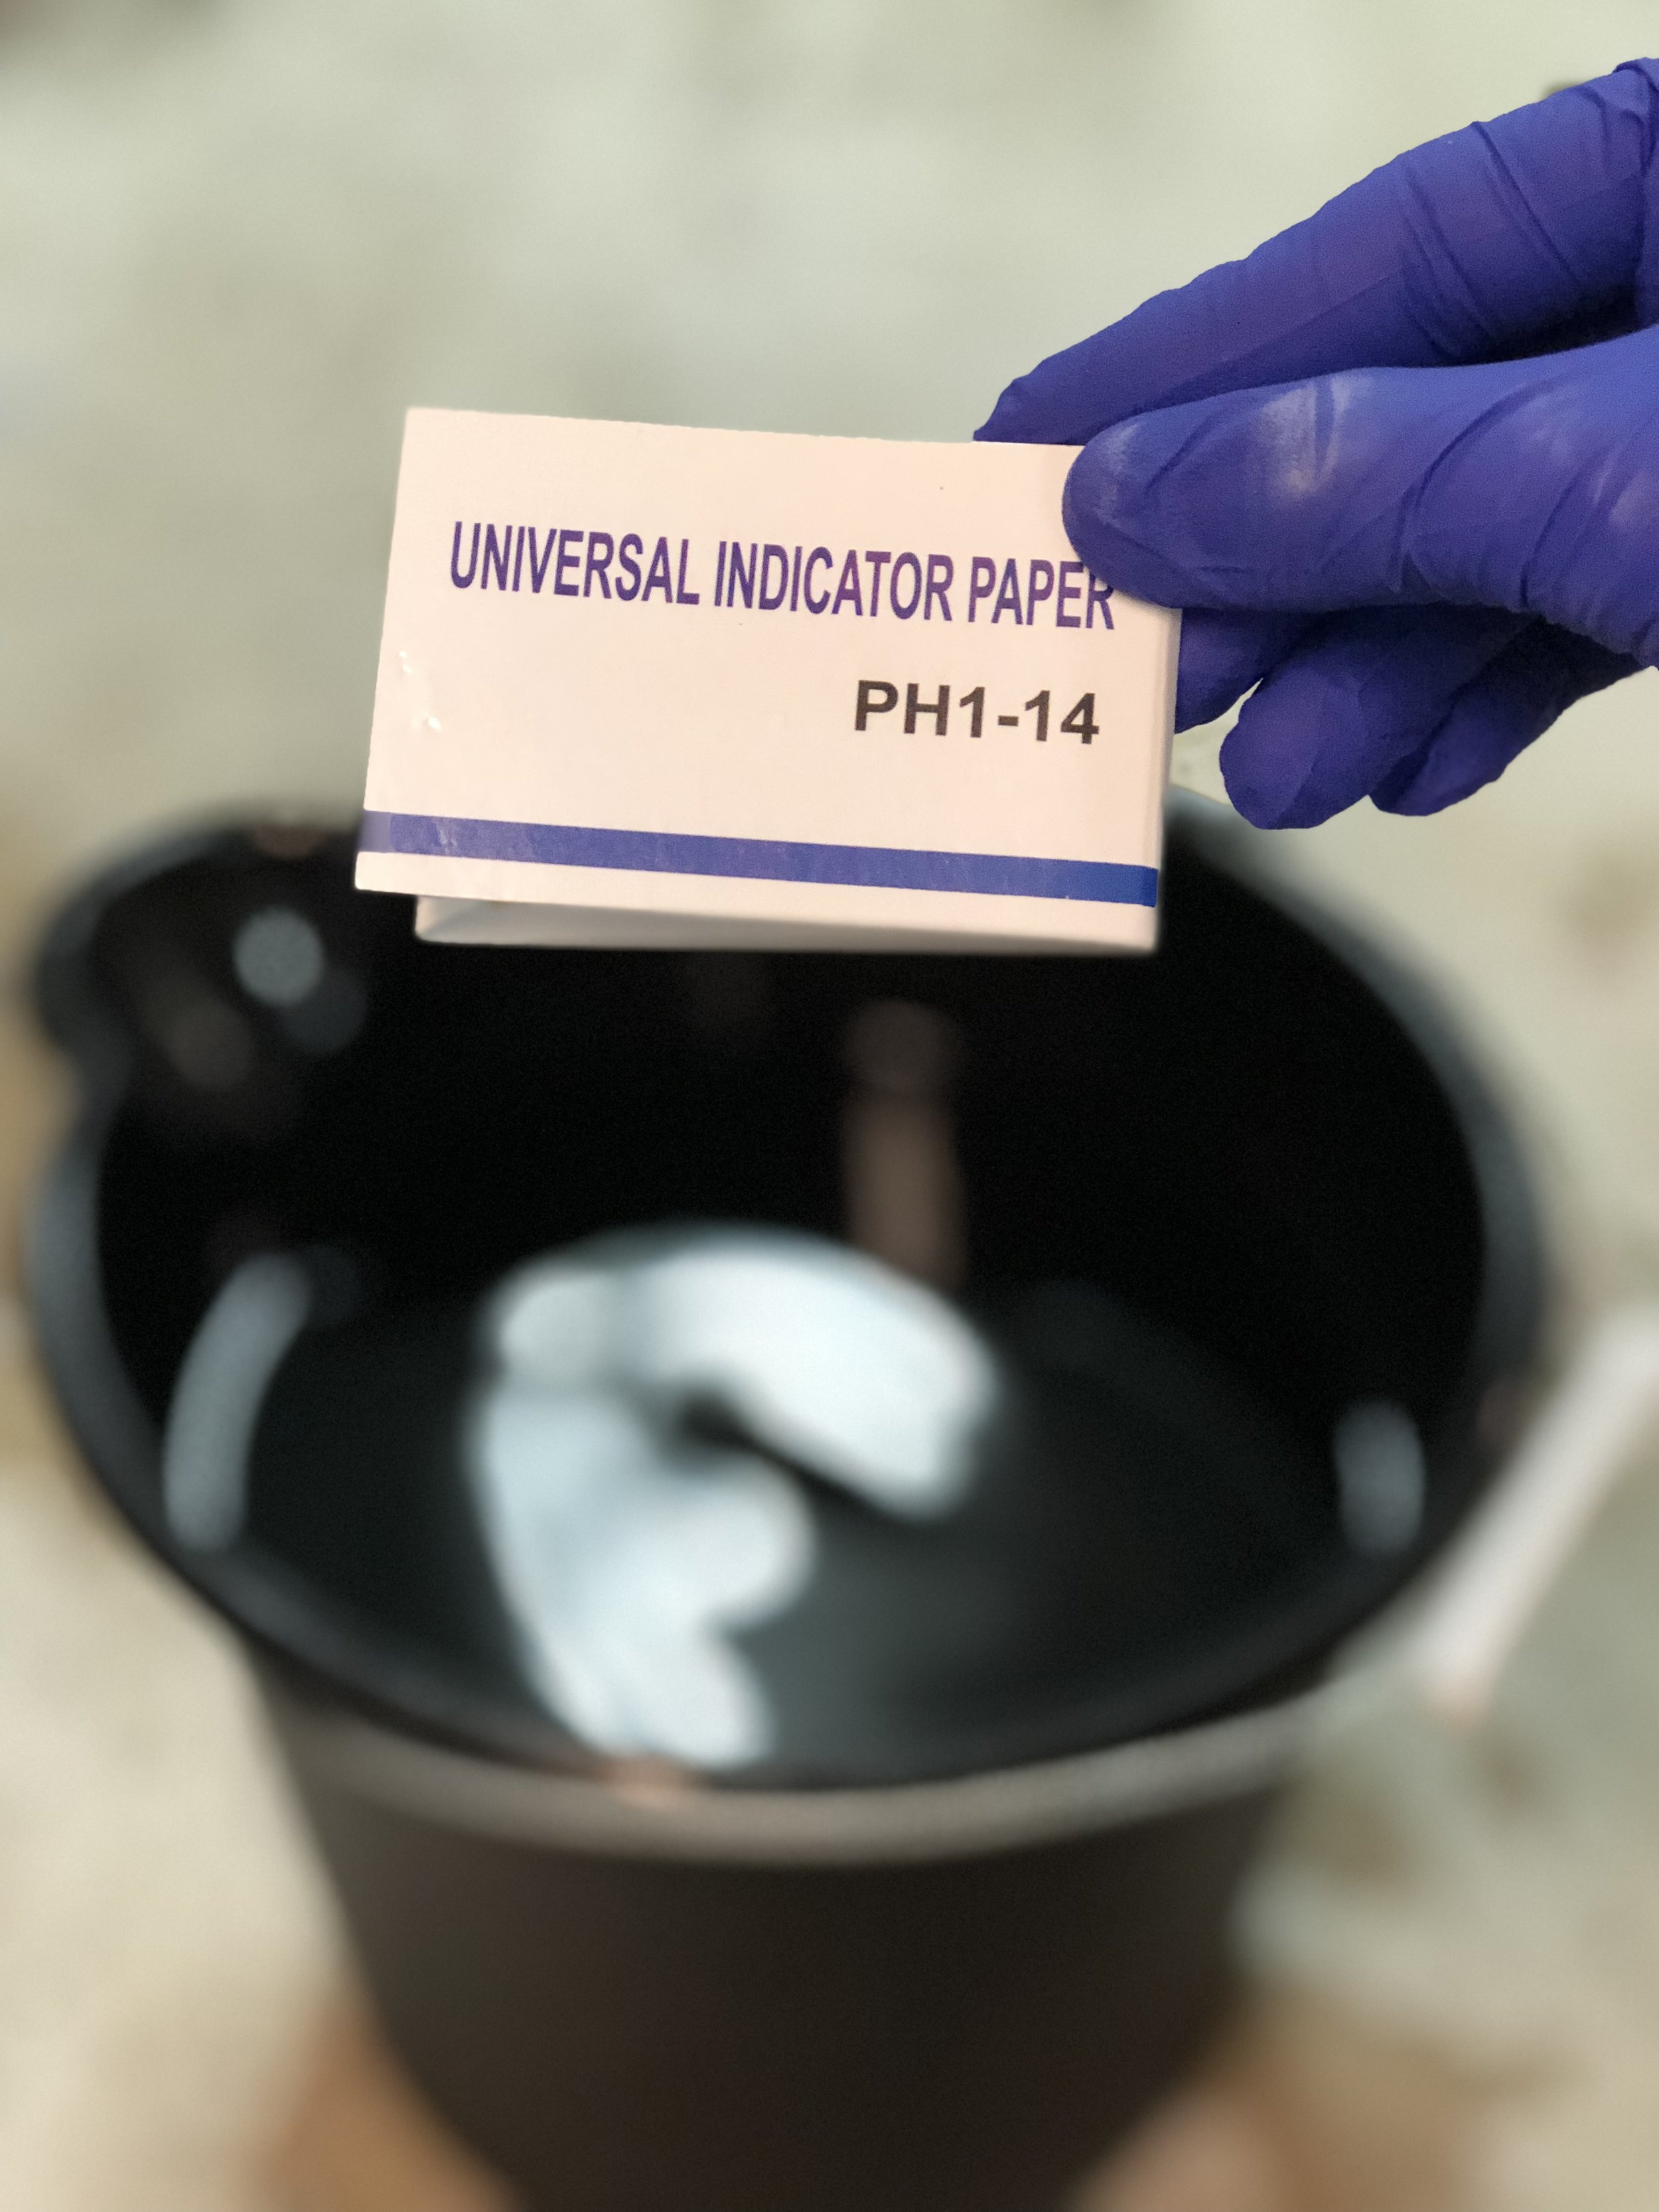
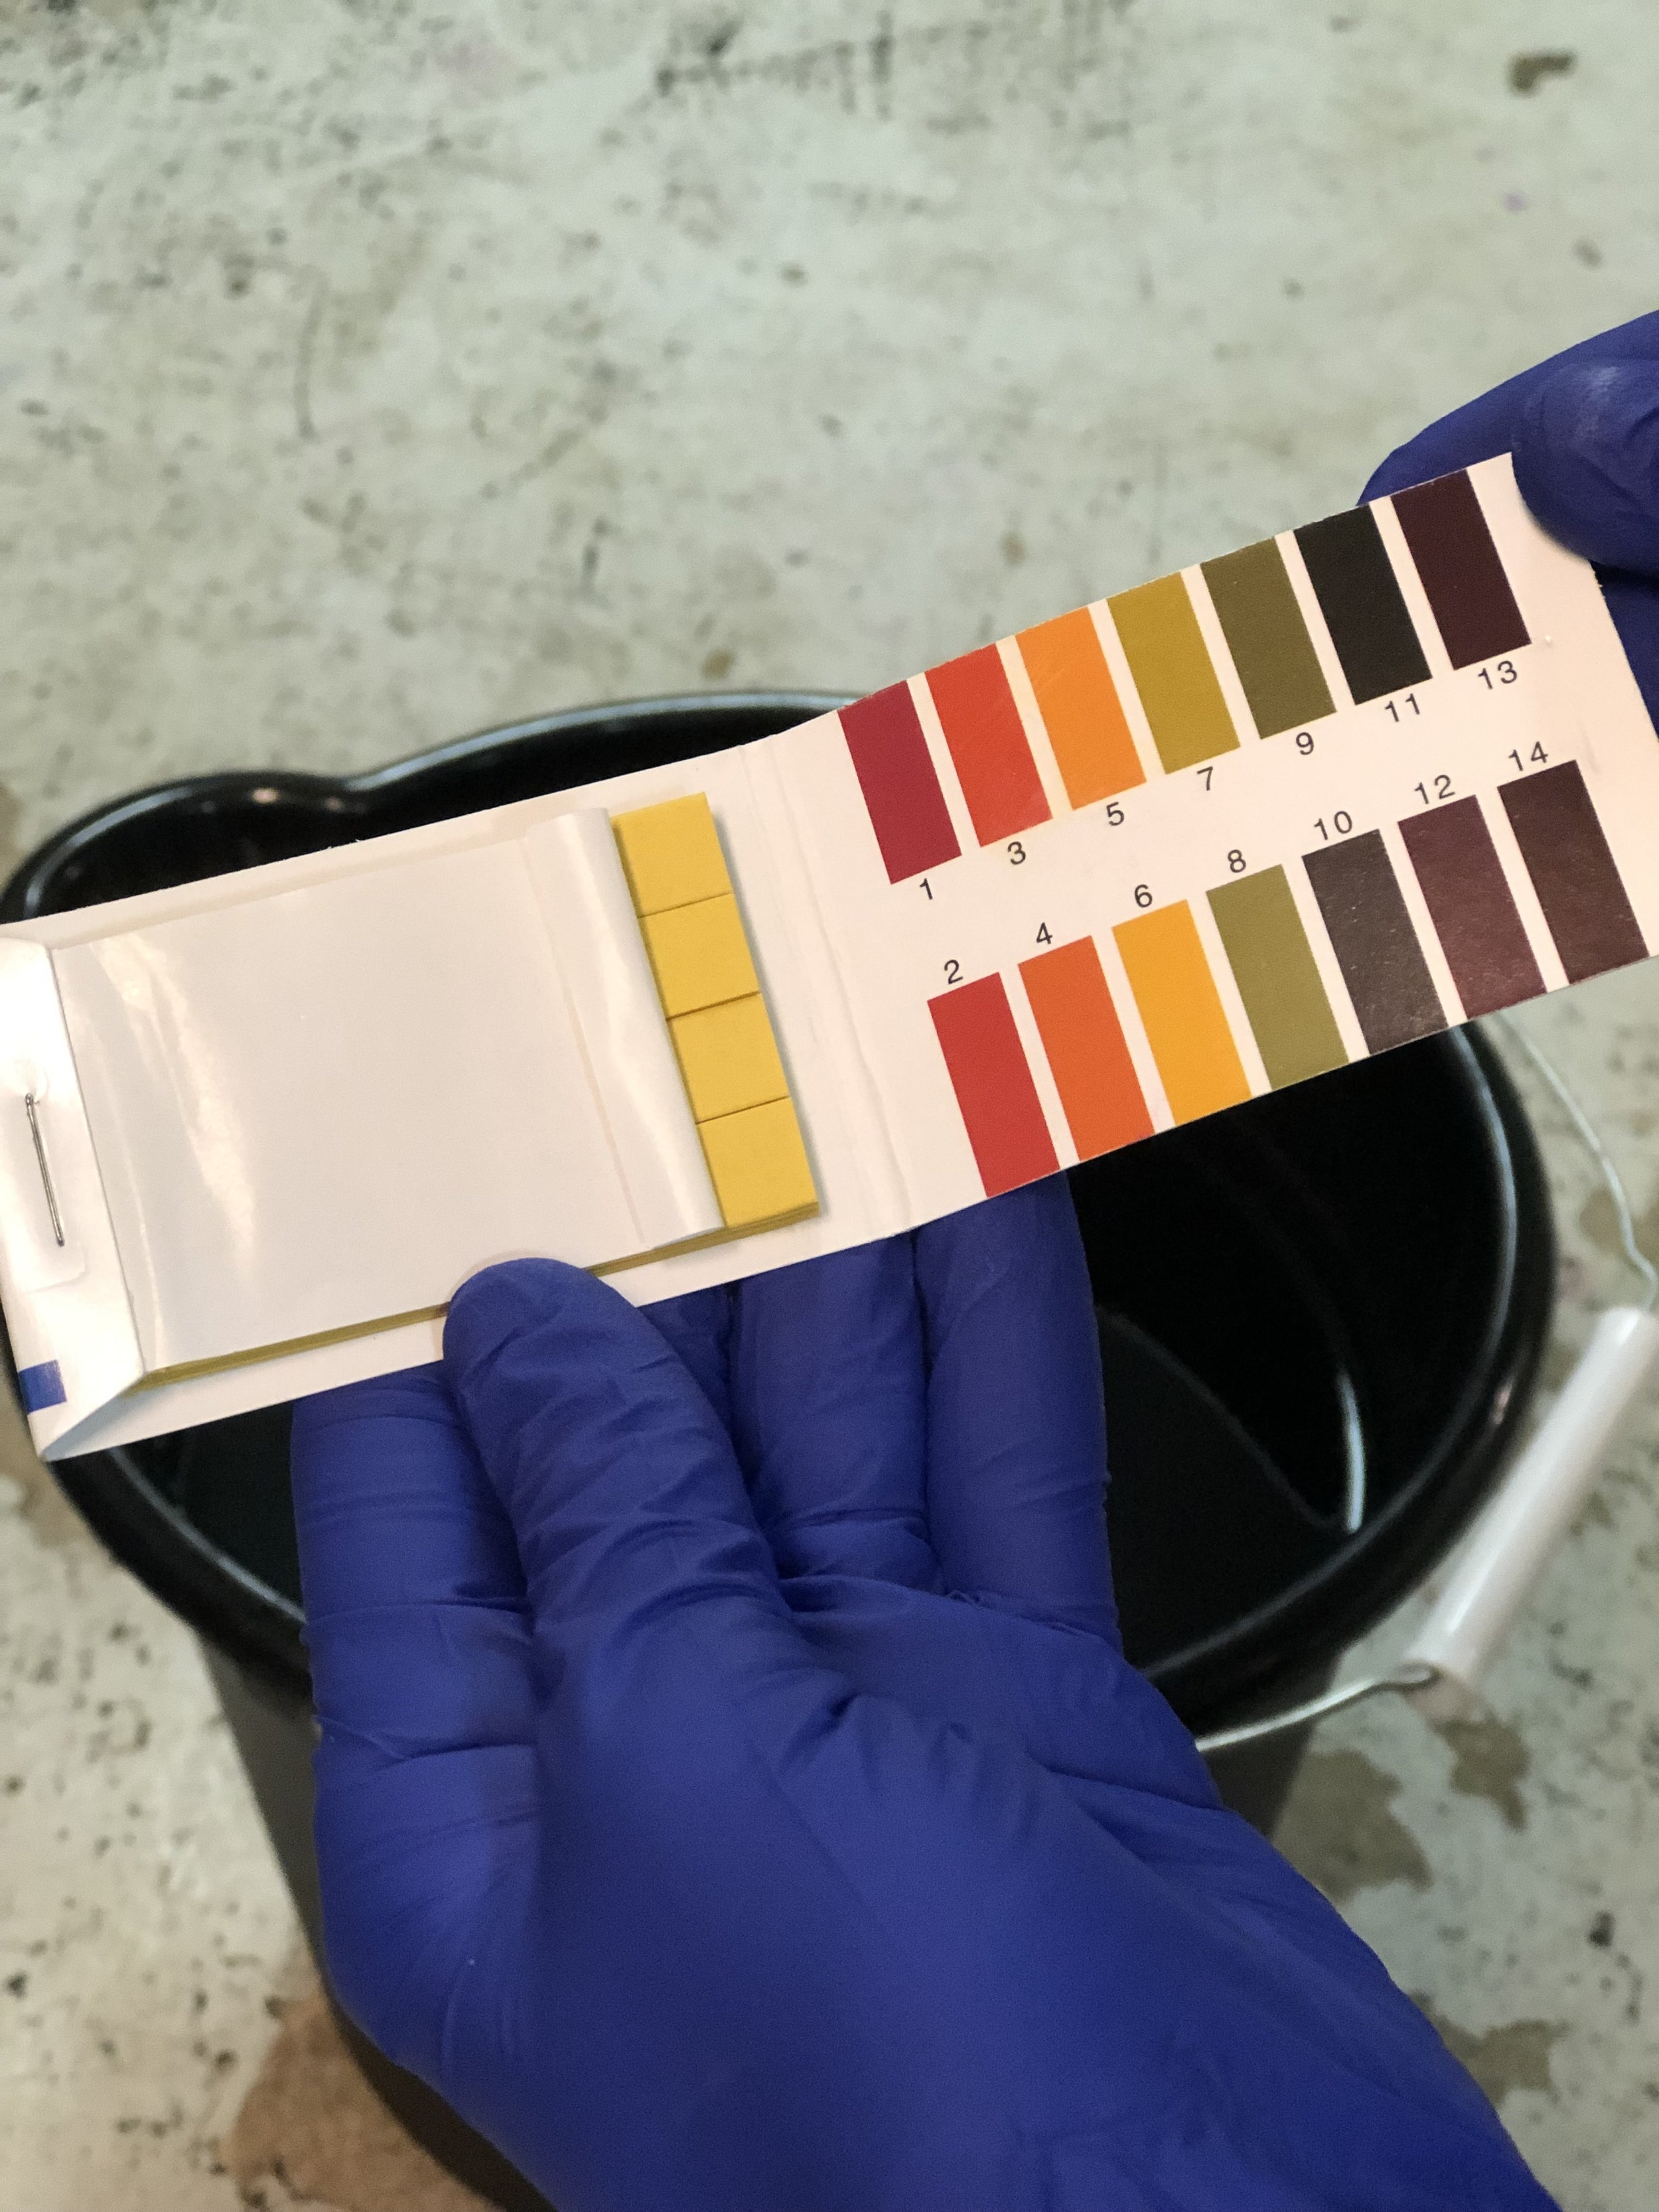
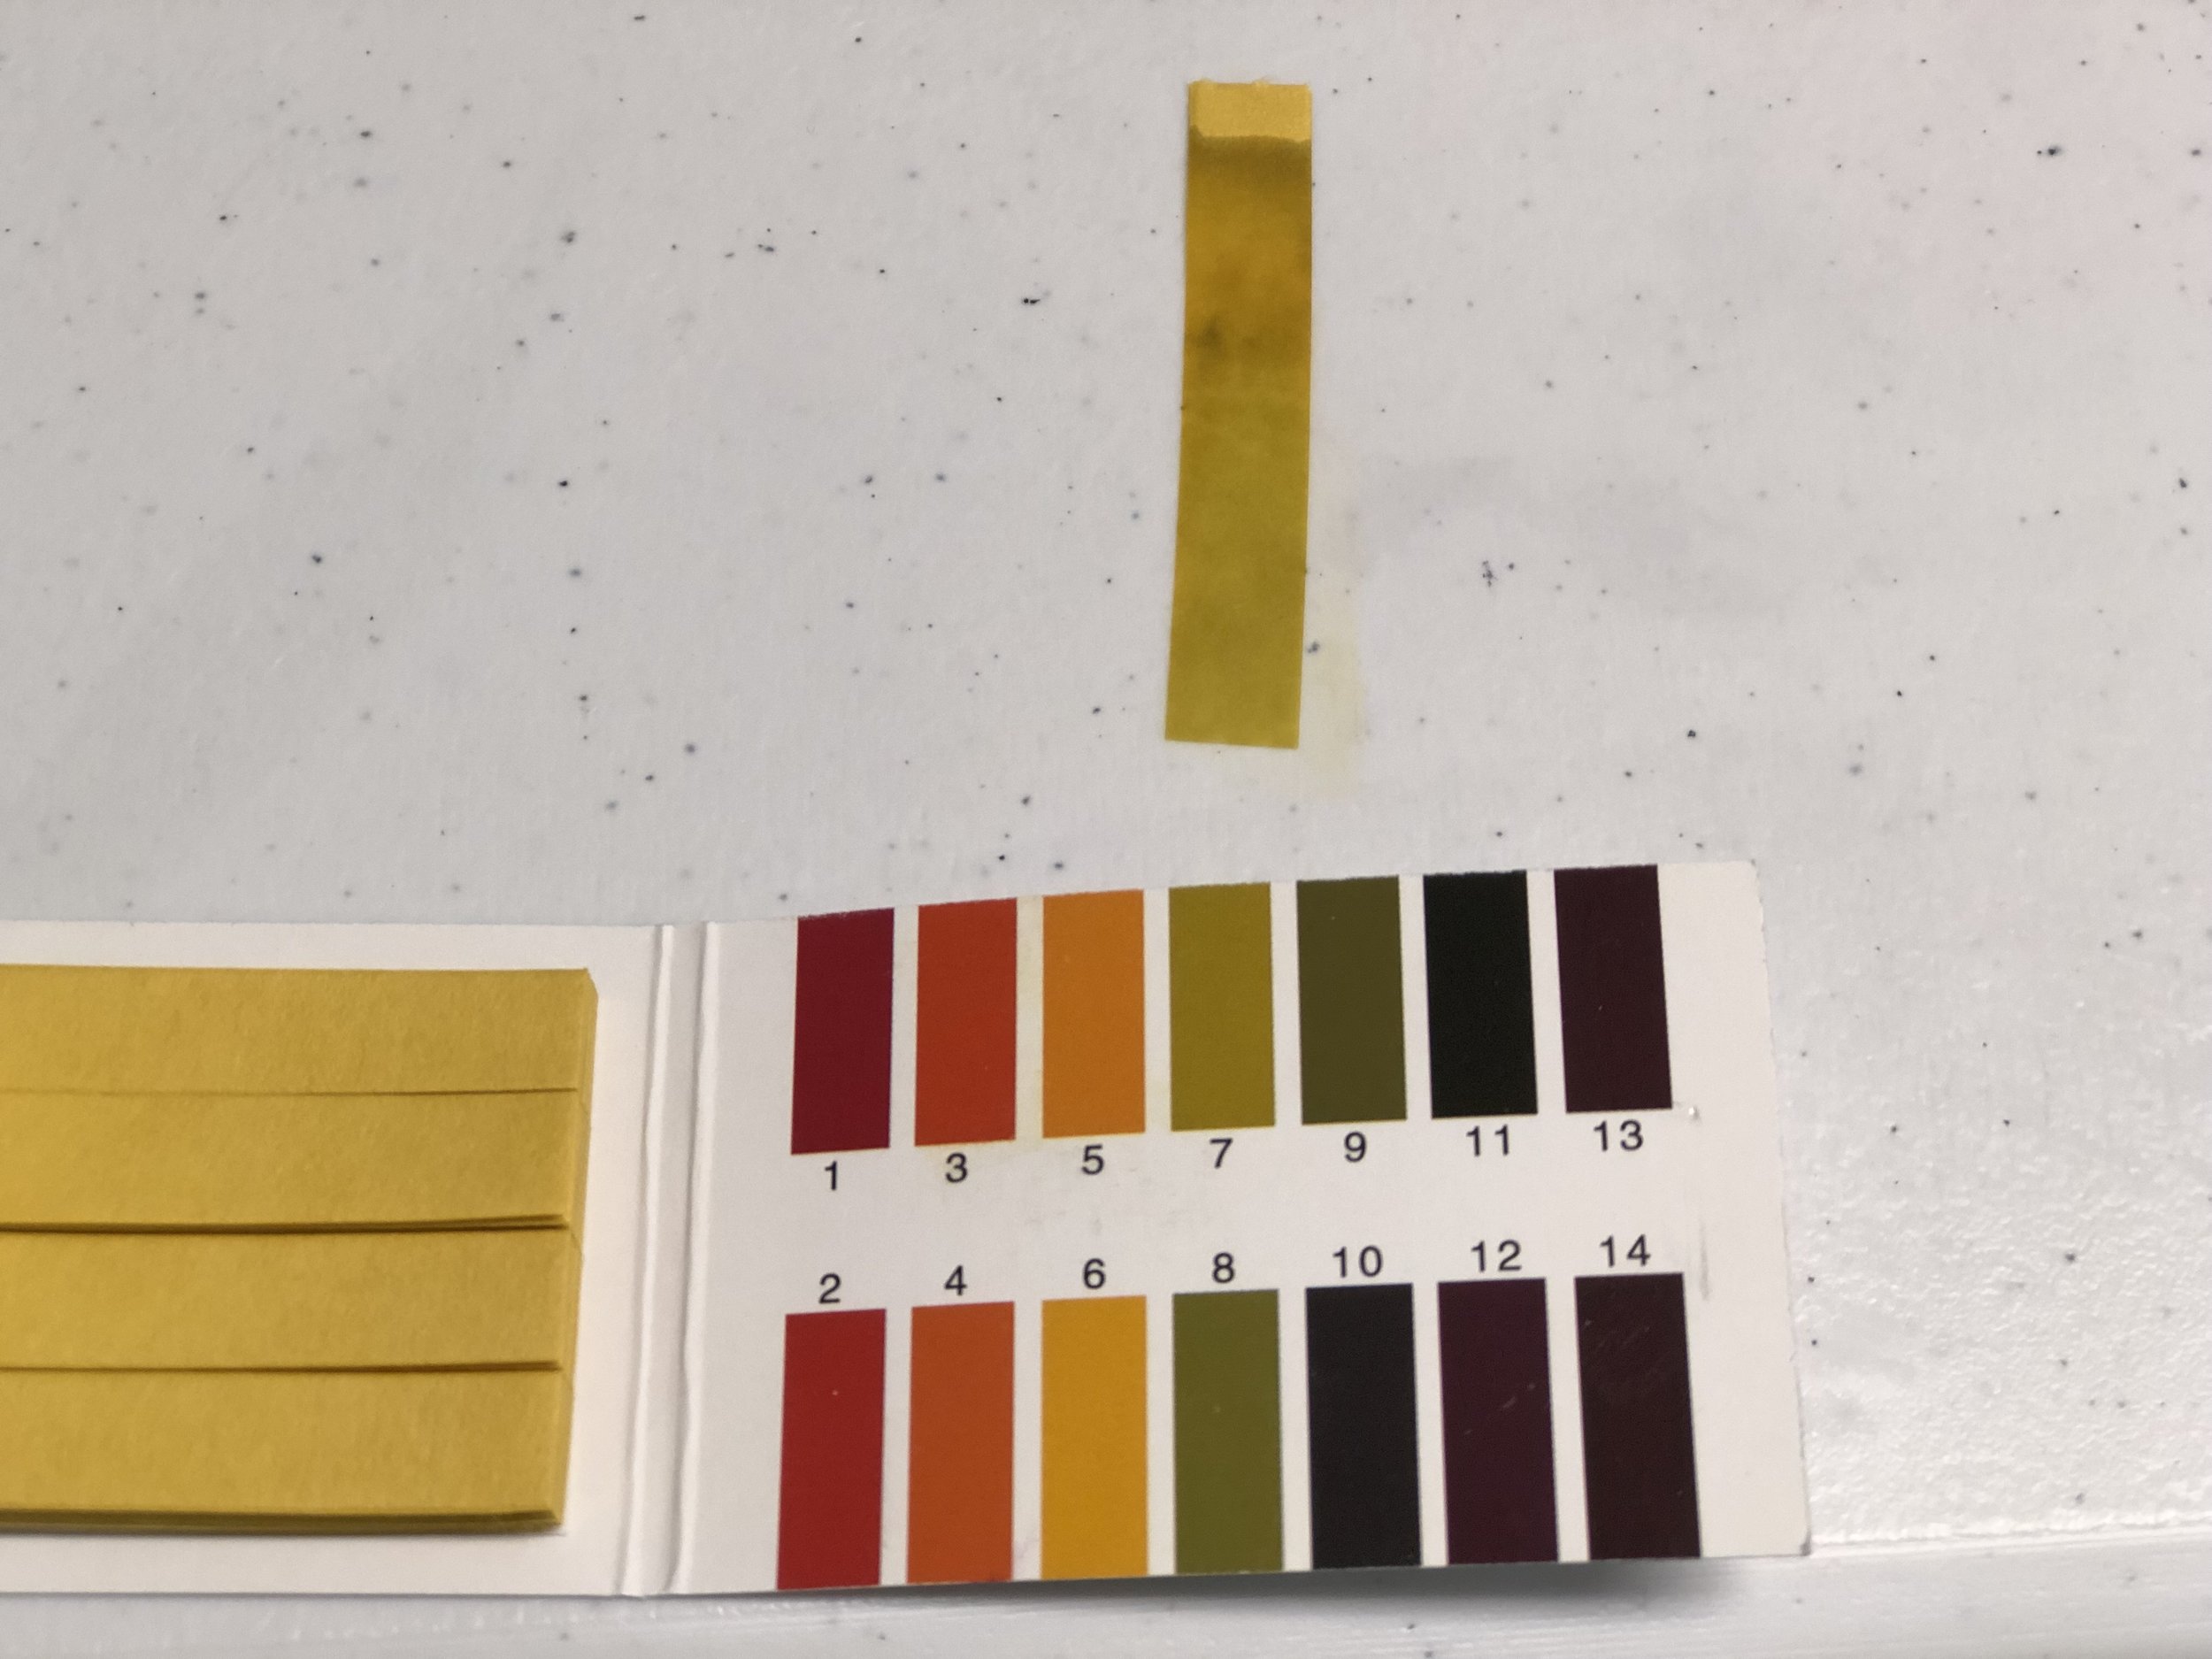
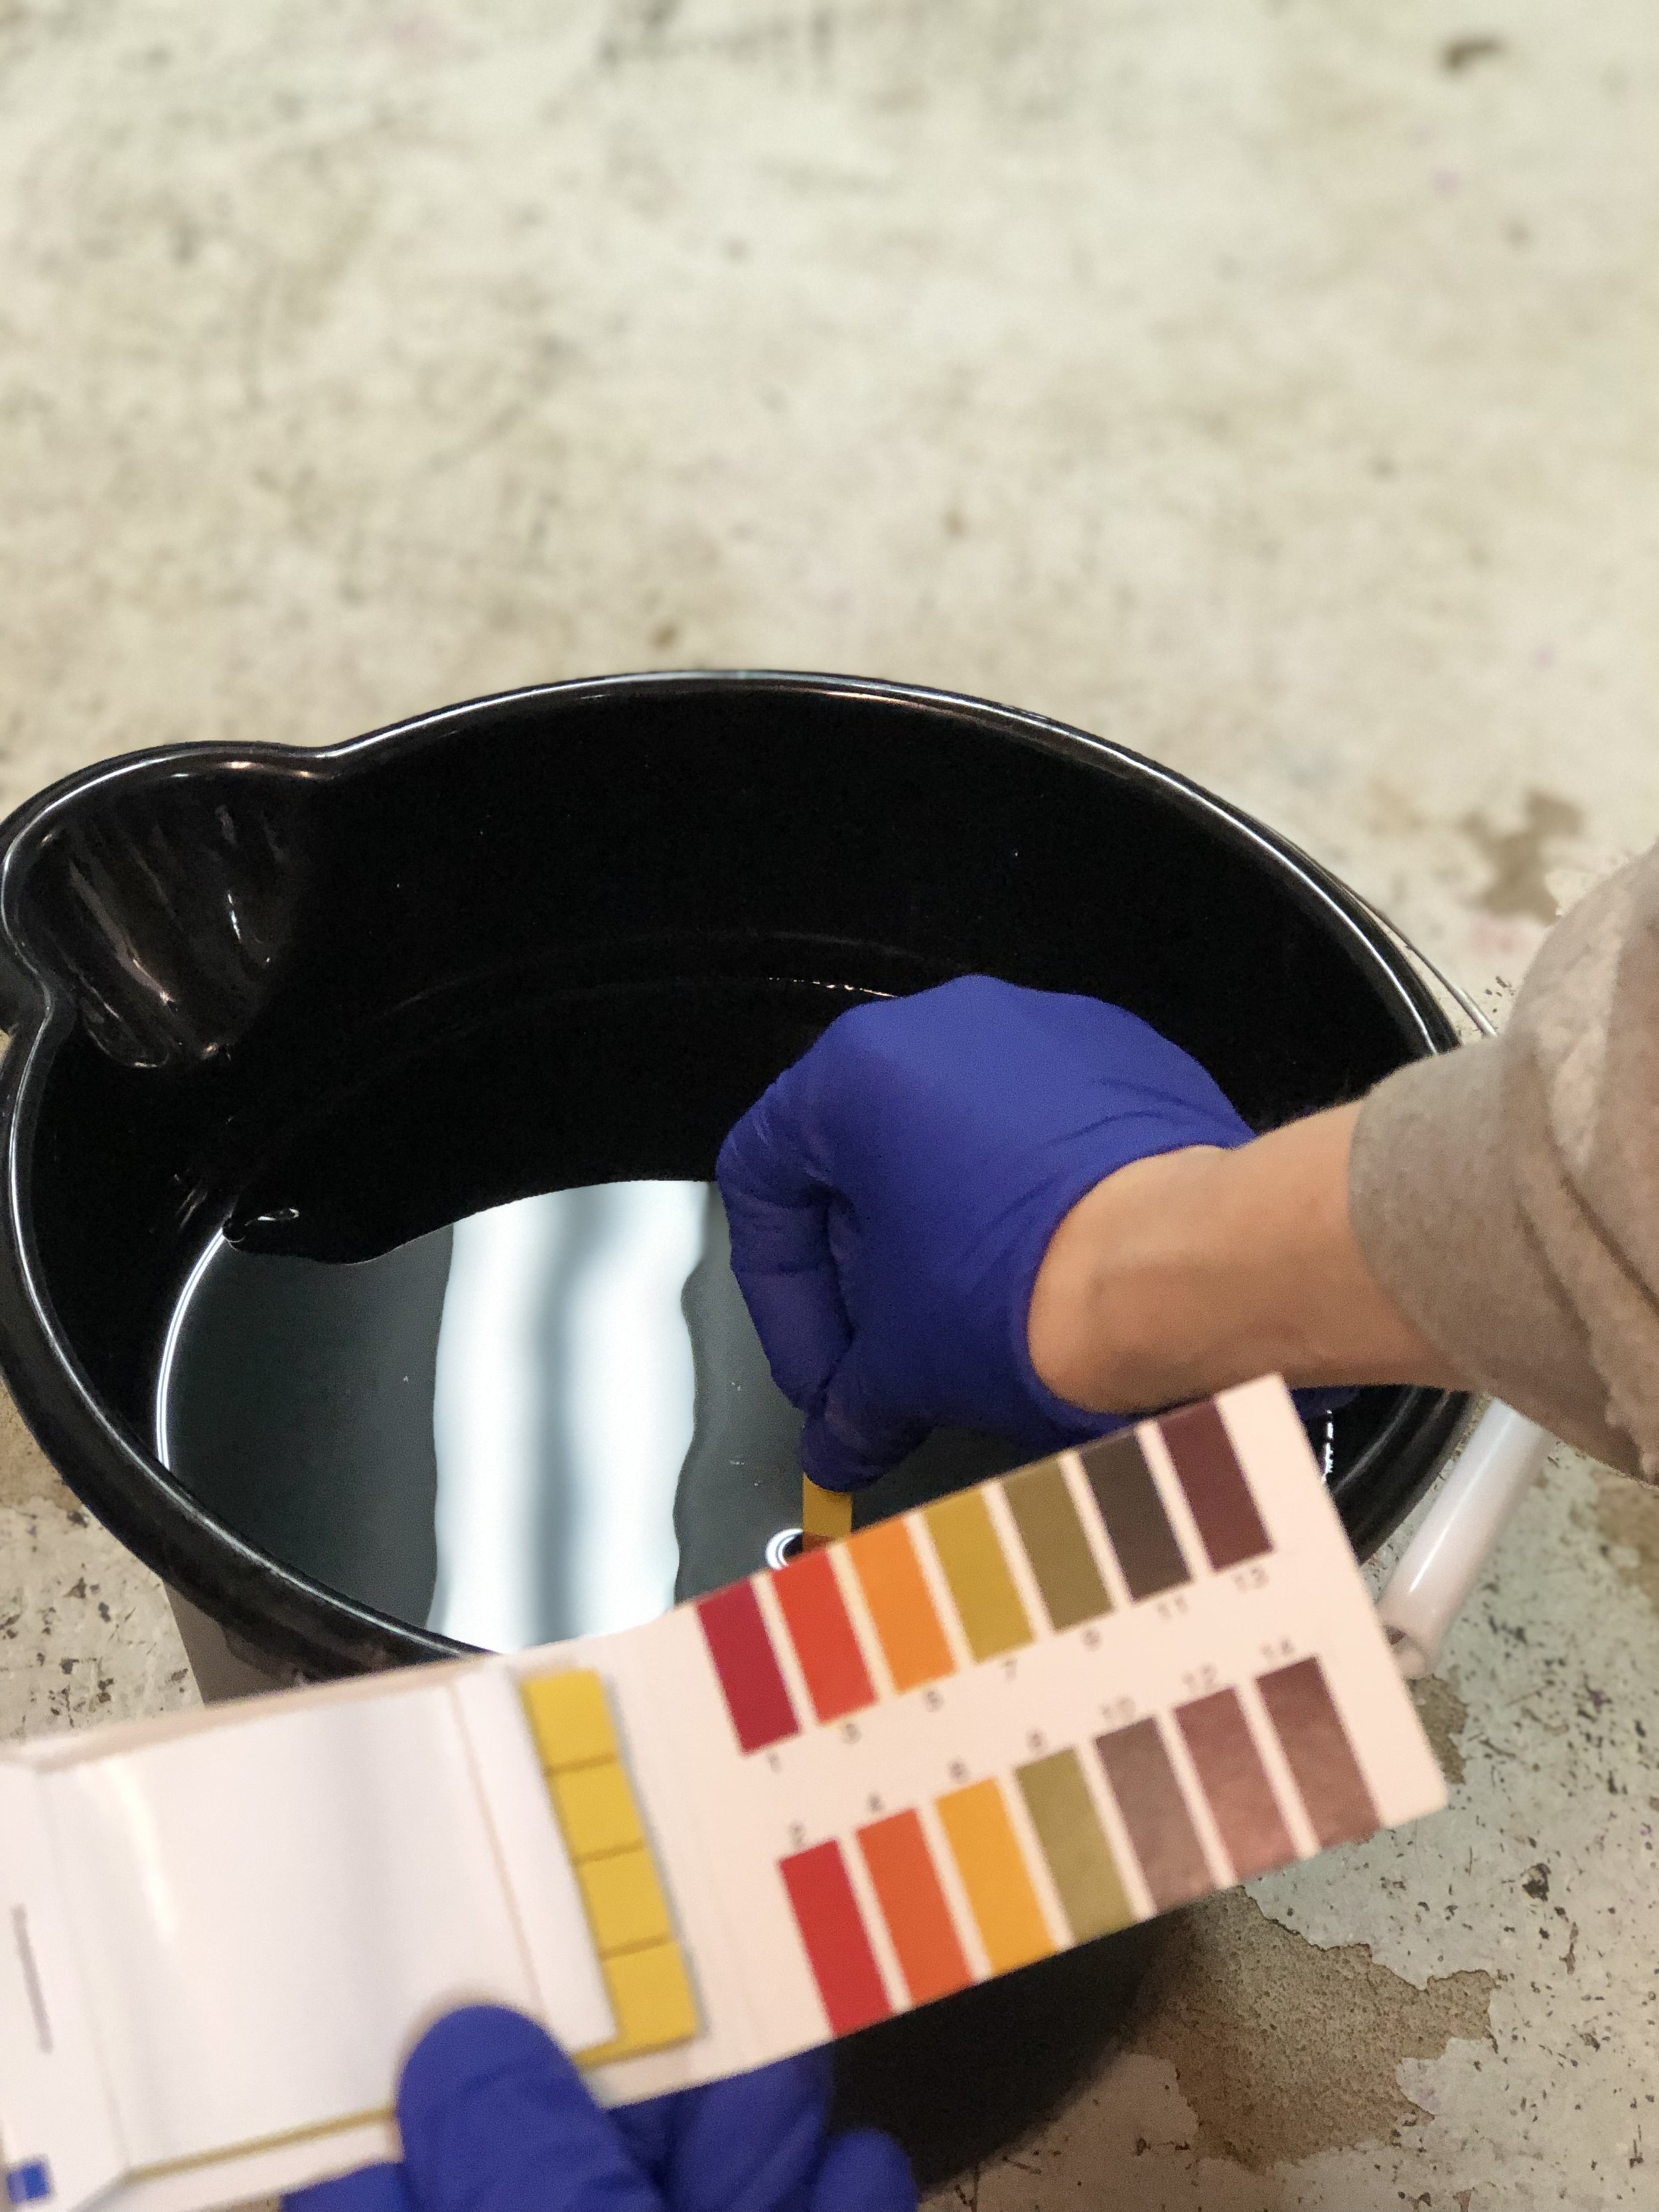
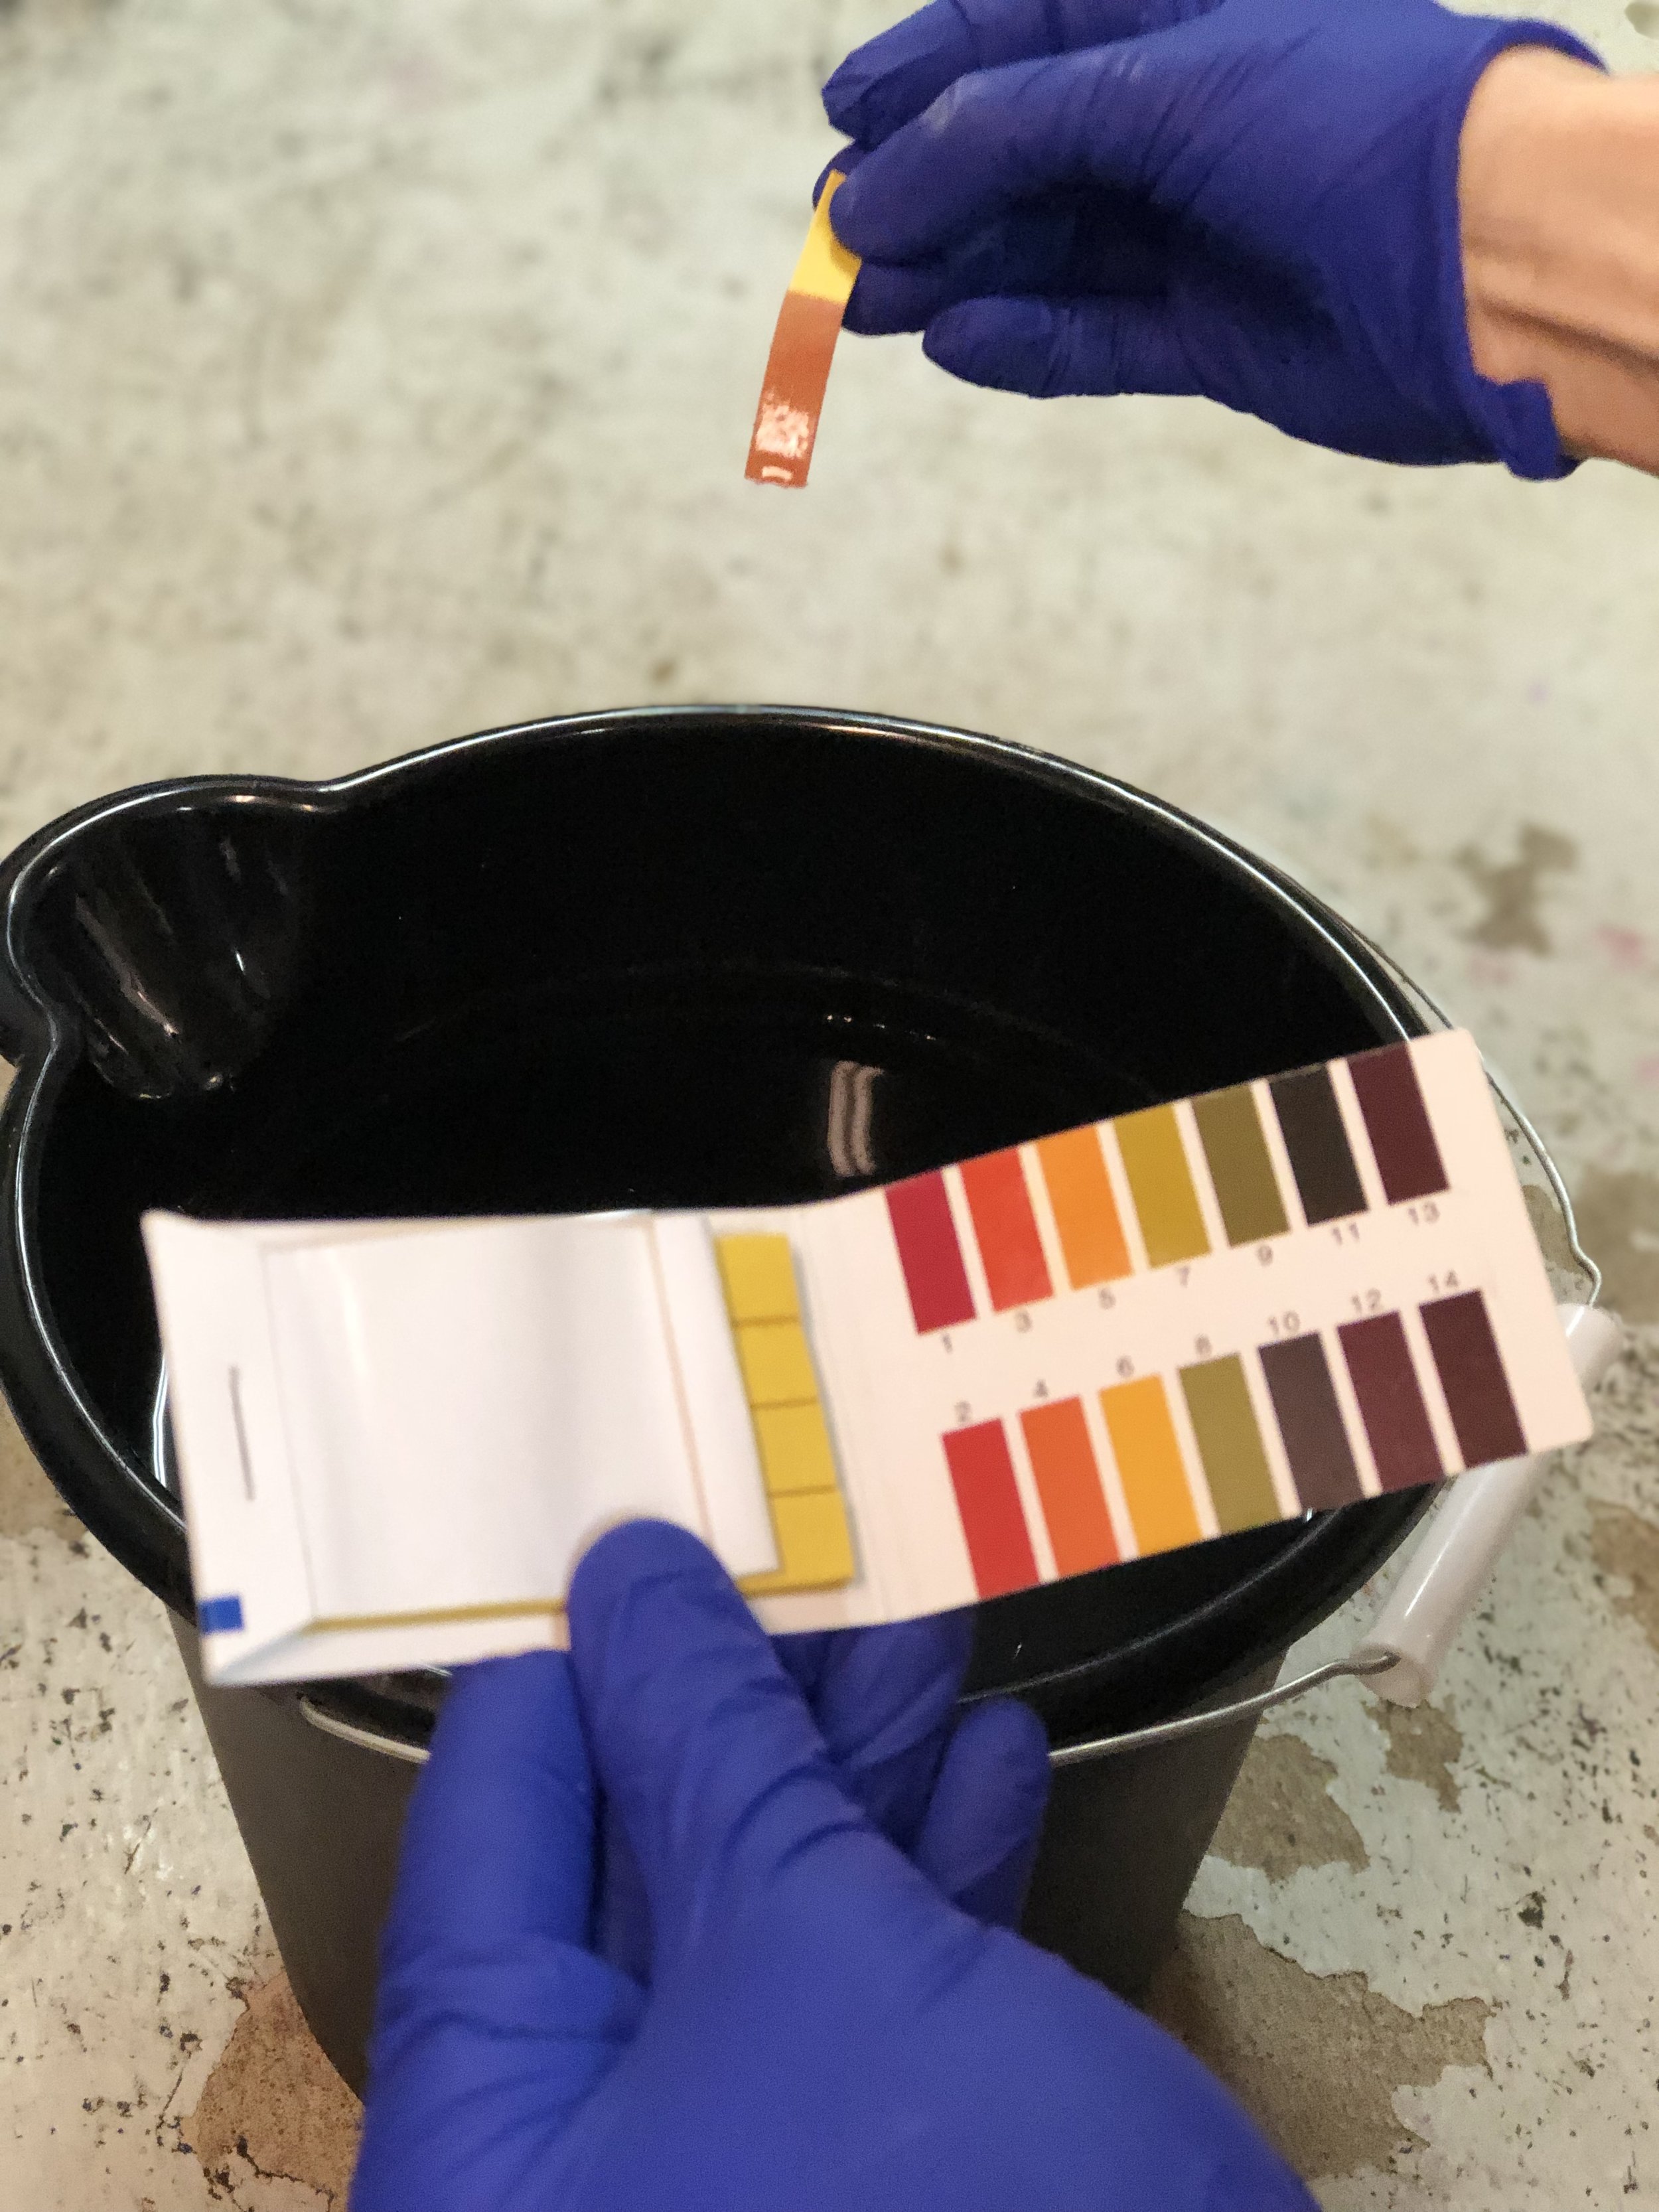
For dyeing with acid dyes we obviously want a solution that is more acidic. Once you test the water with your pH strips, hold the strip up to the color chart that comes with the litmus paper (available on Amazon) and note in your dye book and or take a picture for later.
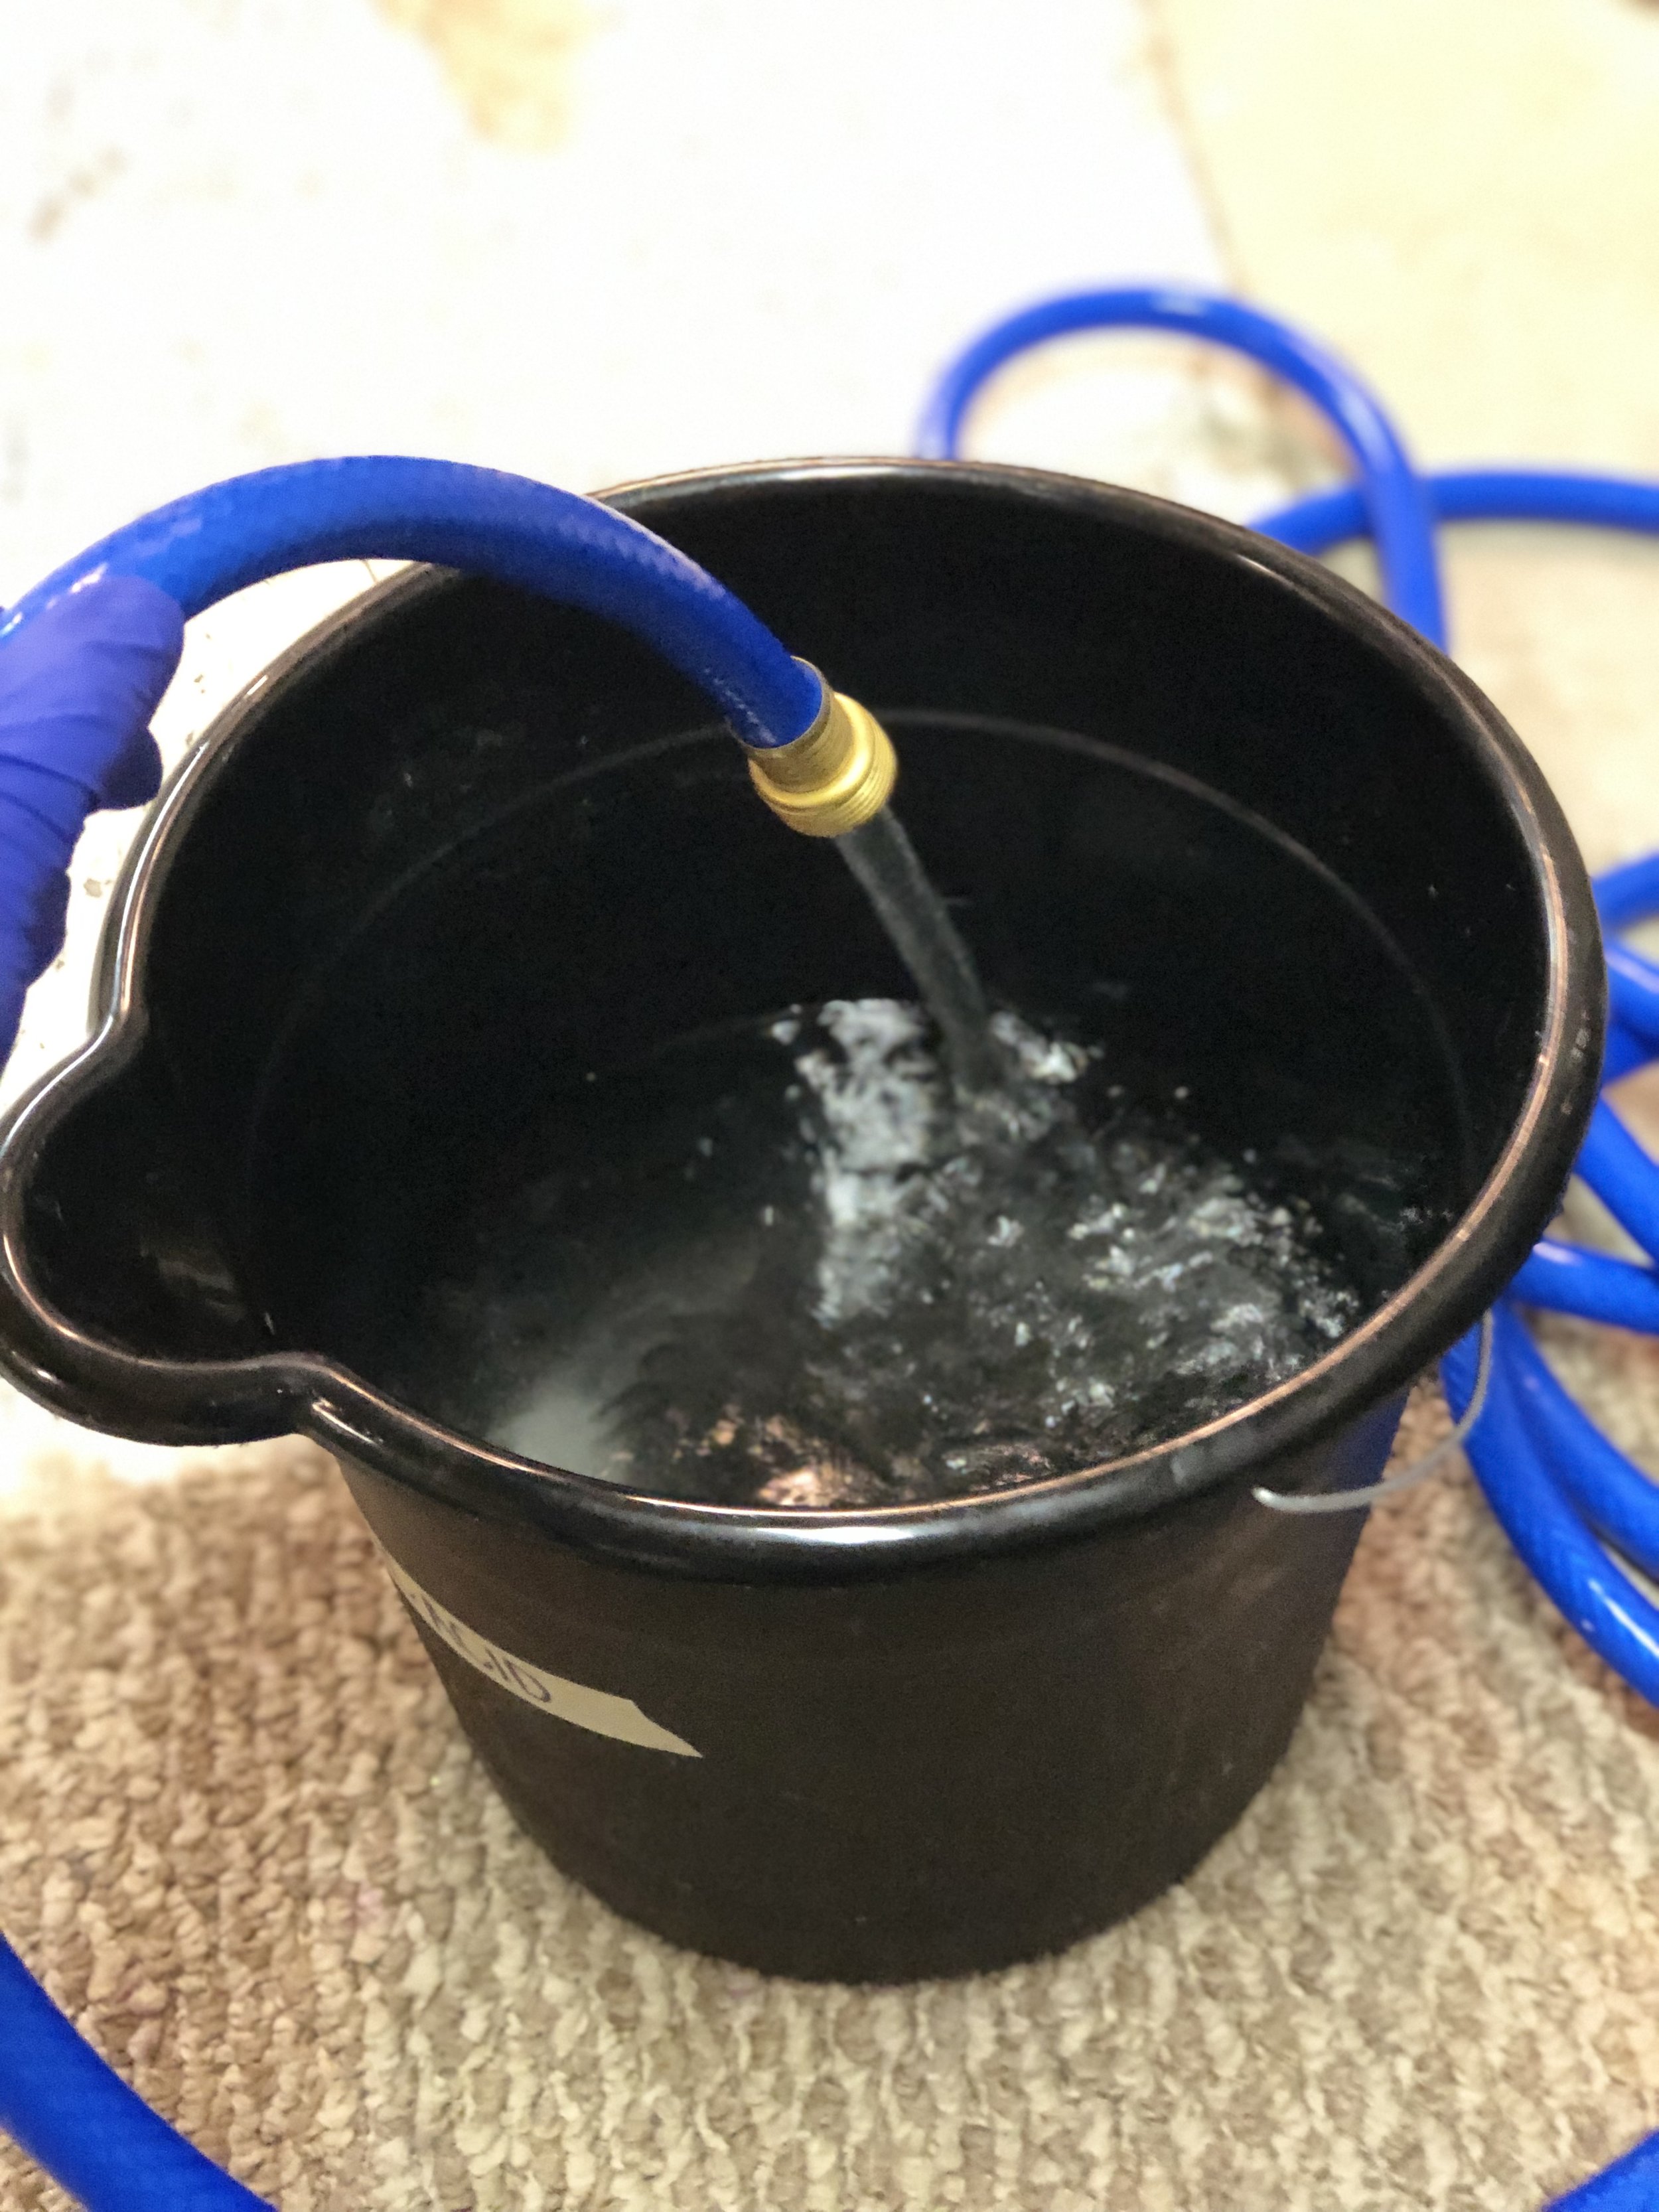
The next part is a bit of trial and error, but you want to play around with adding acid to your water (in at least a 2.5 gallon bucket carefully labeled citric acid) in small increments until your pH is a 4, or orange color on the strip. This is the best acidic environment for dyeing. Once I discovered this, I found a good measuring cup that allowed for the perfect amount of acid versus water in my bucket. This will not be the same for you as all water is different depending on where you live, but as long as you know your measurement and you re-test every month or so, you should be good to use the same increment of measuring as long as it is at a pH of 4 or orange color the whole time when testing the pH.
Make sure that you stir the bucket after getting to that perfect pH so that the acid is spread evenly throughout your solution. If you are using vinegar as your acid instead of citric acid, know that you will need more and that it will not be the same as the citric acid amount. They have different pH levels and citric acid is more acidic than vinegar. One is not better than the other. Vinegar is easier to find but it has a smell so it is important to keep those things in mind.

Step 3: Soaking Yarn
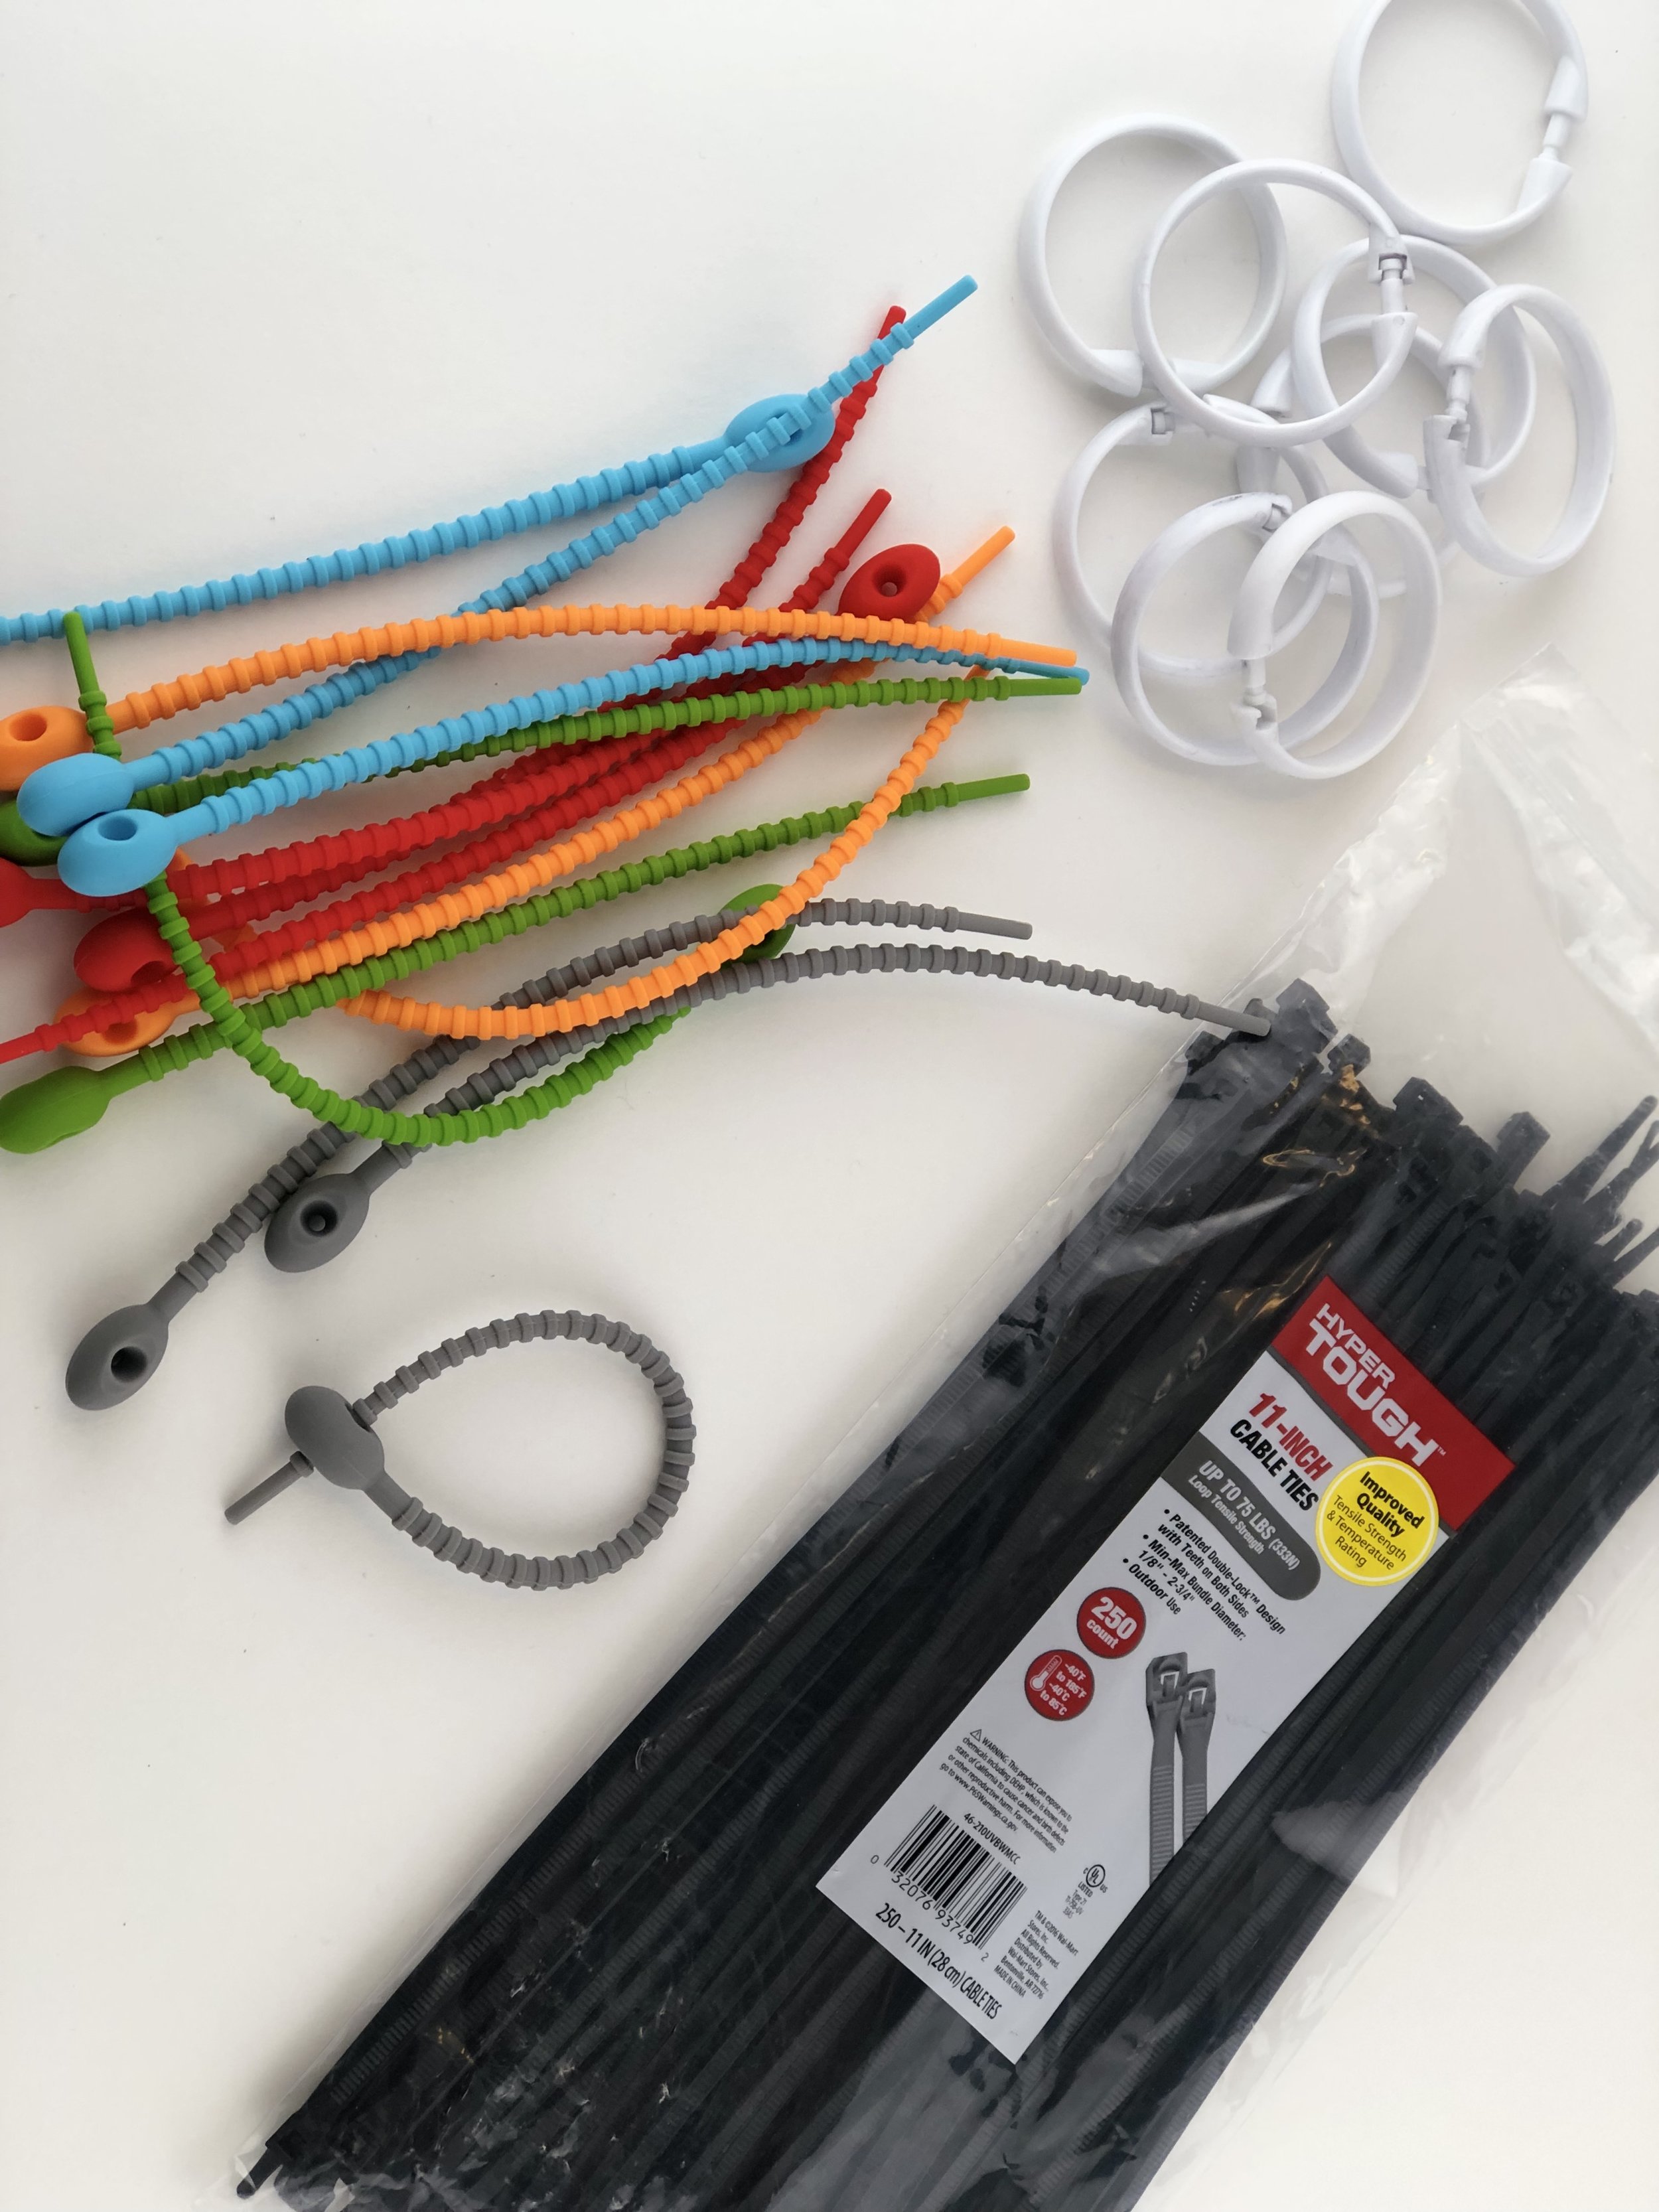
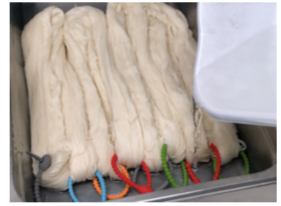
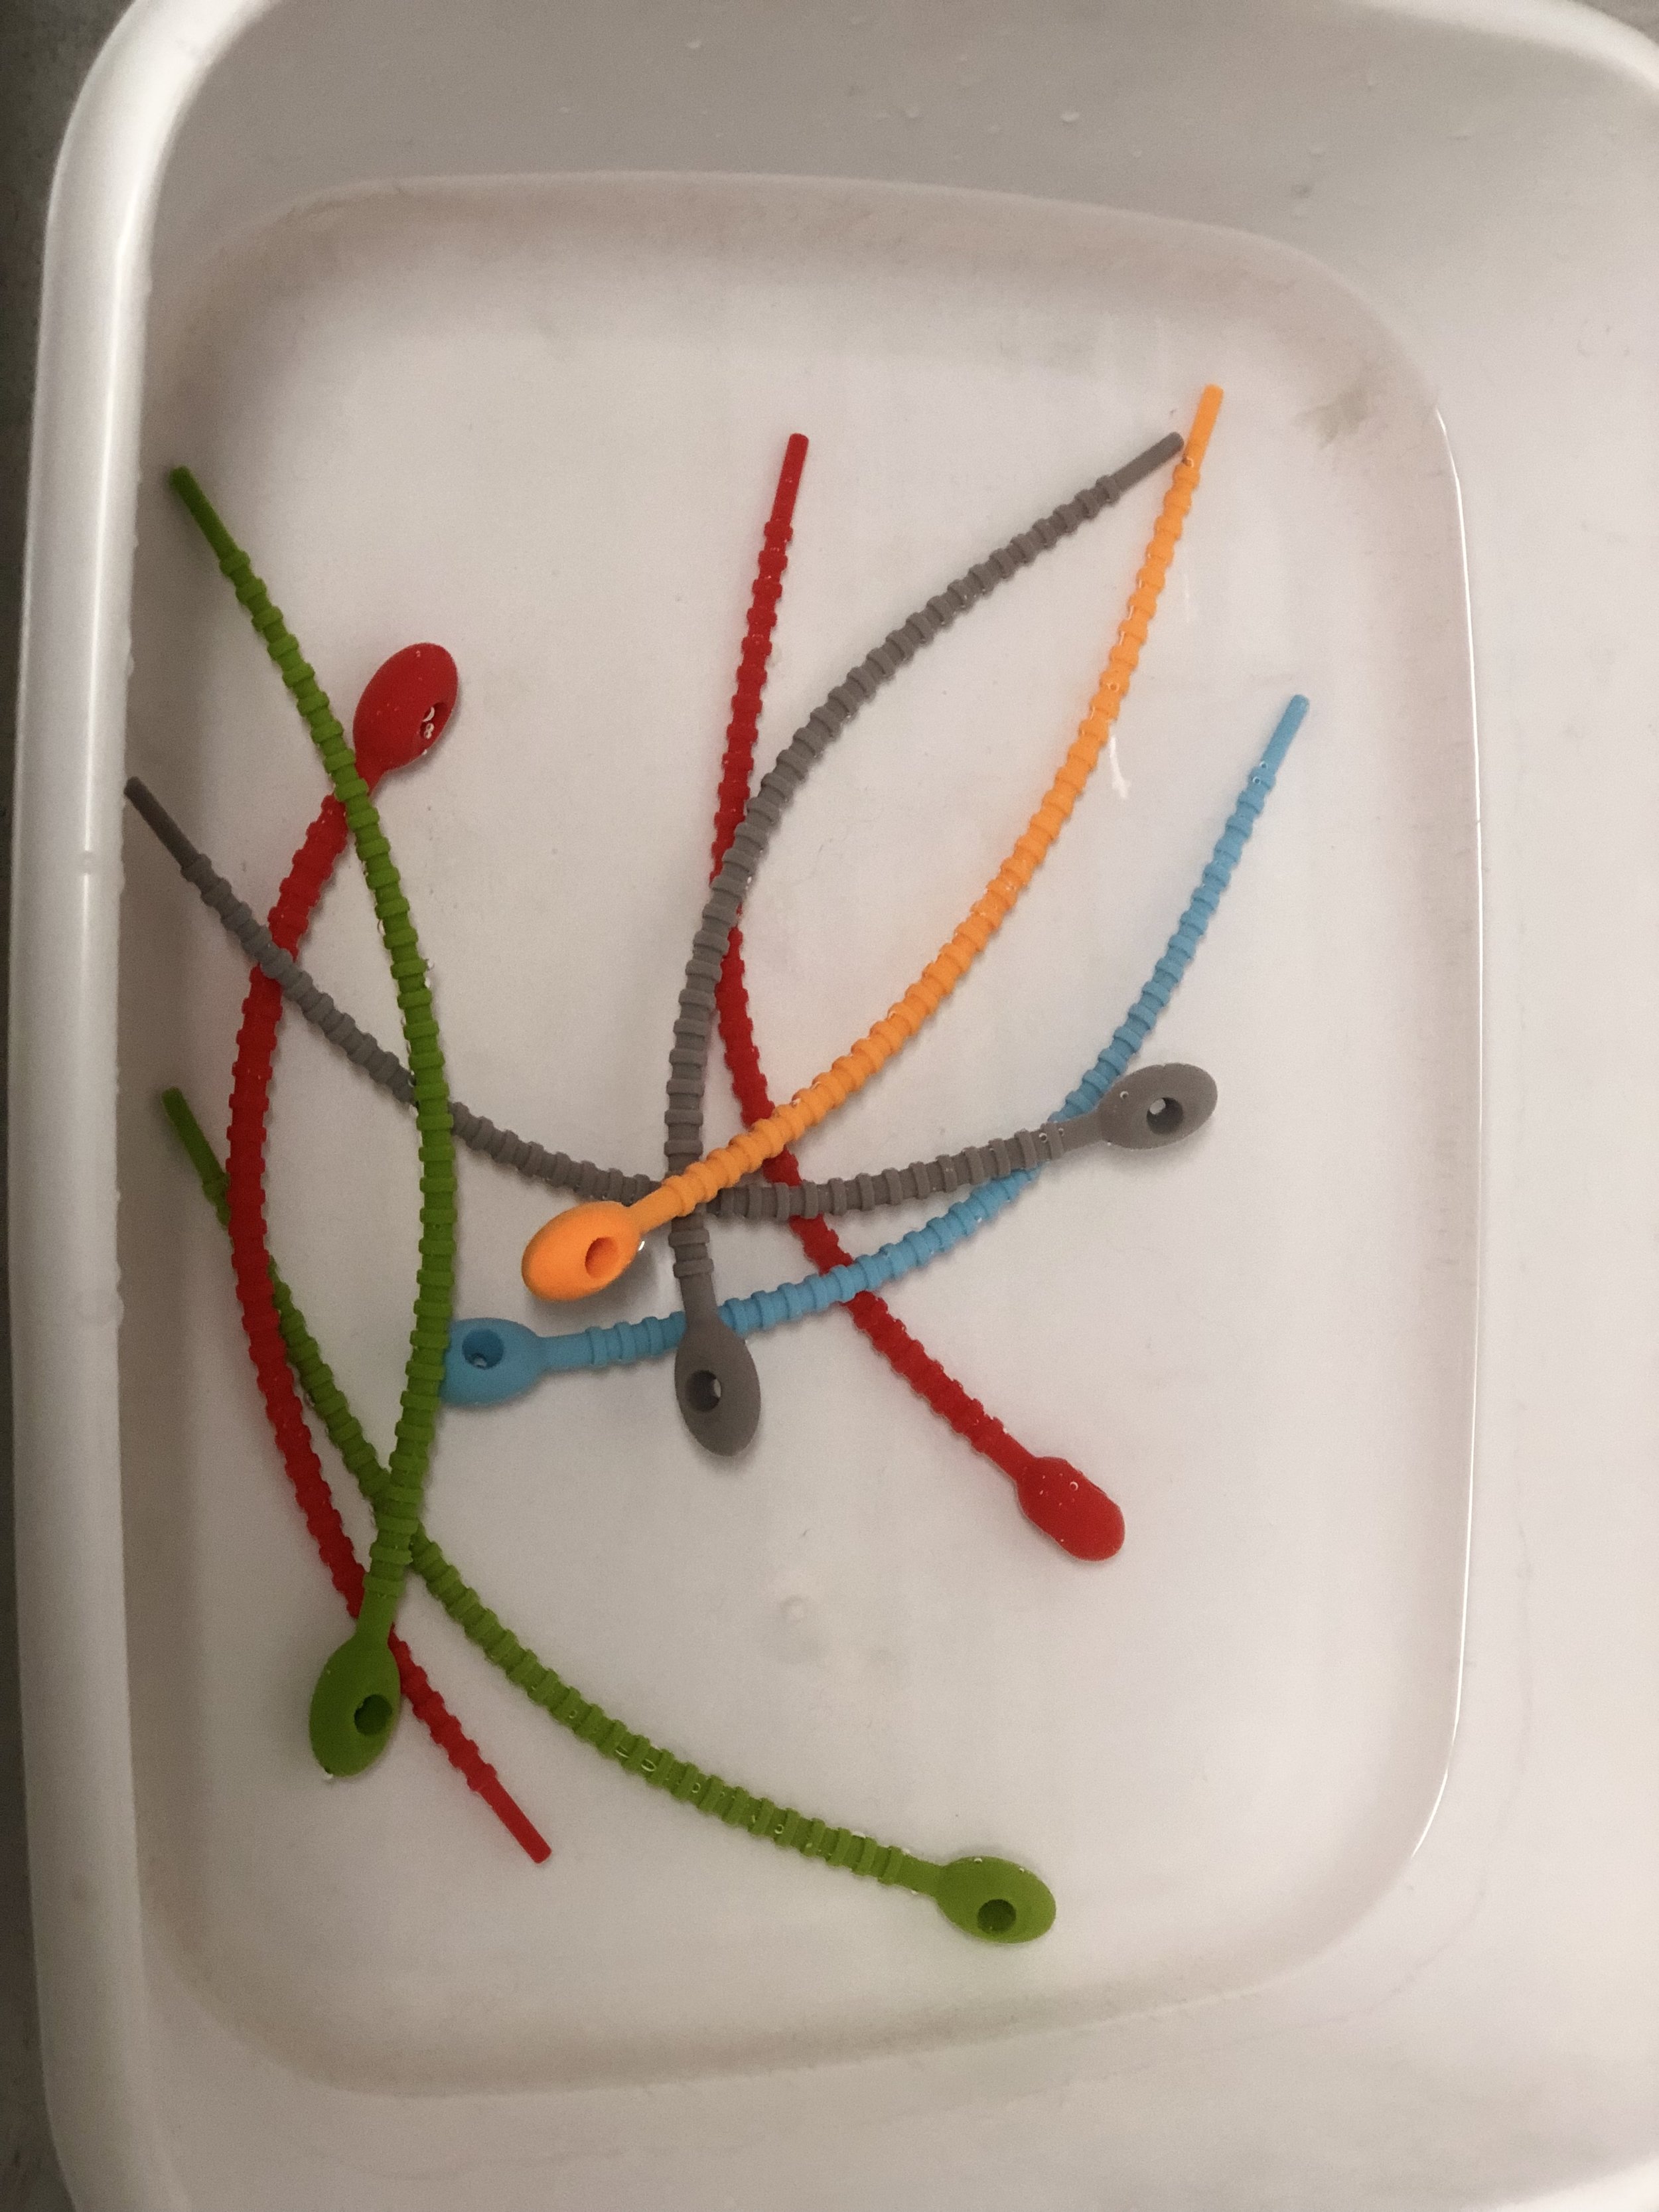
Once your acid solution is made it is now time to soak your yarn. Remember those zip ties/shower curtain rings I mentioned before? This is where those come into play.
Before soaking the yarn in the citric acid solution, I highly suggest putting the rings/zip ties on either end of the skein. Because you will move the yarn around so much throughout this process the skeins will get tangled. You will thank me later for this tip.
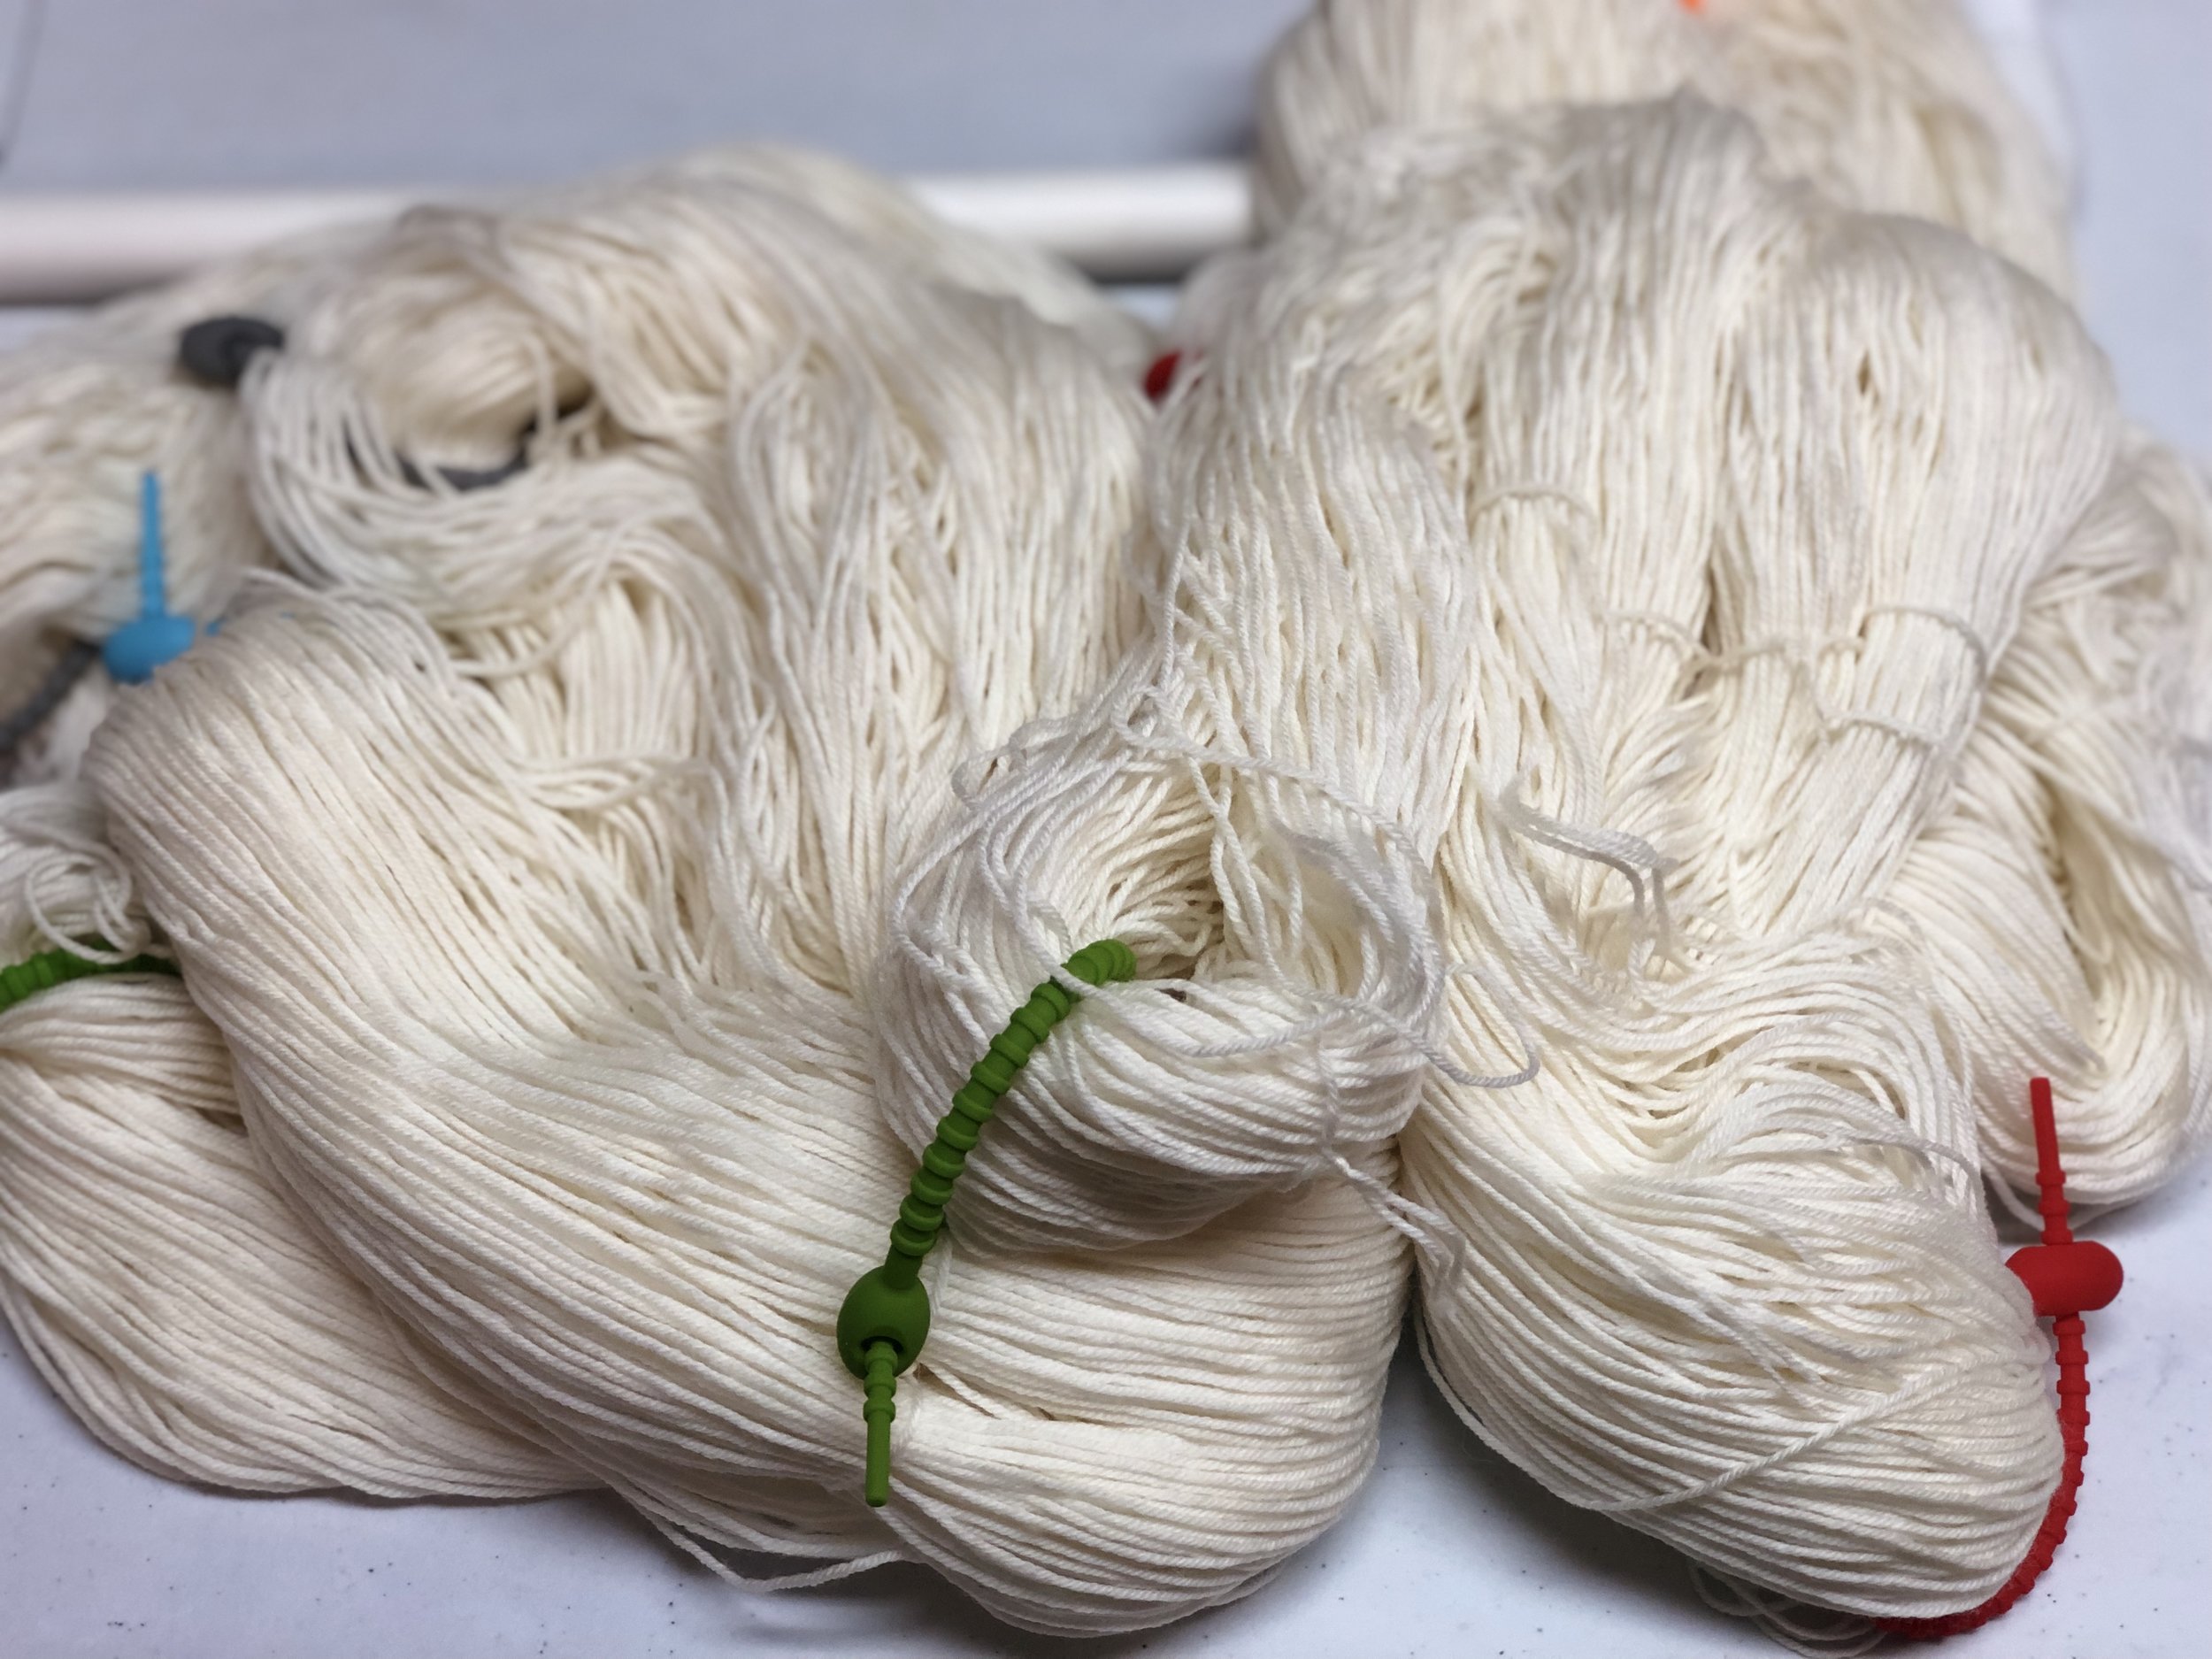

Some dyers add more figure 8 ties, but I prefer the ties that can be easily seen in water so I can grab them easily. Another material that will come into play here is those dish pans. Yes, you can just dunk the yarn in the bucket, but I prefer to add the acid solution with the yarn to a dish pan so I can use the rest of the citric acid solution for more than just that one dye session.
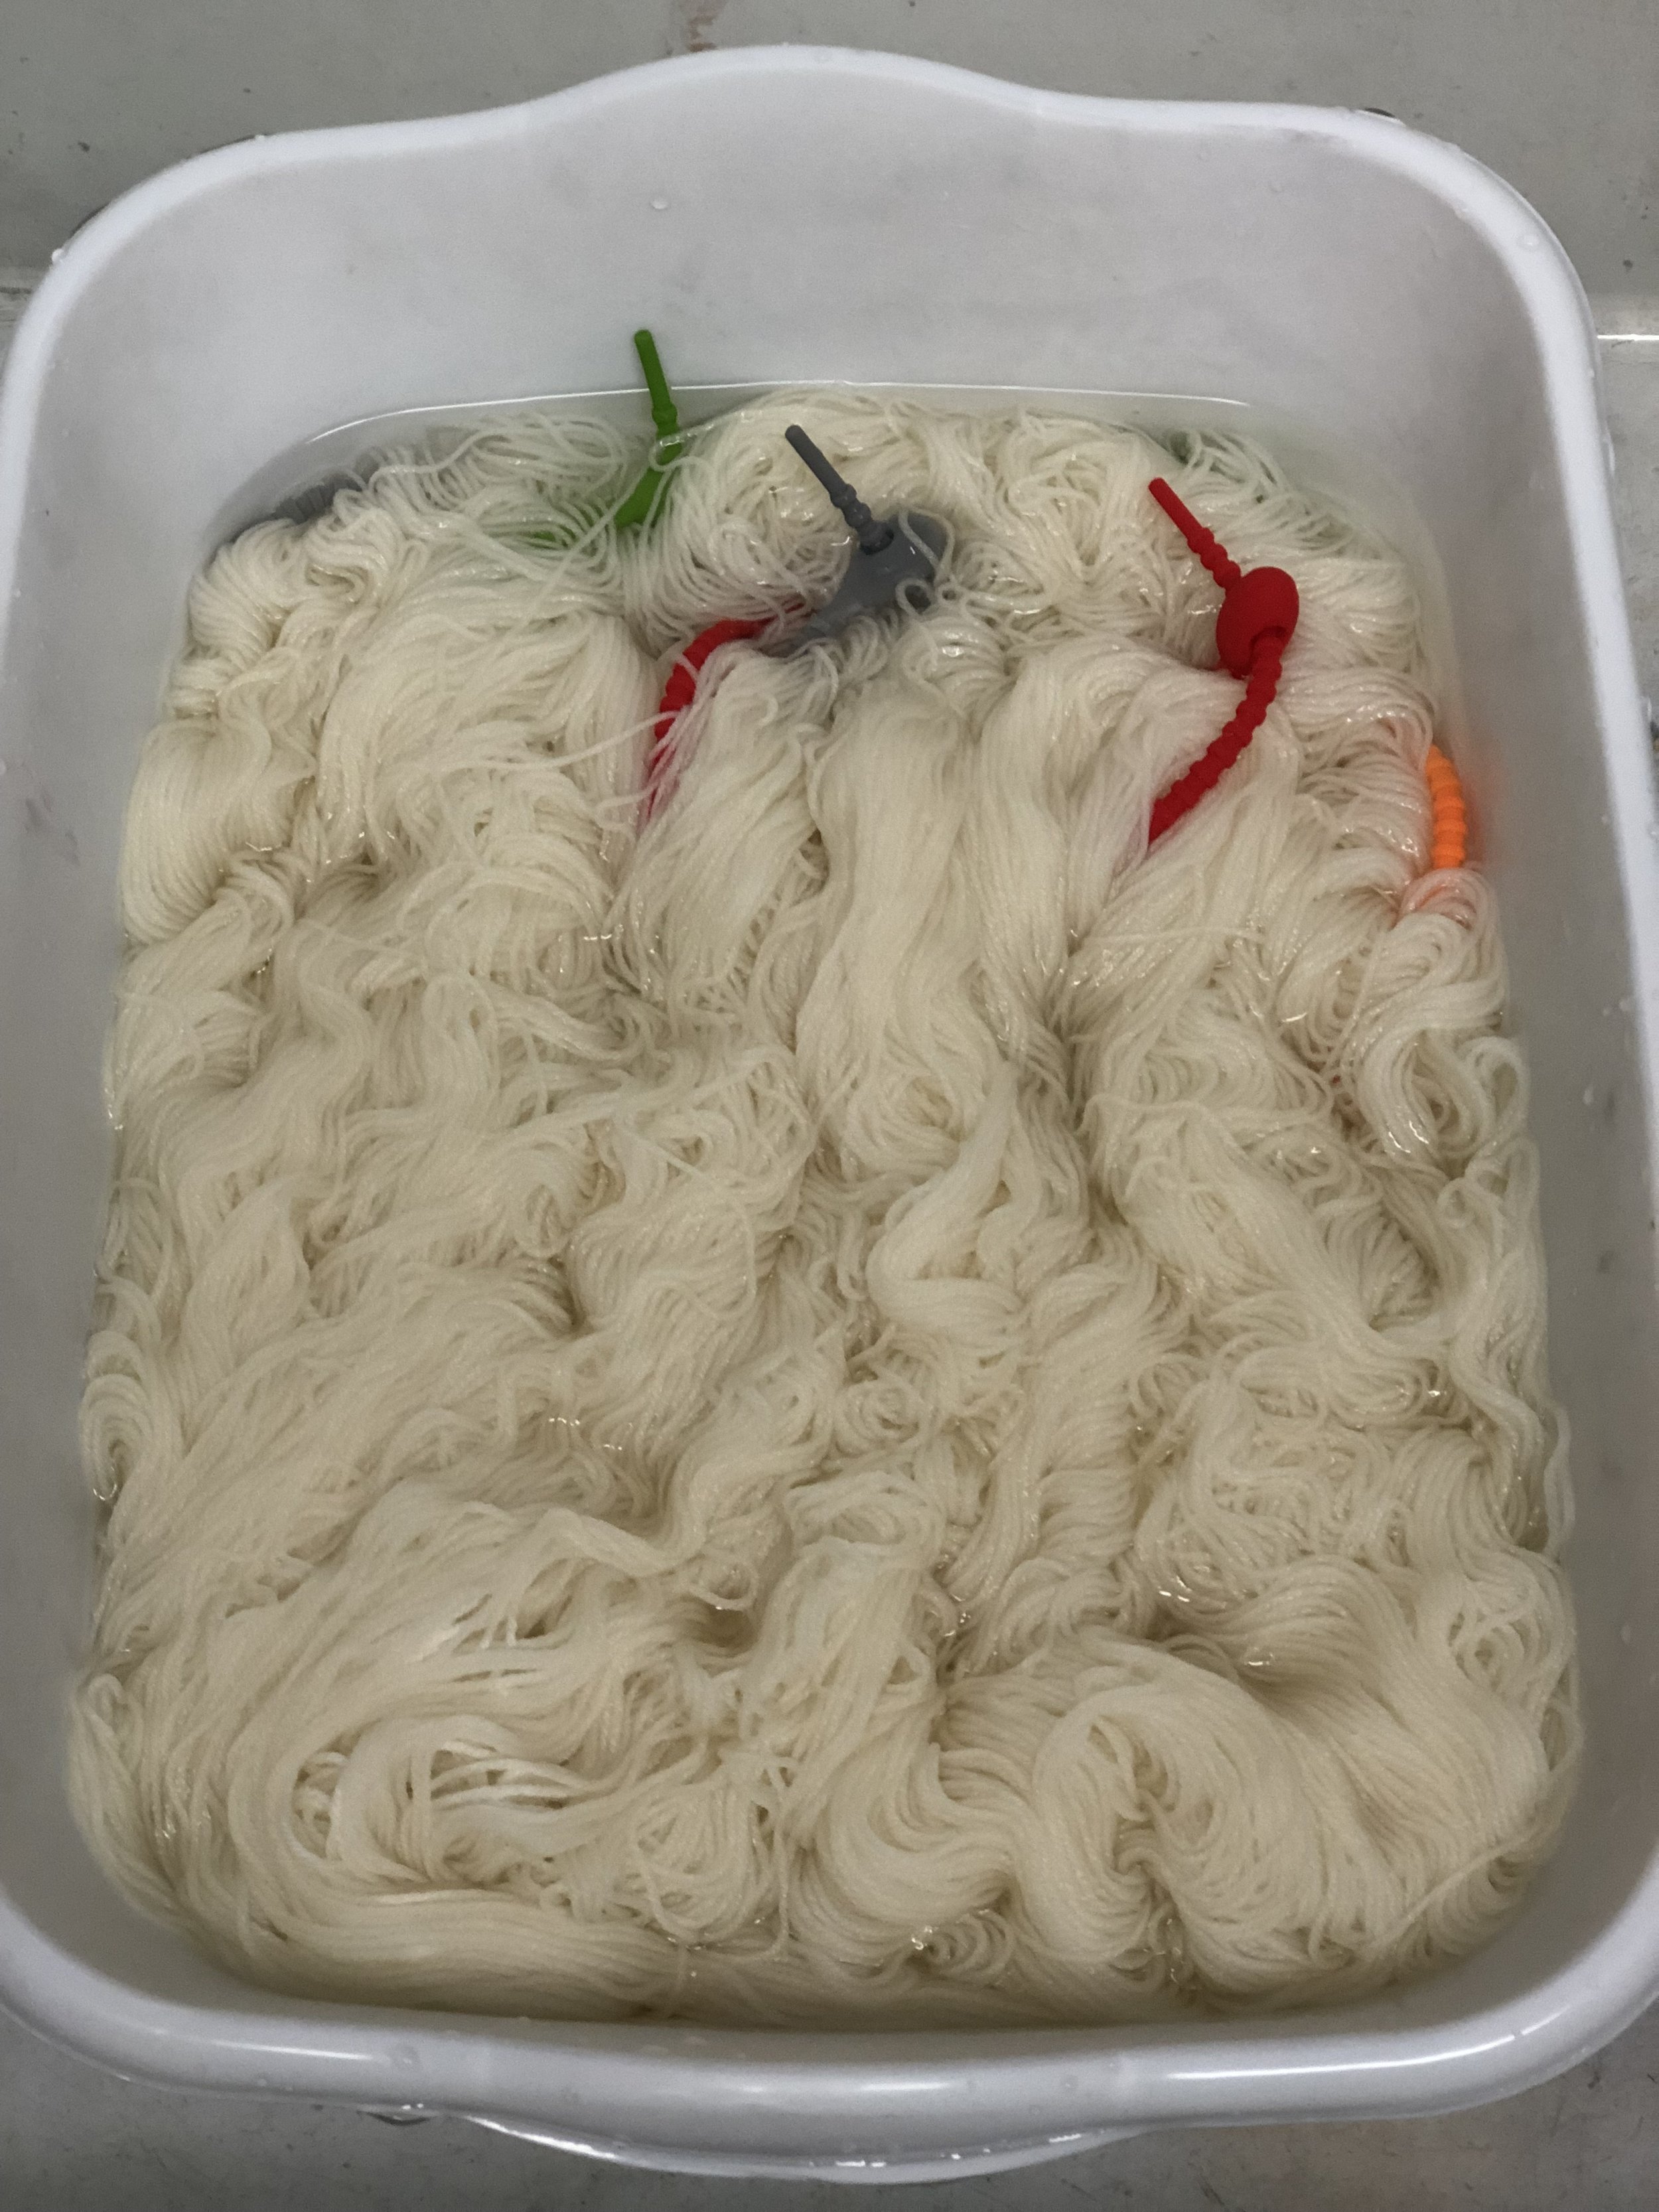
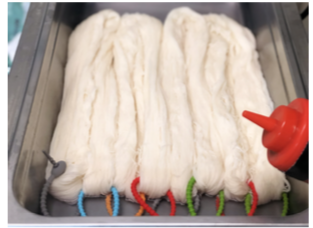
First, put the solution in the dish pan, then add the yarn. Why this is important? The more you move the protein fiber yarn around during the process, the most likely it is to felt. This includes splashing water on it. You always want to try and do indirect contact with water when it comes to working with protein fibers. However, with a super-wash yarn that has been treated, you are less likely to felt the yarn during this process.
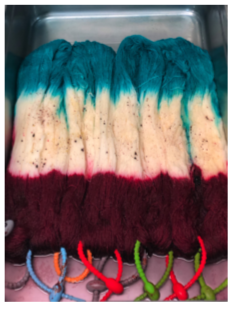
My suggestion is to soak the yarn for at least 15 minutes, although soaking overnight is always best. The longer the yarn has to soak the more acid solution it will absorb. Once it is full absorbed, it will look like the last picture and the yarn will have risen out of the water.
Step 4: Measuring and Pouring in the Dye Stock
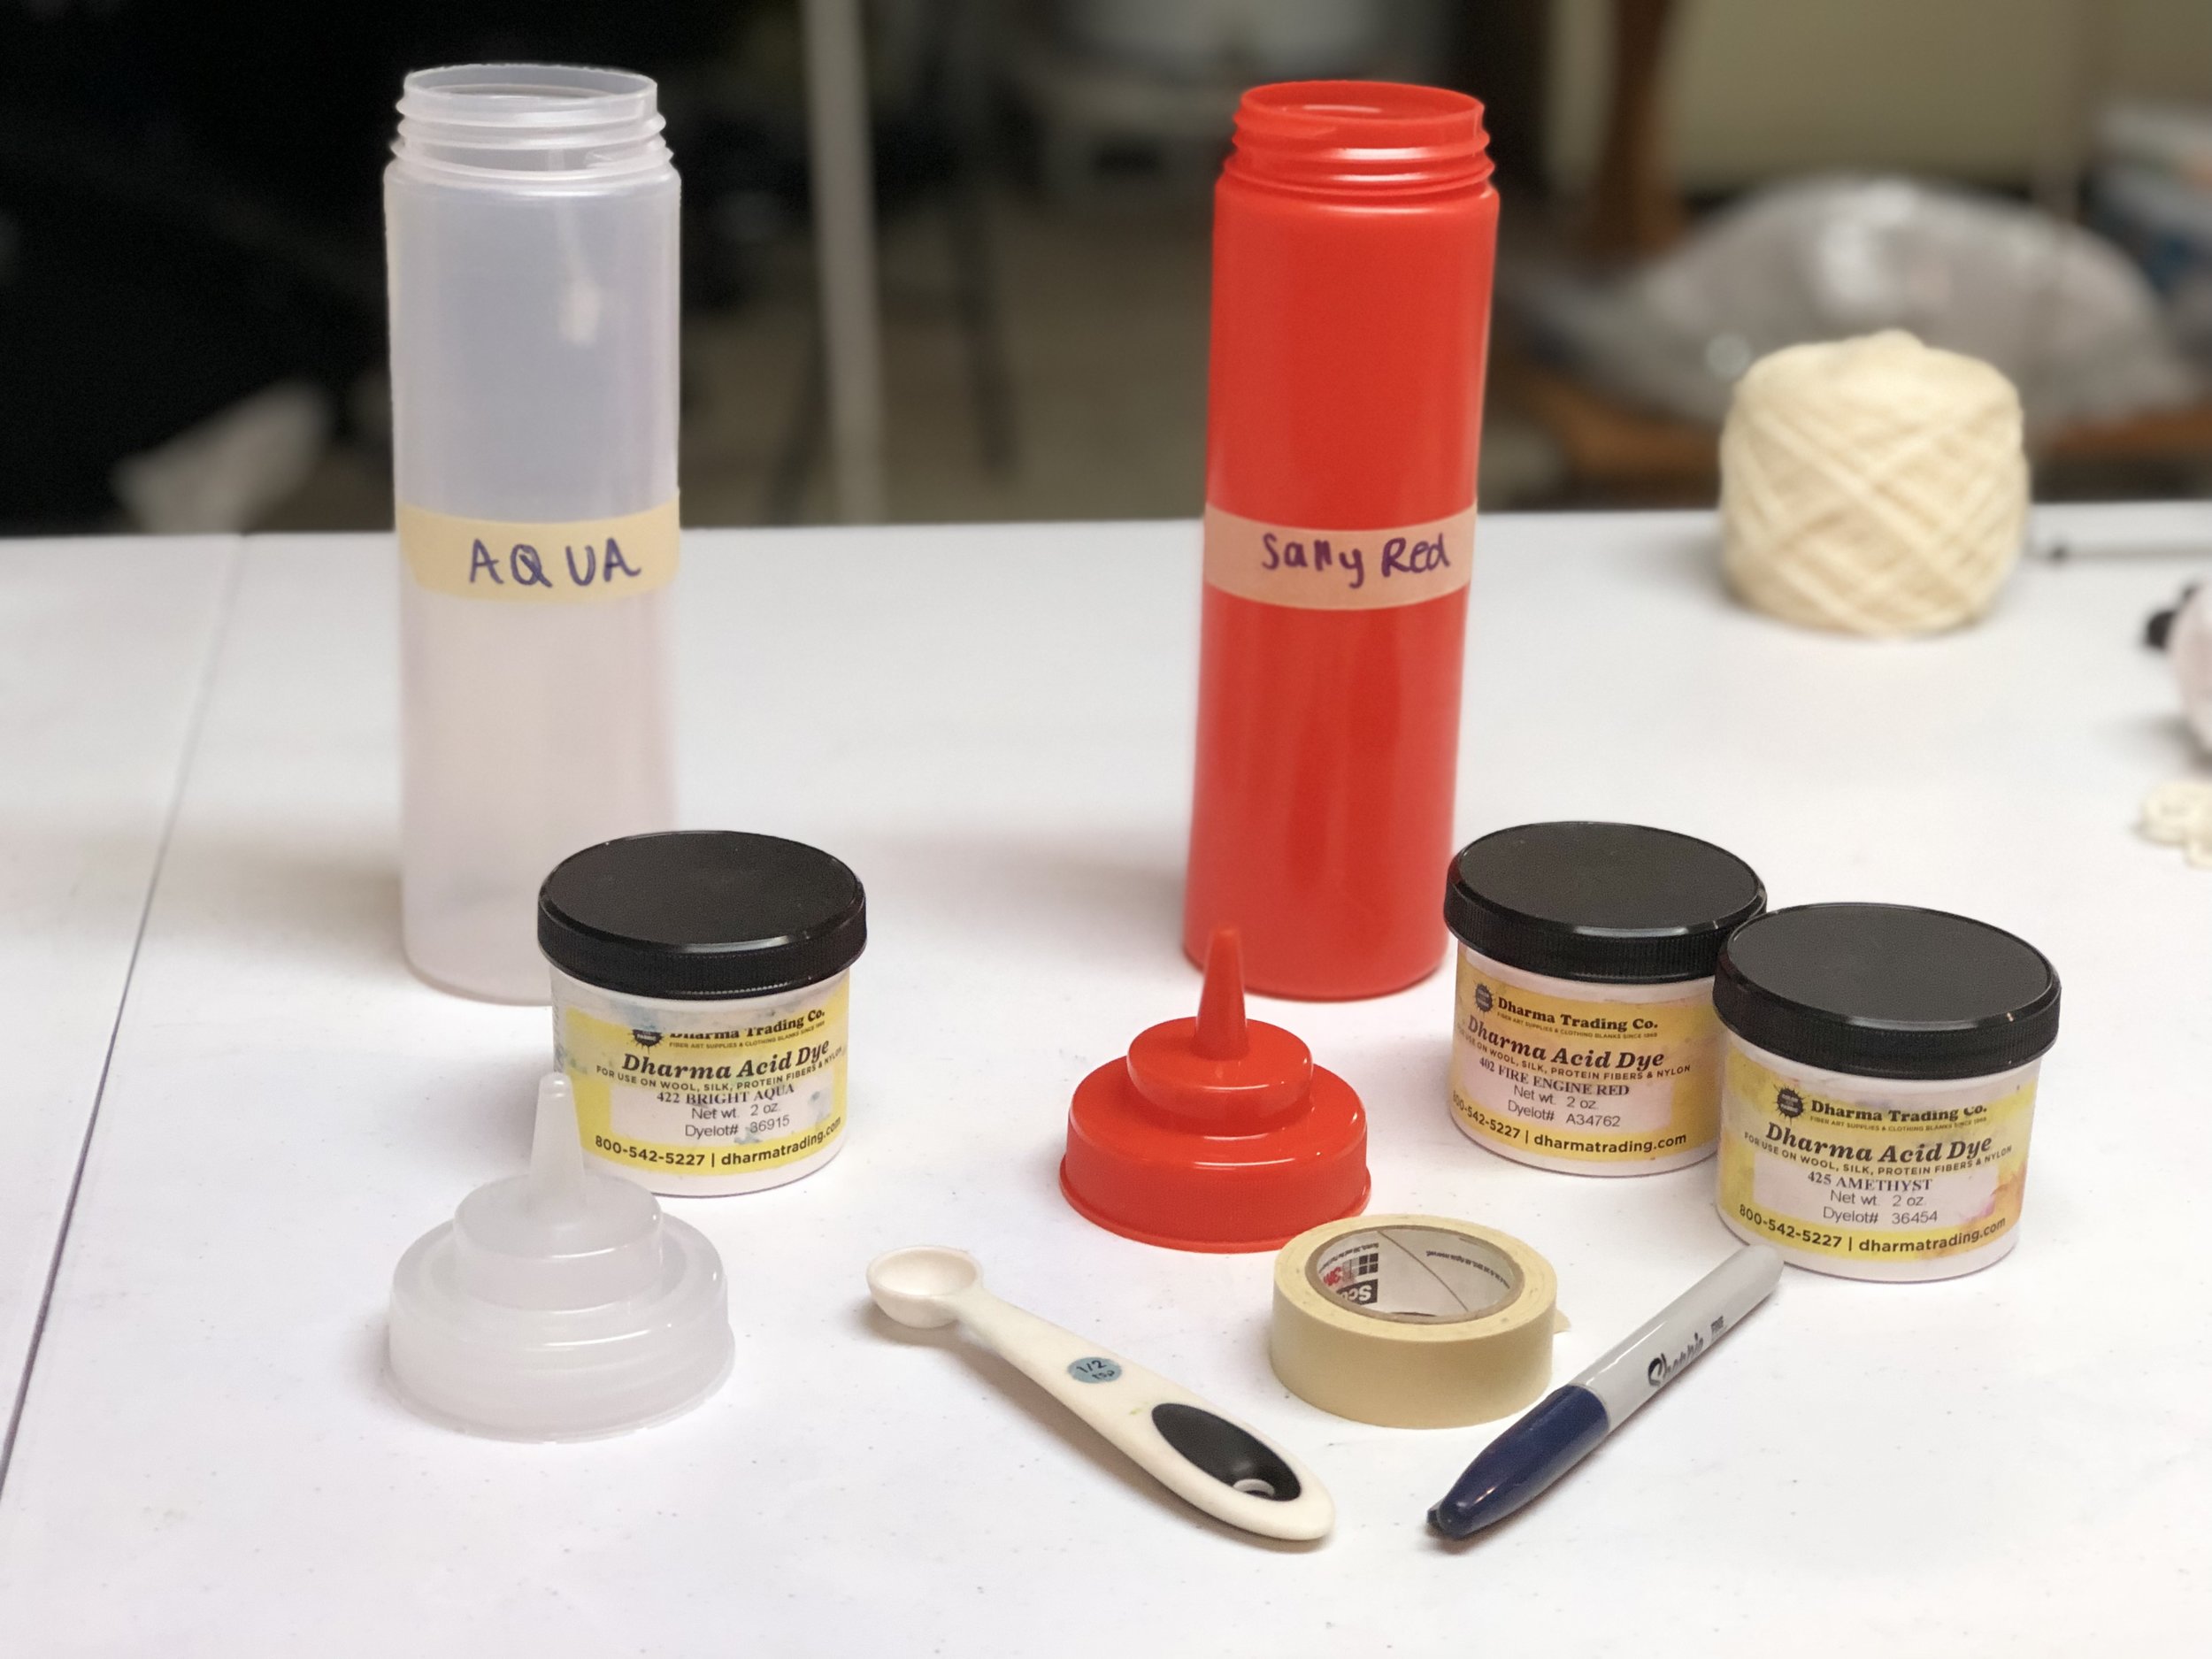
Now comes the fun part, setting up the dye stock solutions. For this tutorial we are using:
Dharma Trading Co. Bright Aqua for the blue color
Dharma Trading Co. Fire Engine Red and Amethyst for the red color
Two 500 ml squeeze bottles
1/2 tsp. measuring spoon
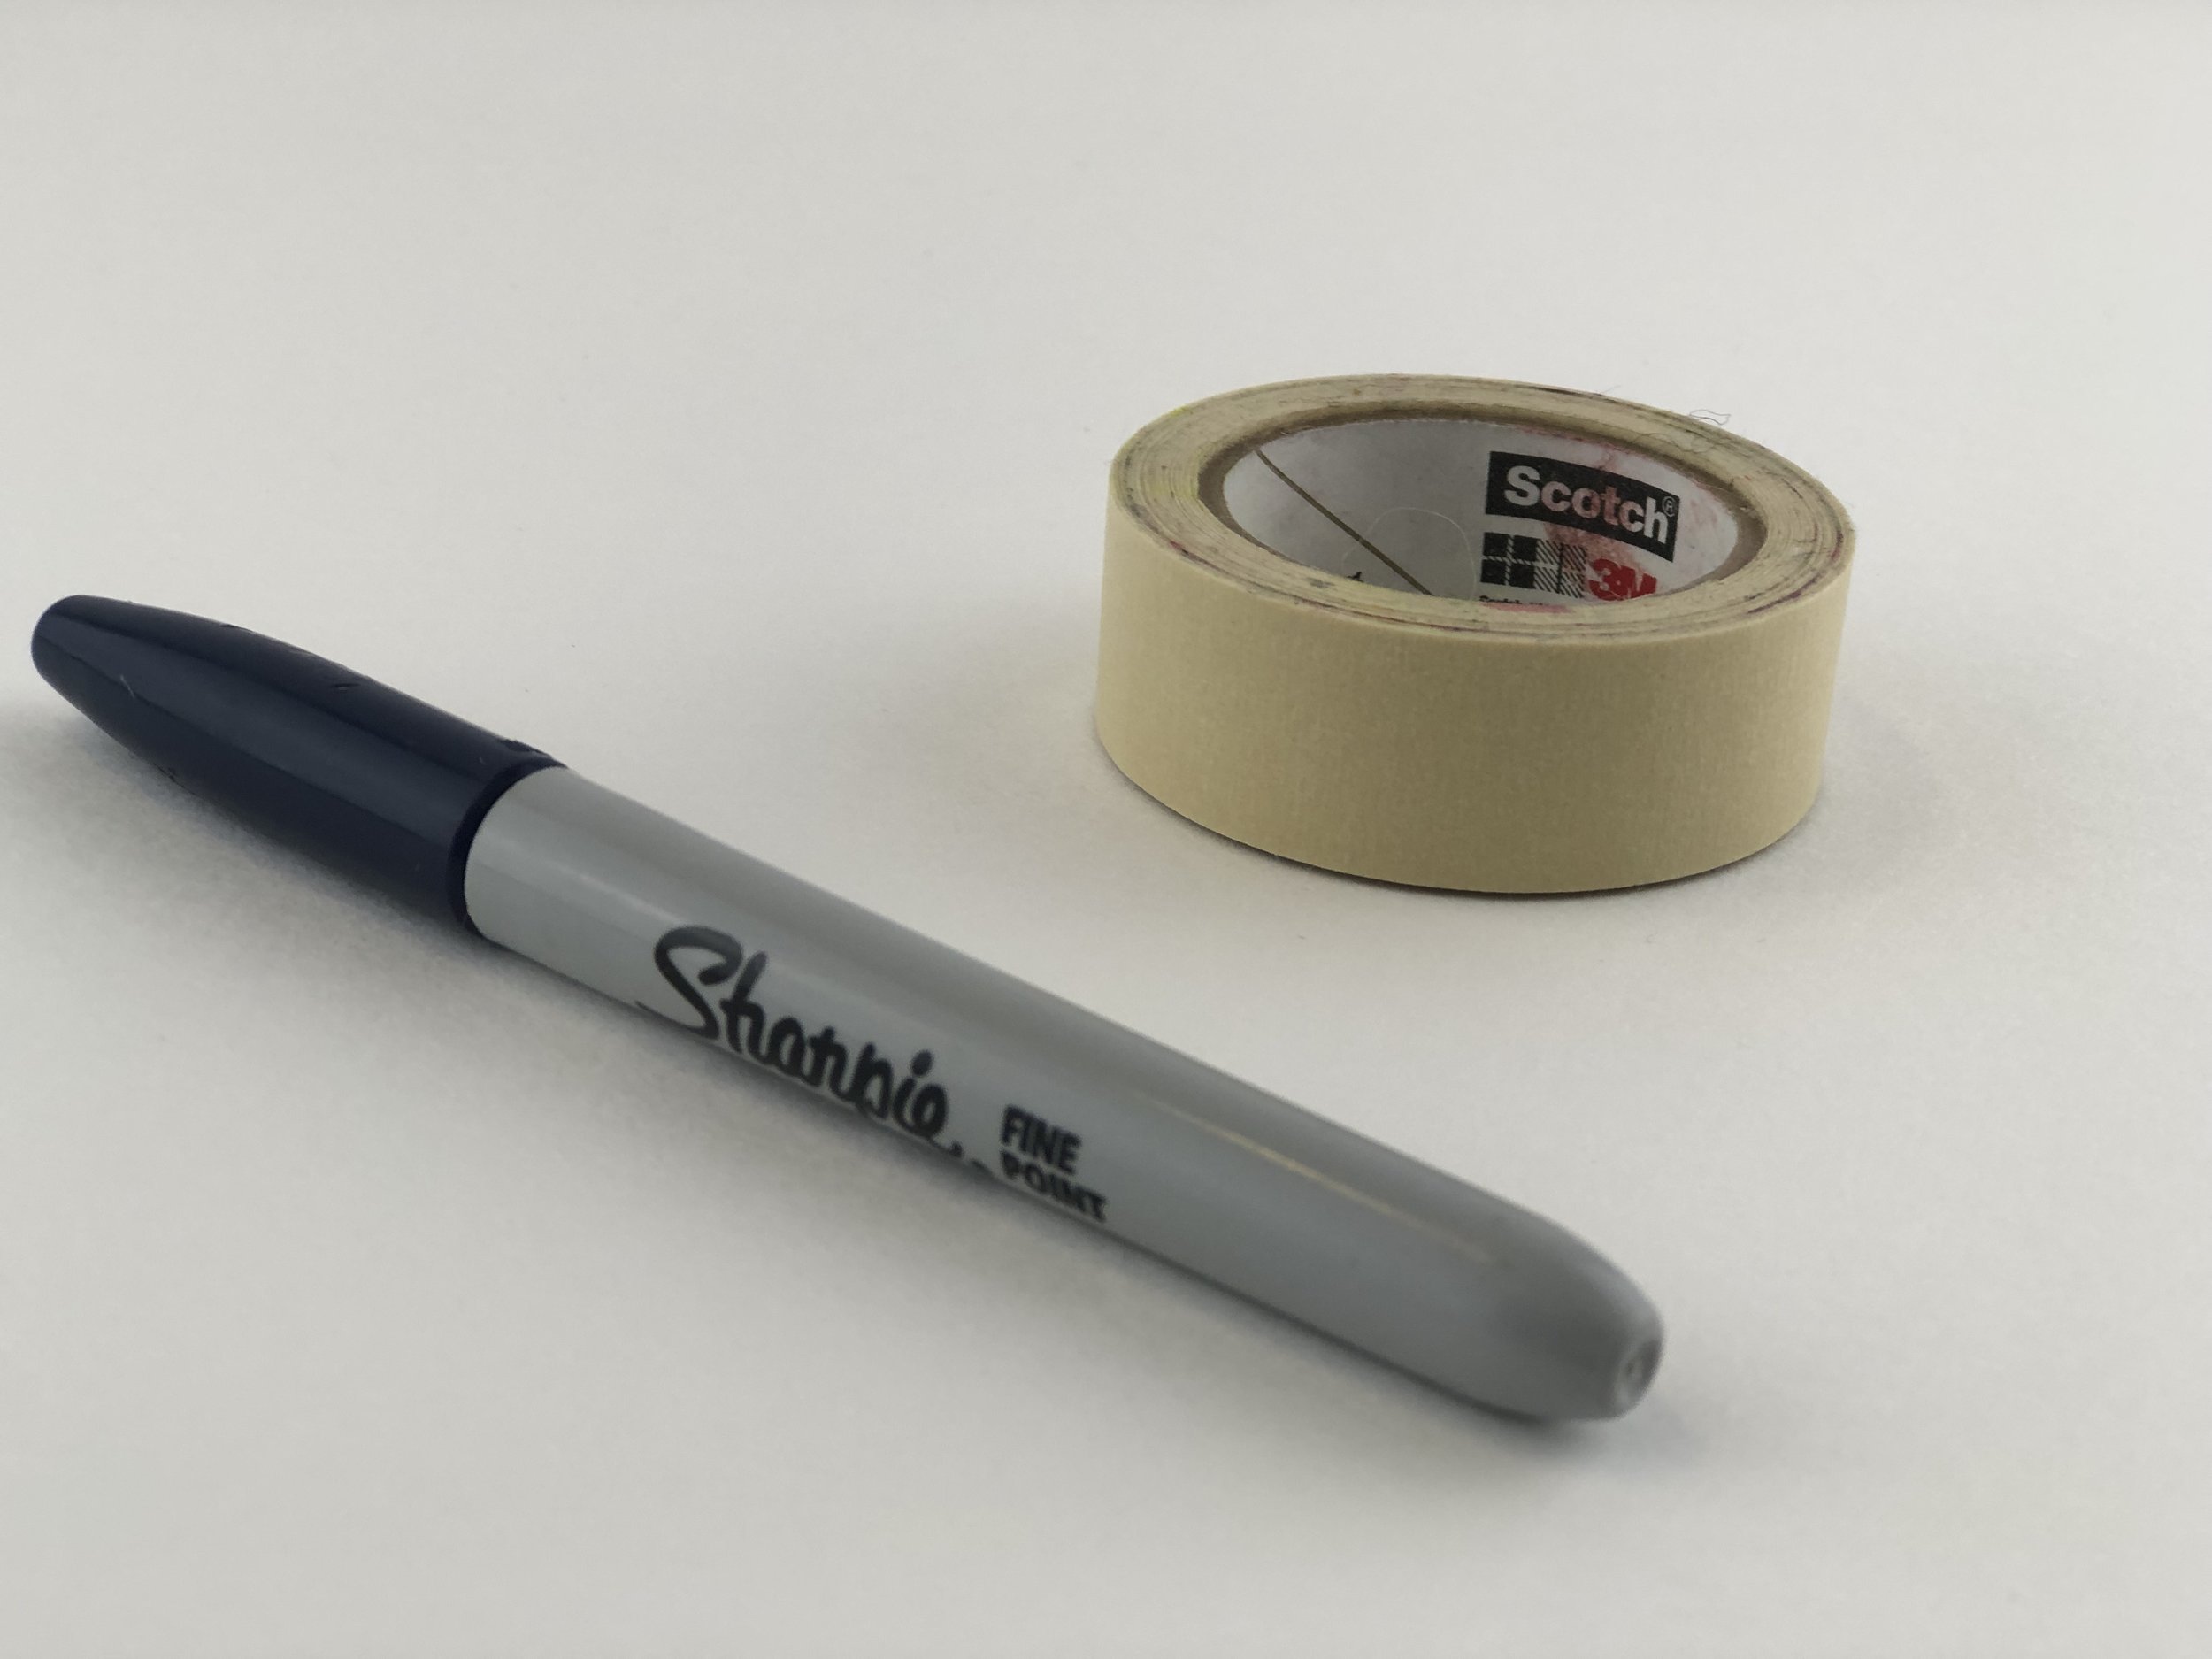
Painter’s/freezer tape
Duct tape
A sharpie
Urea
Your electric tea kettle full of heated water
Keep lukewarm water on hand as well
You first want to heat up the water in your tea kettle until boiling.
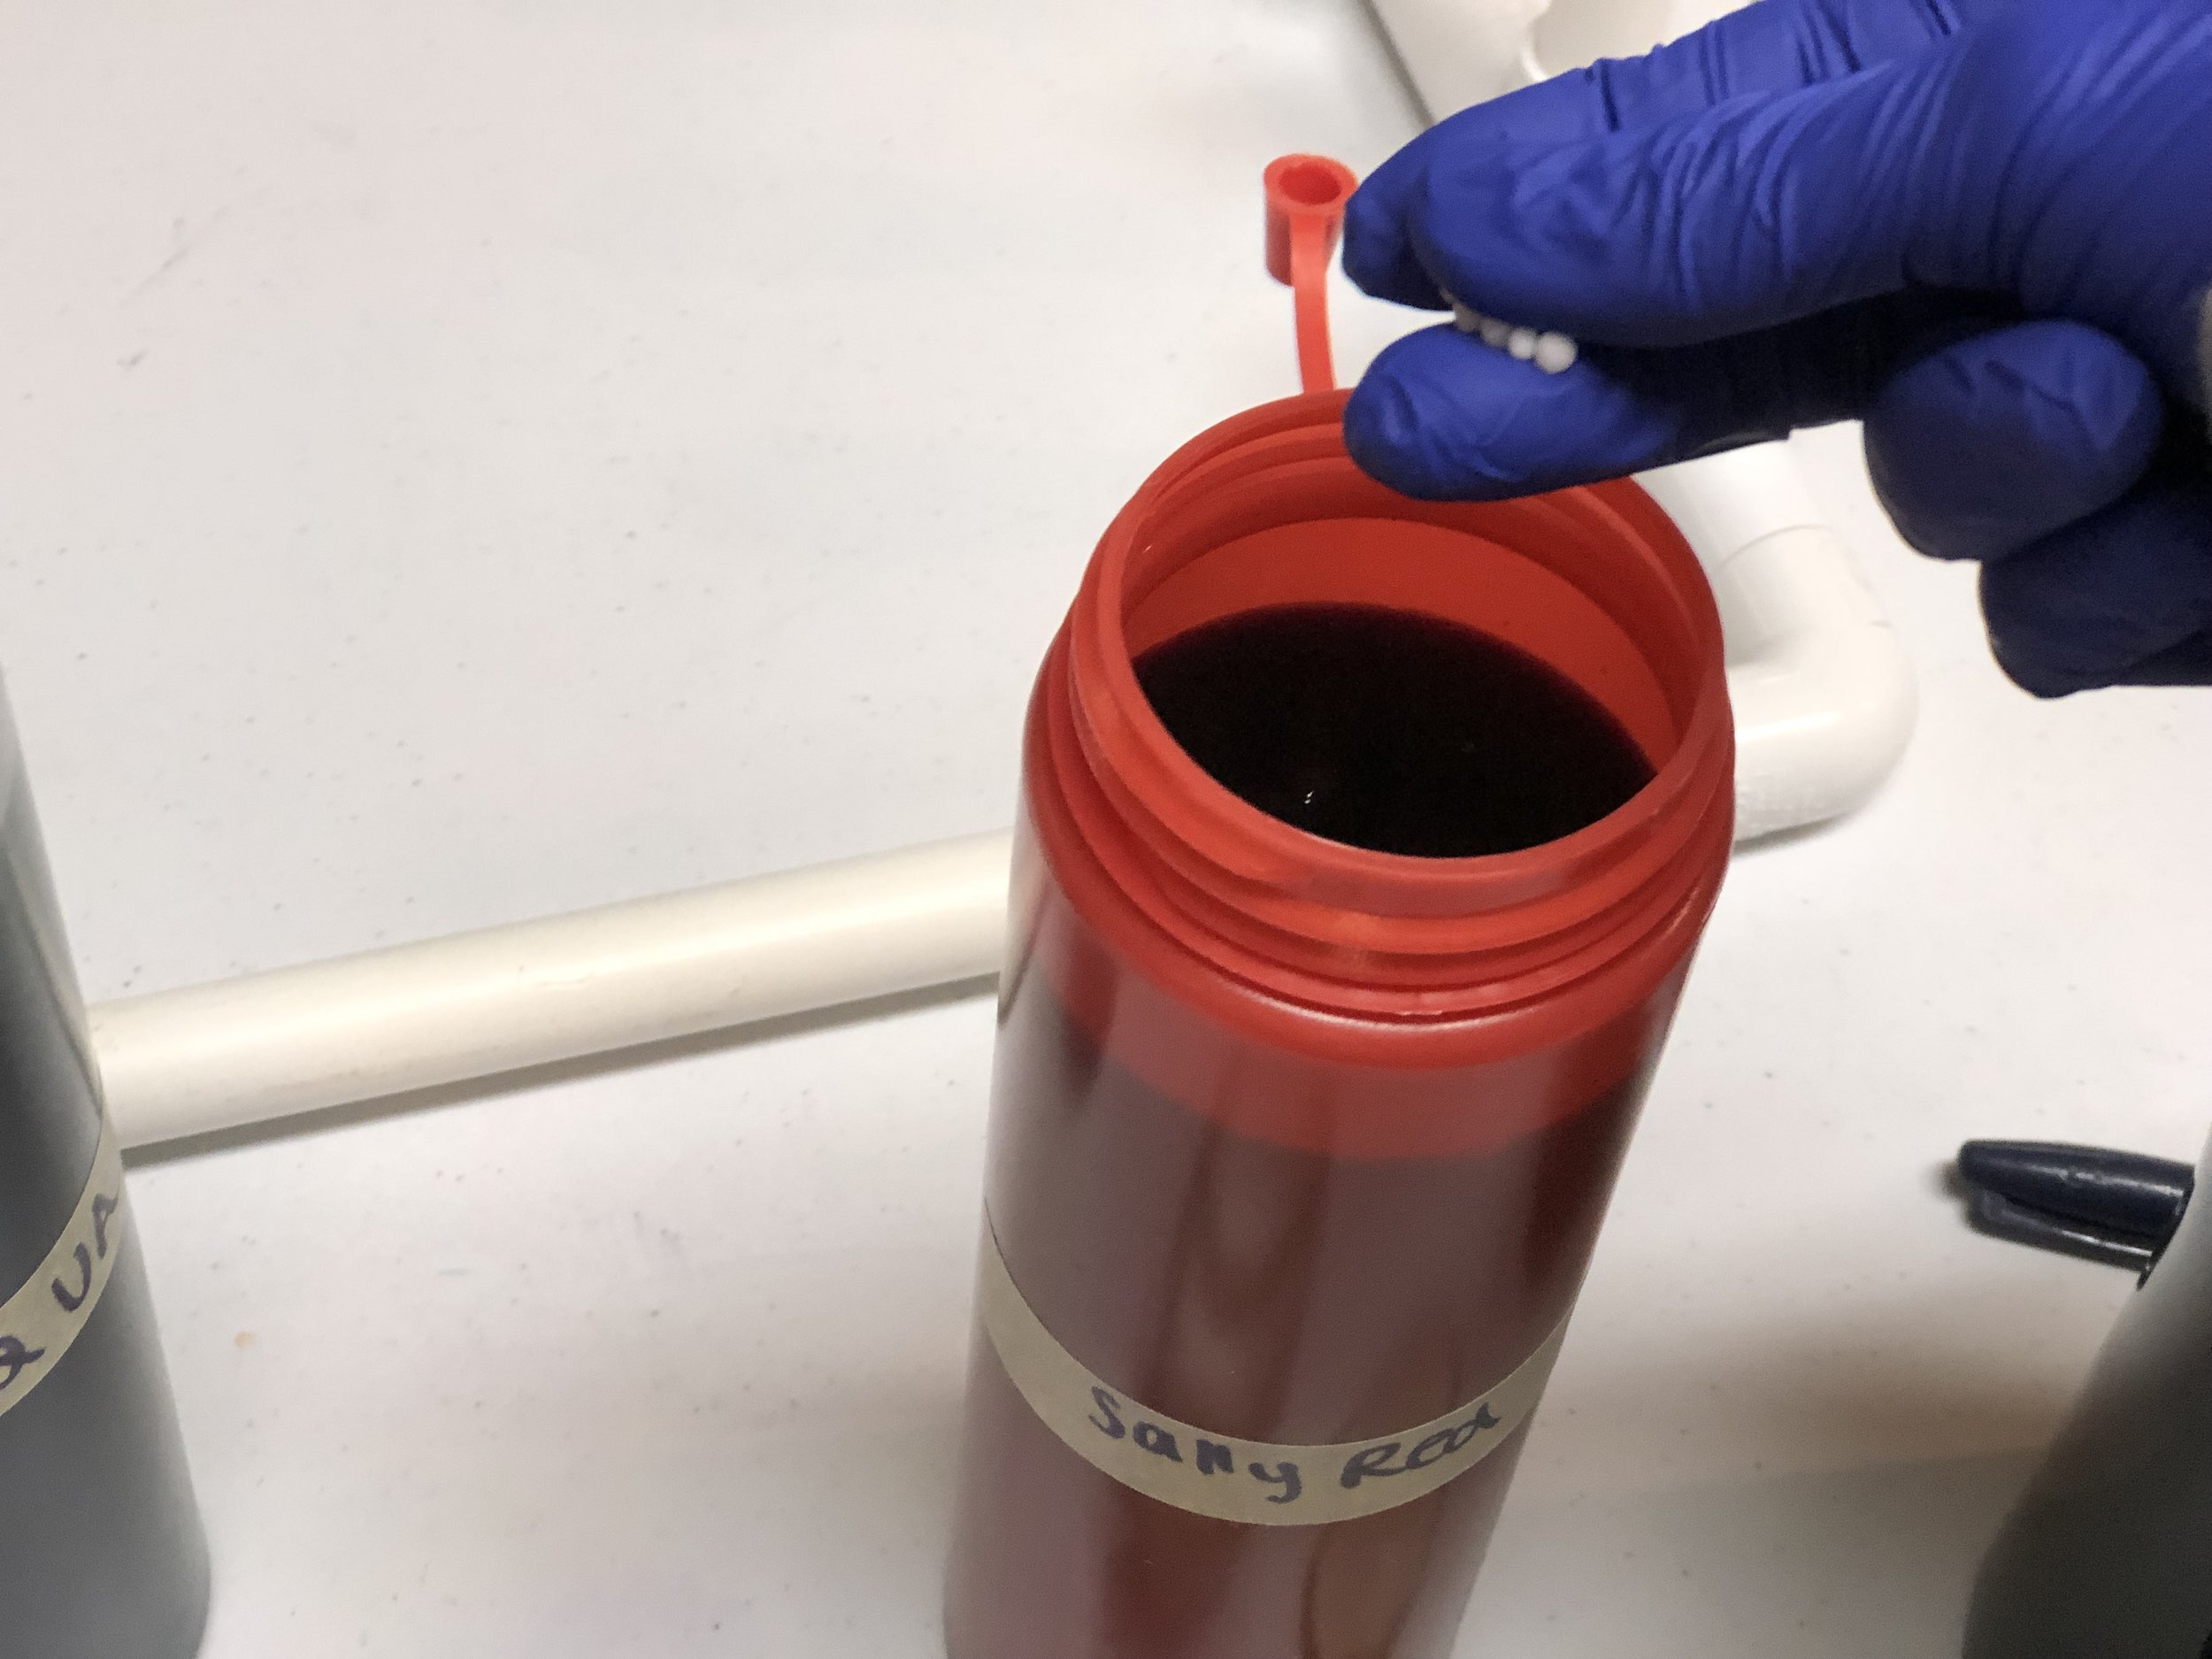
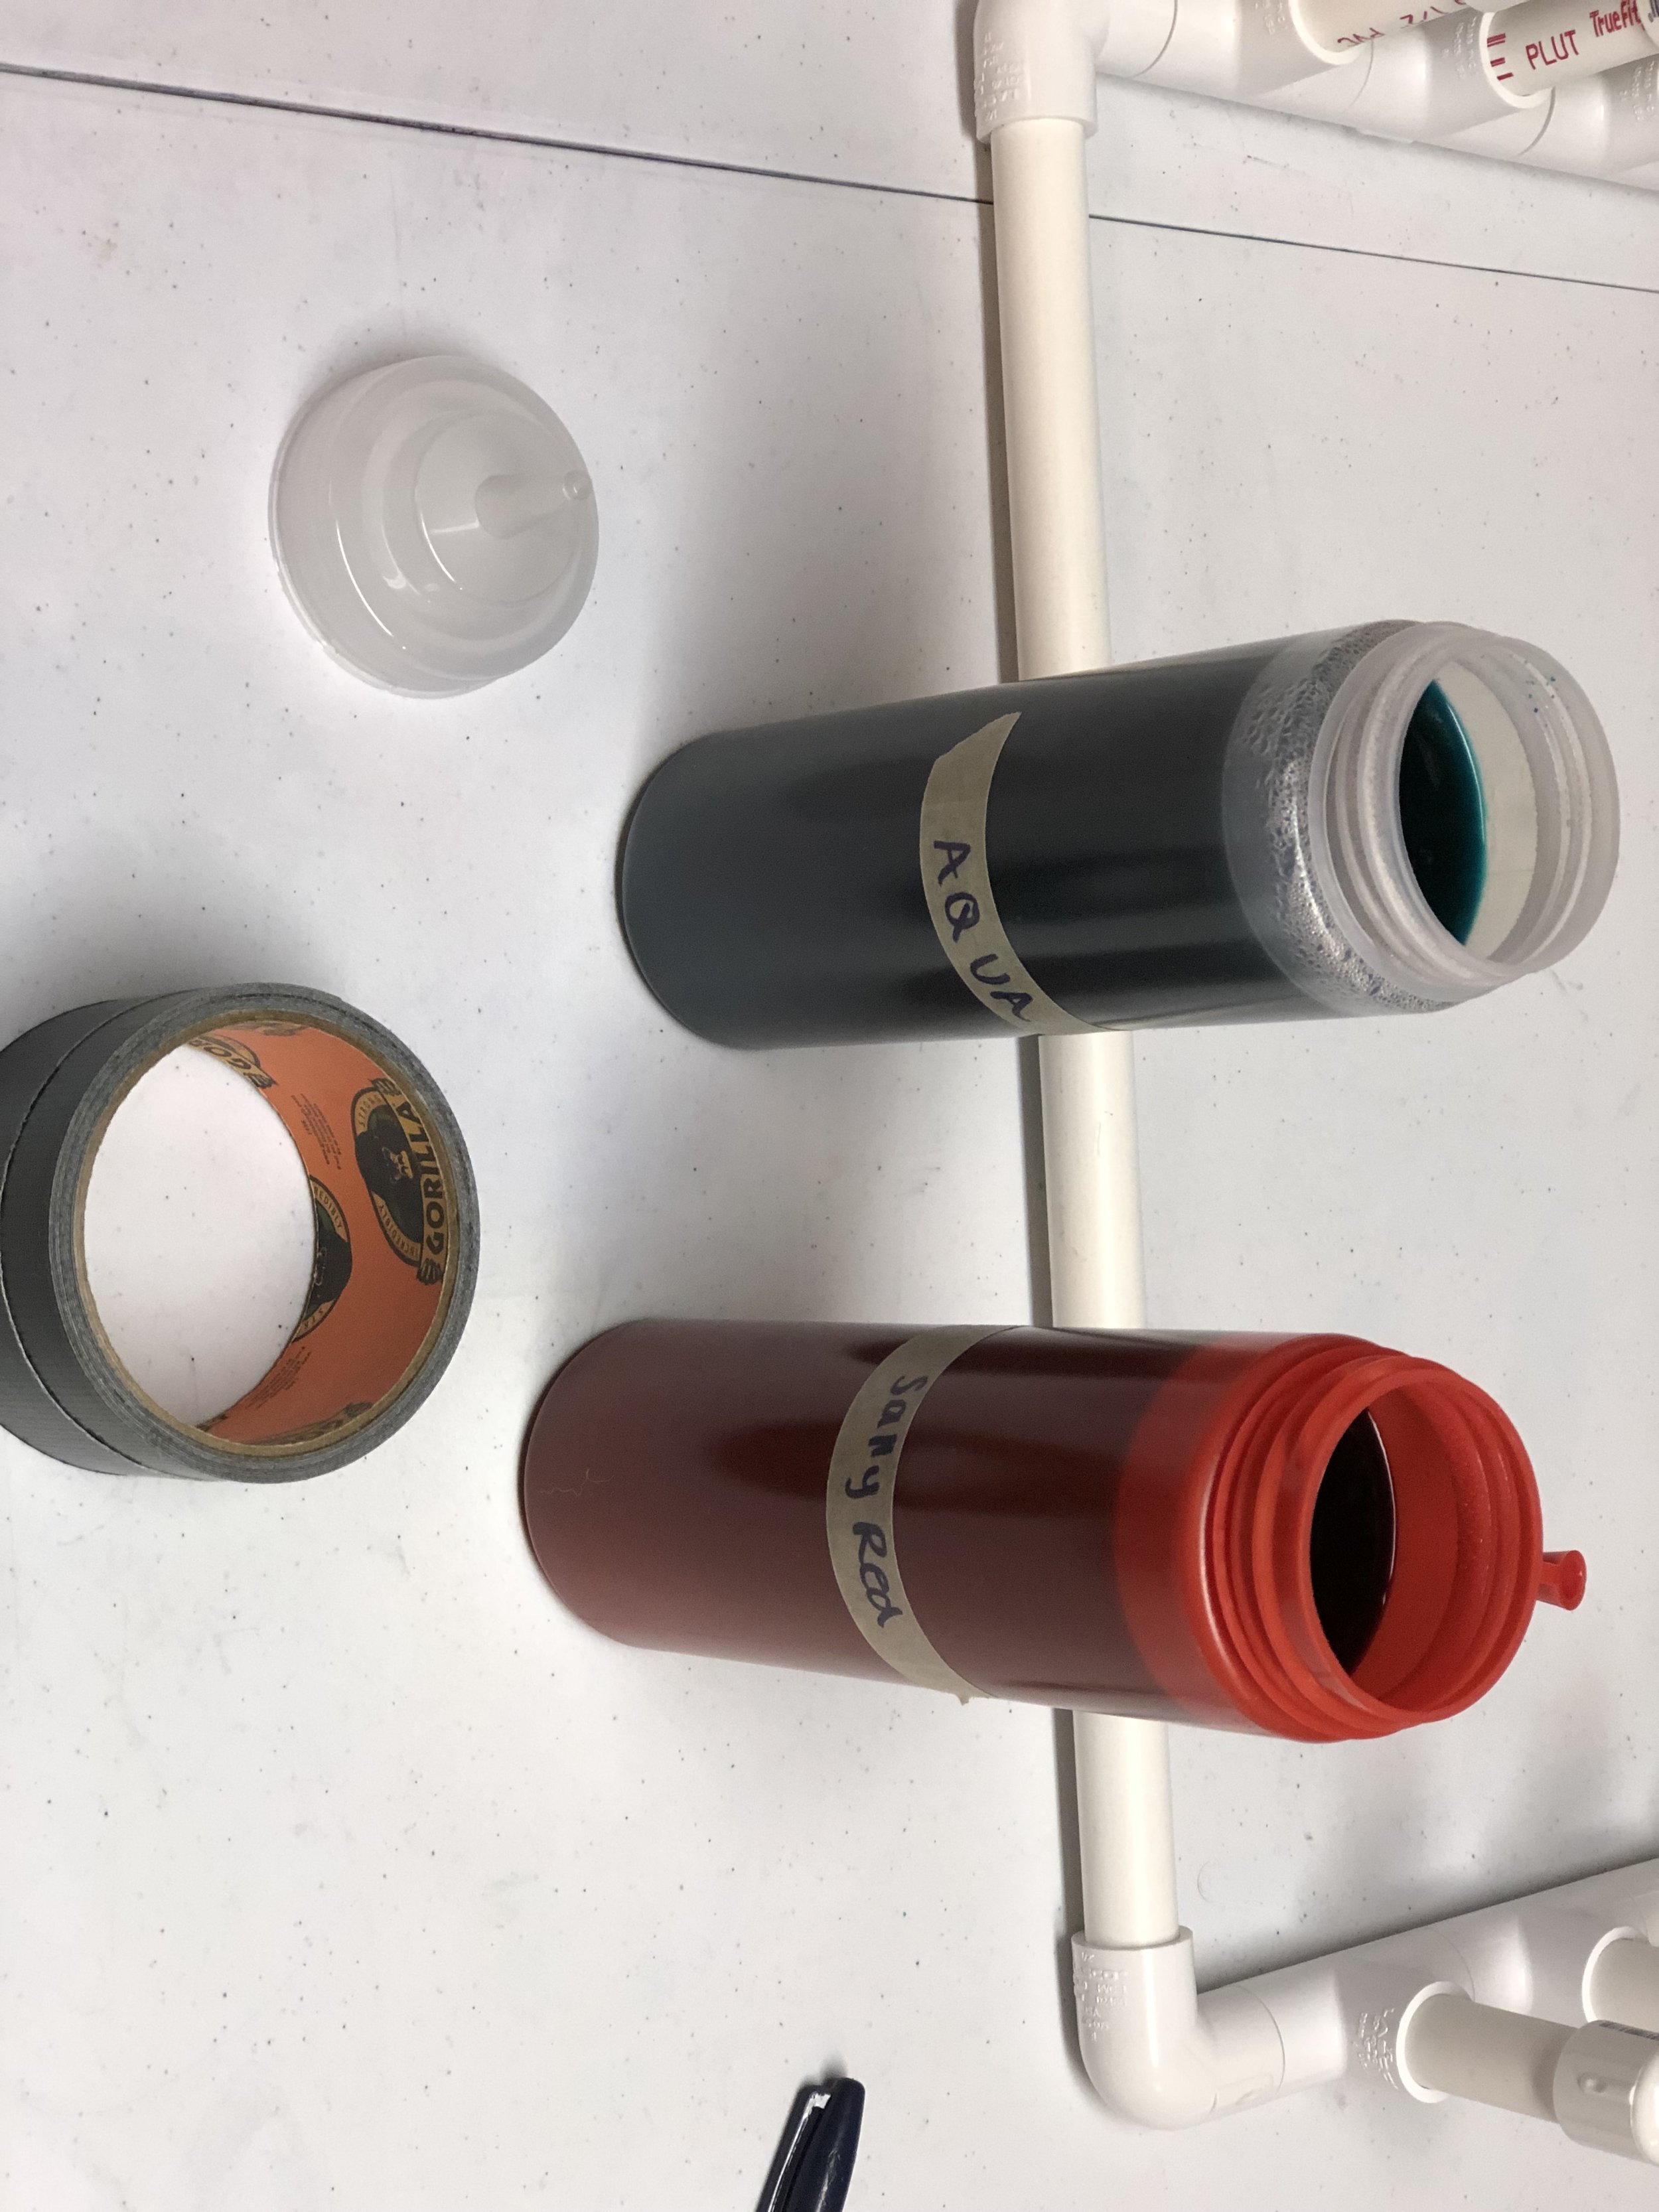
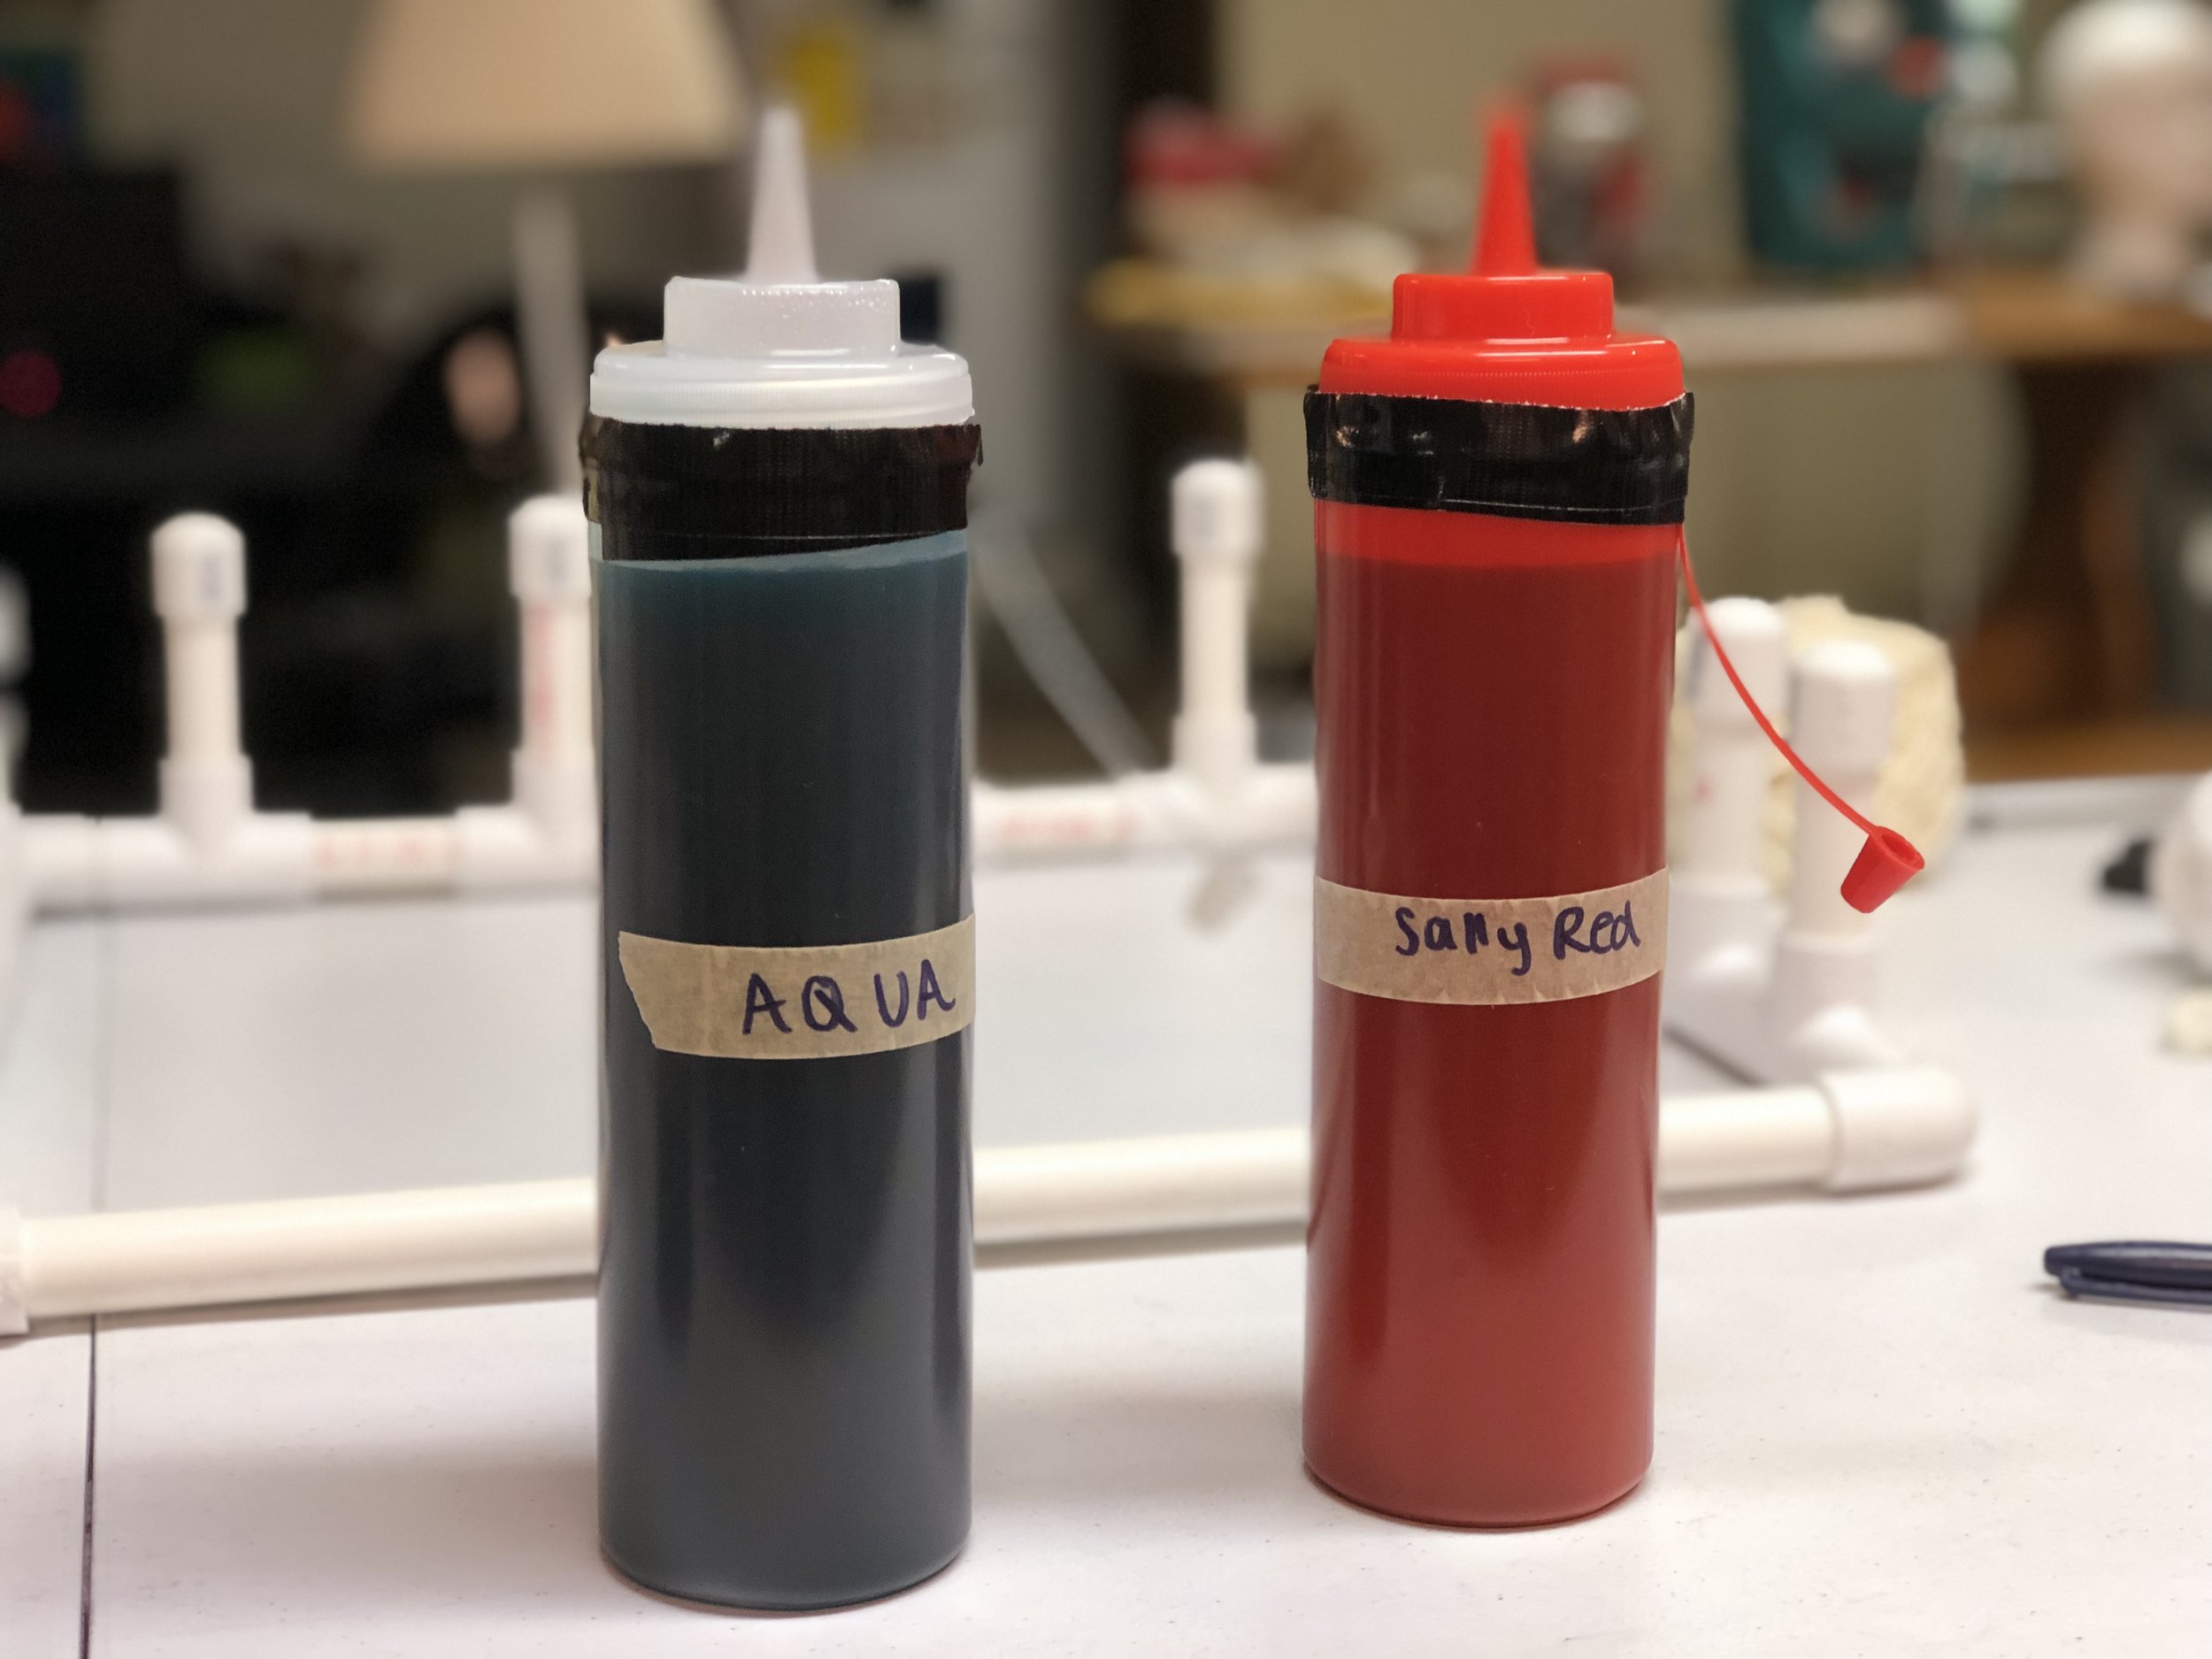
While your water is boiling, put the painter’s tape on both bottles and mark them “blue” and “red” with the sharpie. It is important to label because you do not want to accidently use the wrong squeeze bottle when dying the yarn, this can be pretty frustrating.
Also while the water is heating up in the kettle you can measure out the dye stock into the squeeze bottles.

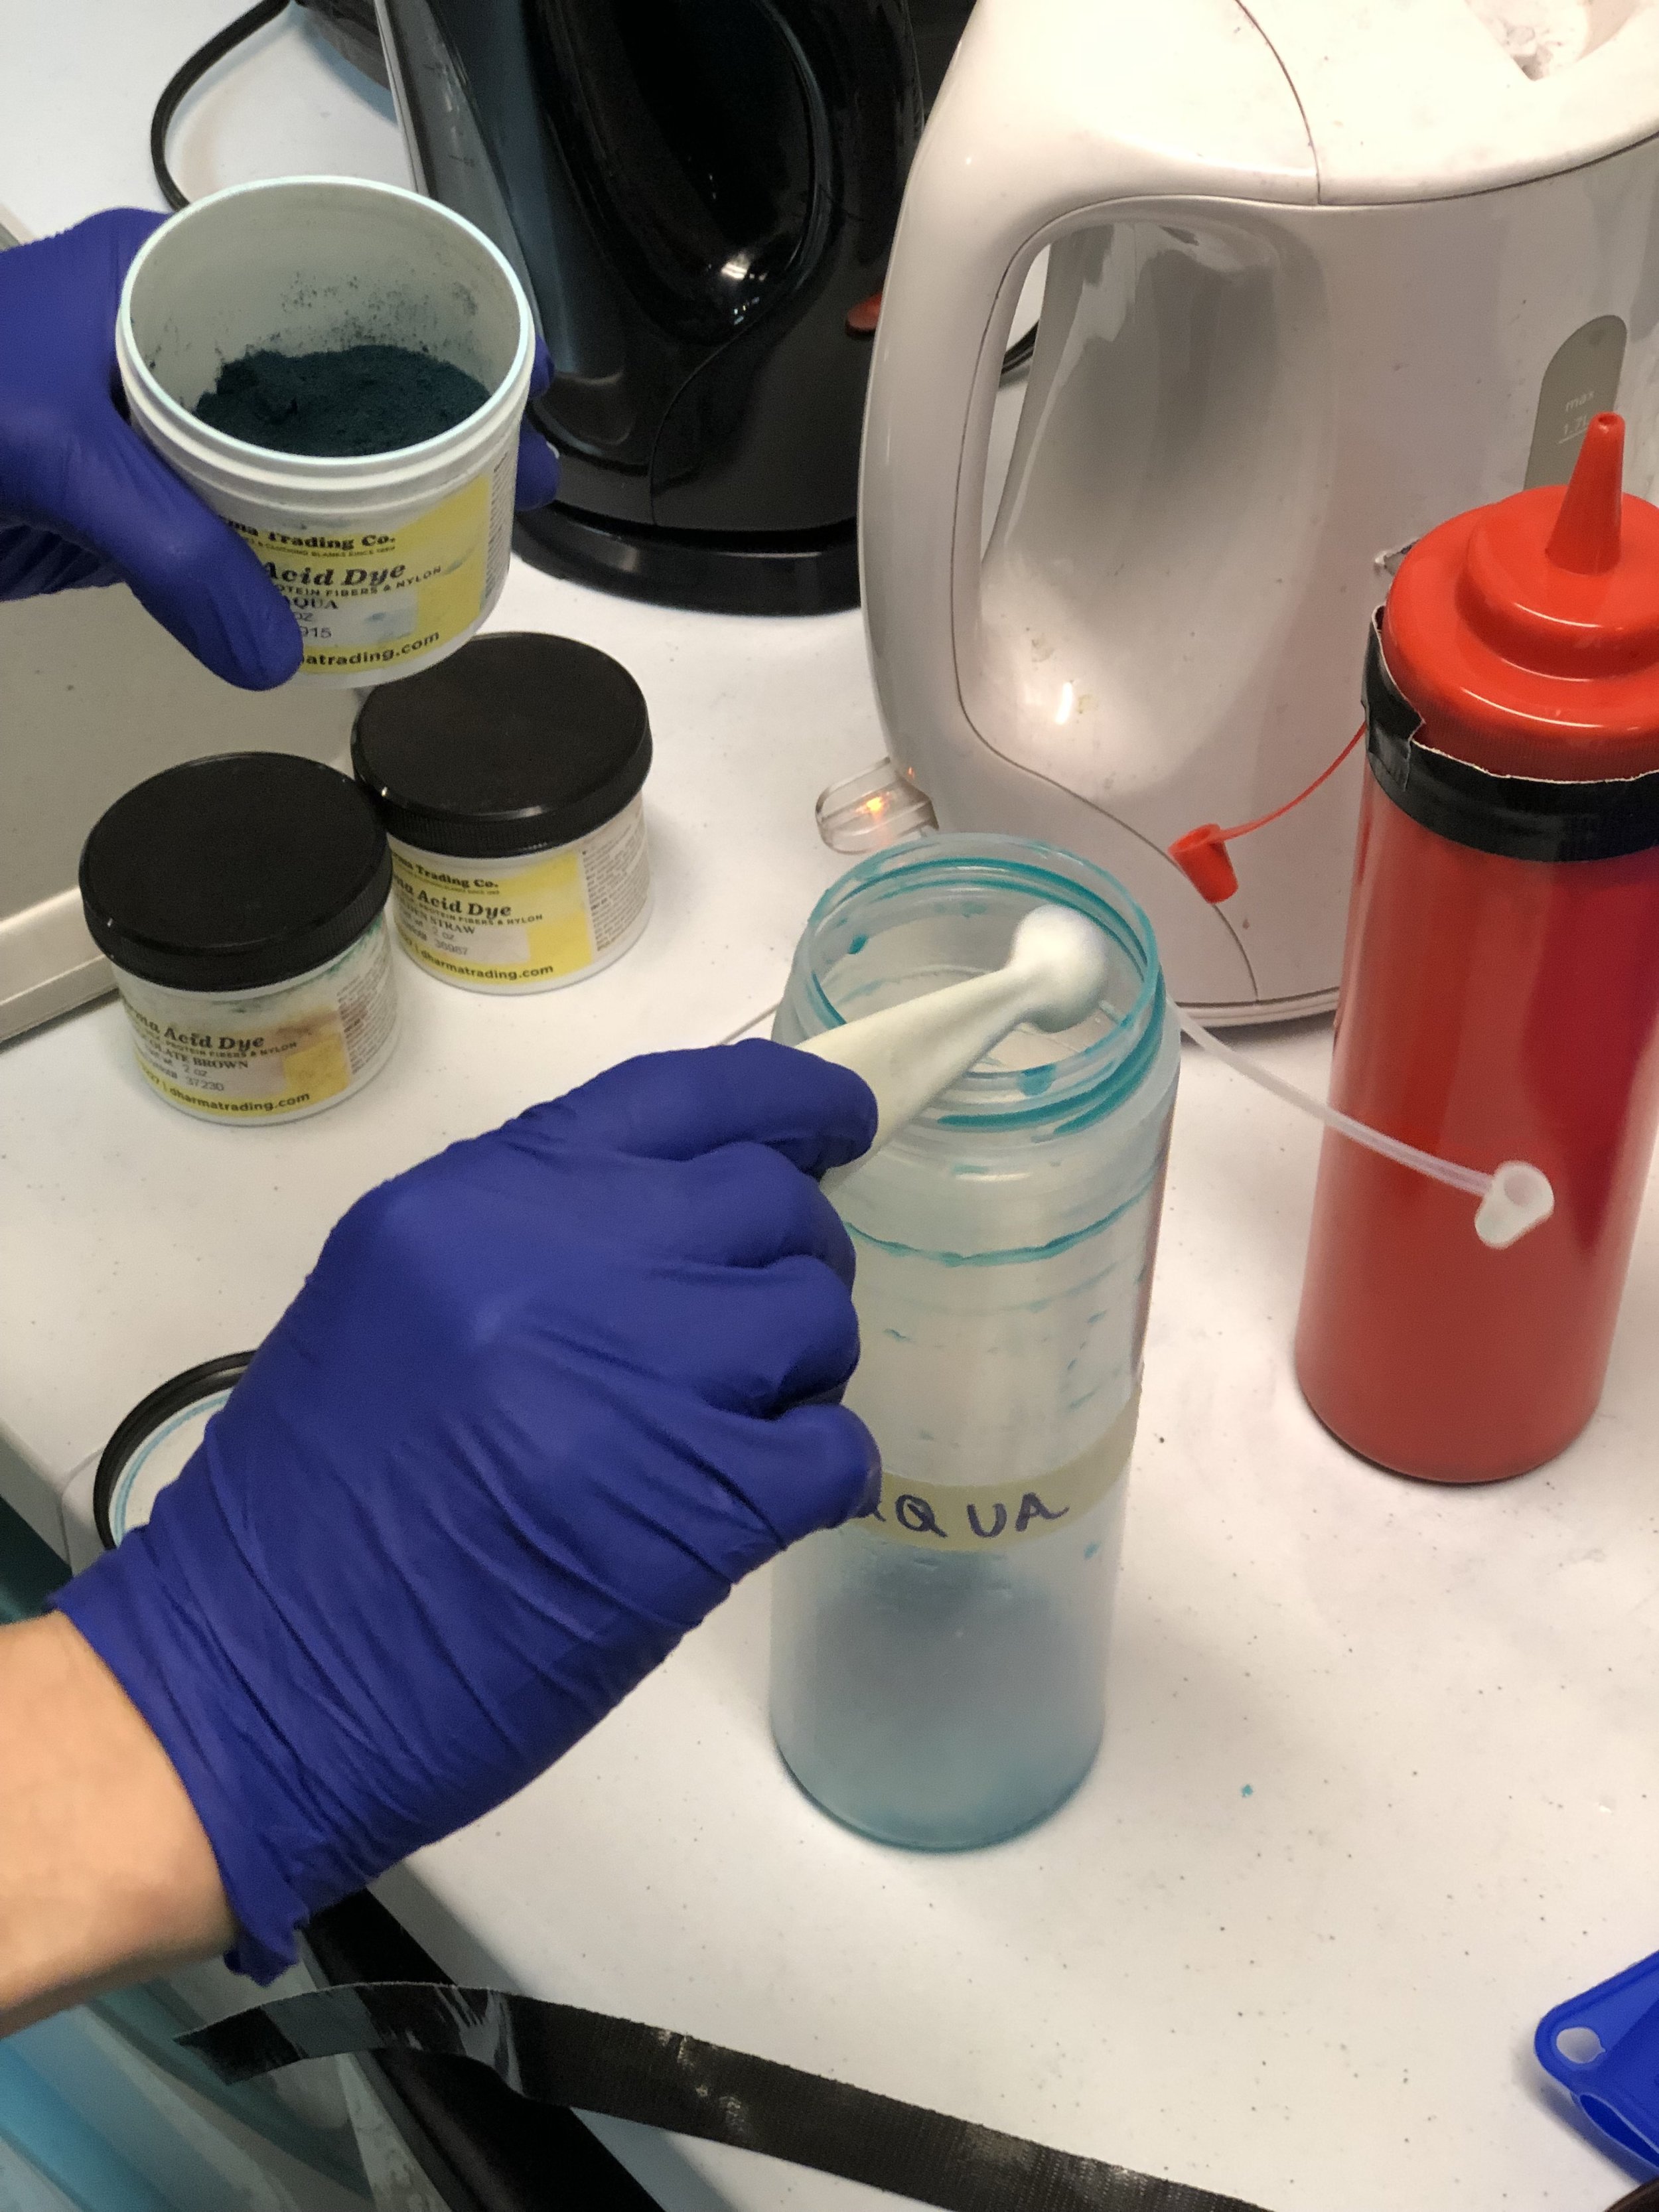
Rule of thumb is DYE FIRST, WATER SECOND. You can add the dye second, but it will most likely not dissolve evenly and I do not recommend it.
In the blue-labeled bottle you want to but a level 1/2 tsp. of Bright Aqua dye in the bottom of the bottle.
Then go and wash off the measuring spoon, as you do not want to mix the colors in the bottles.
Once you have washed and dried the spoon, you can then but 1/2 tsp. of Fire Engine Red and 1/2 tsp. of Amethyst in the bottle marked red. You also want to add urea to this bottle - just a few pellets are sufficient. As mentioned before, the urea is not essential but it is needed if you want the Fire Engine Red dye to dissolve correctly in the solution as this dye struggles to dissolve correctly even in hot water.
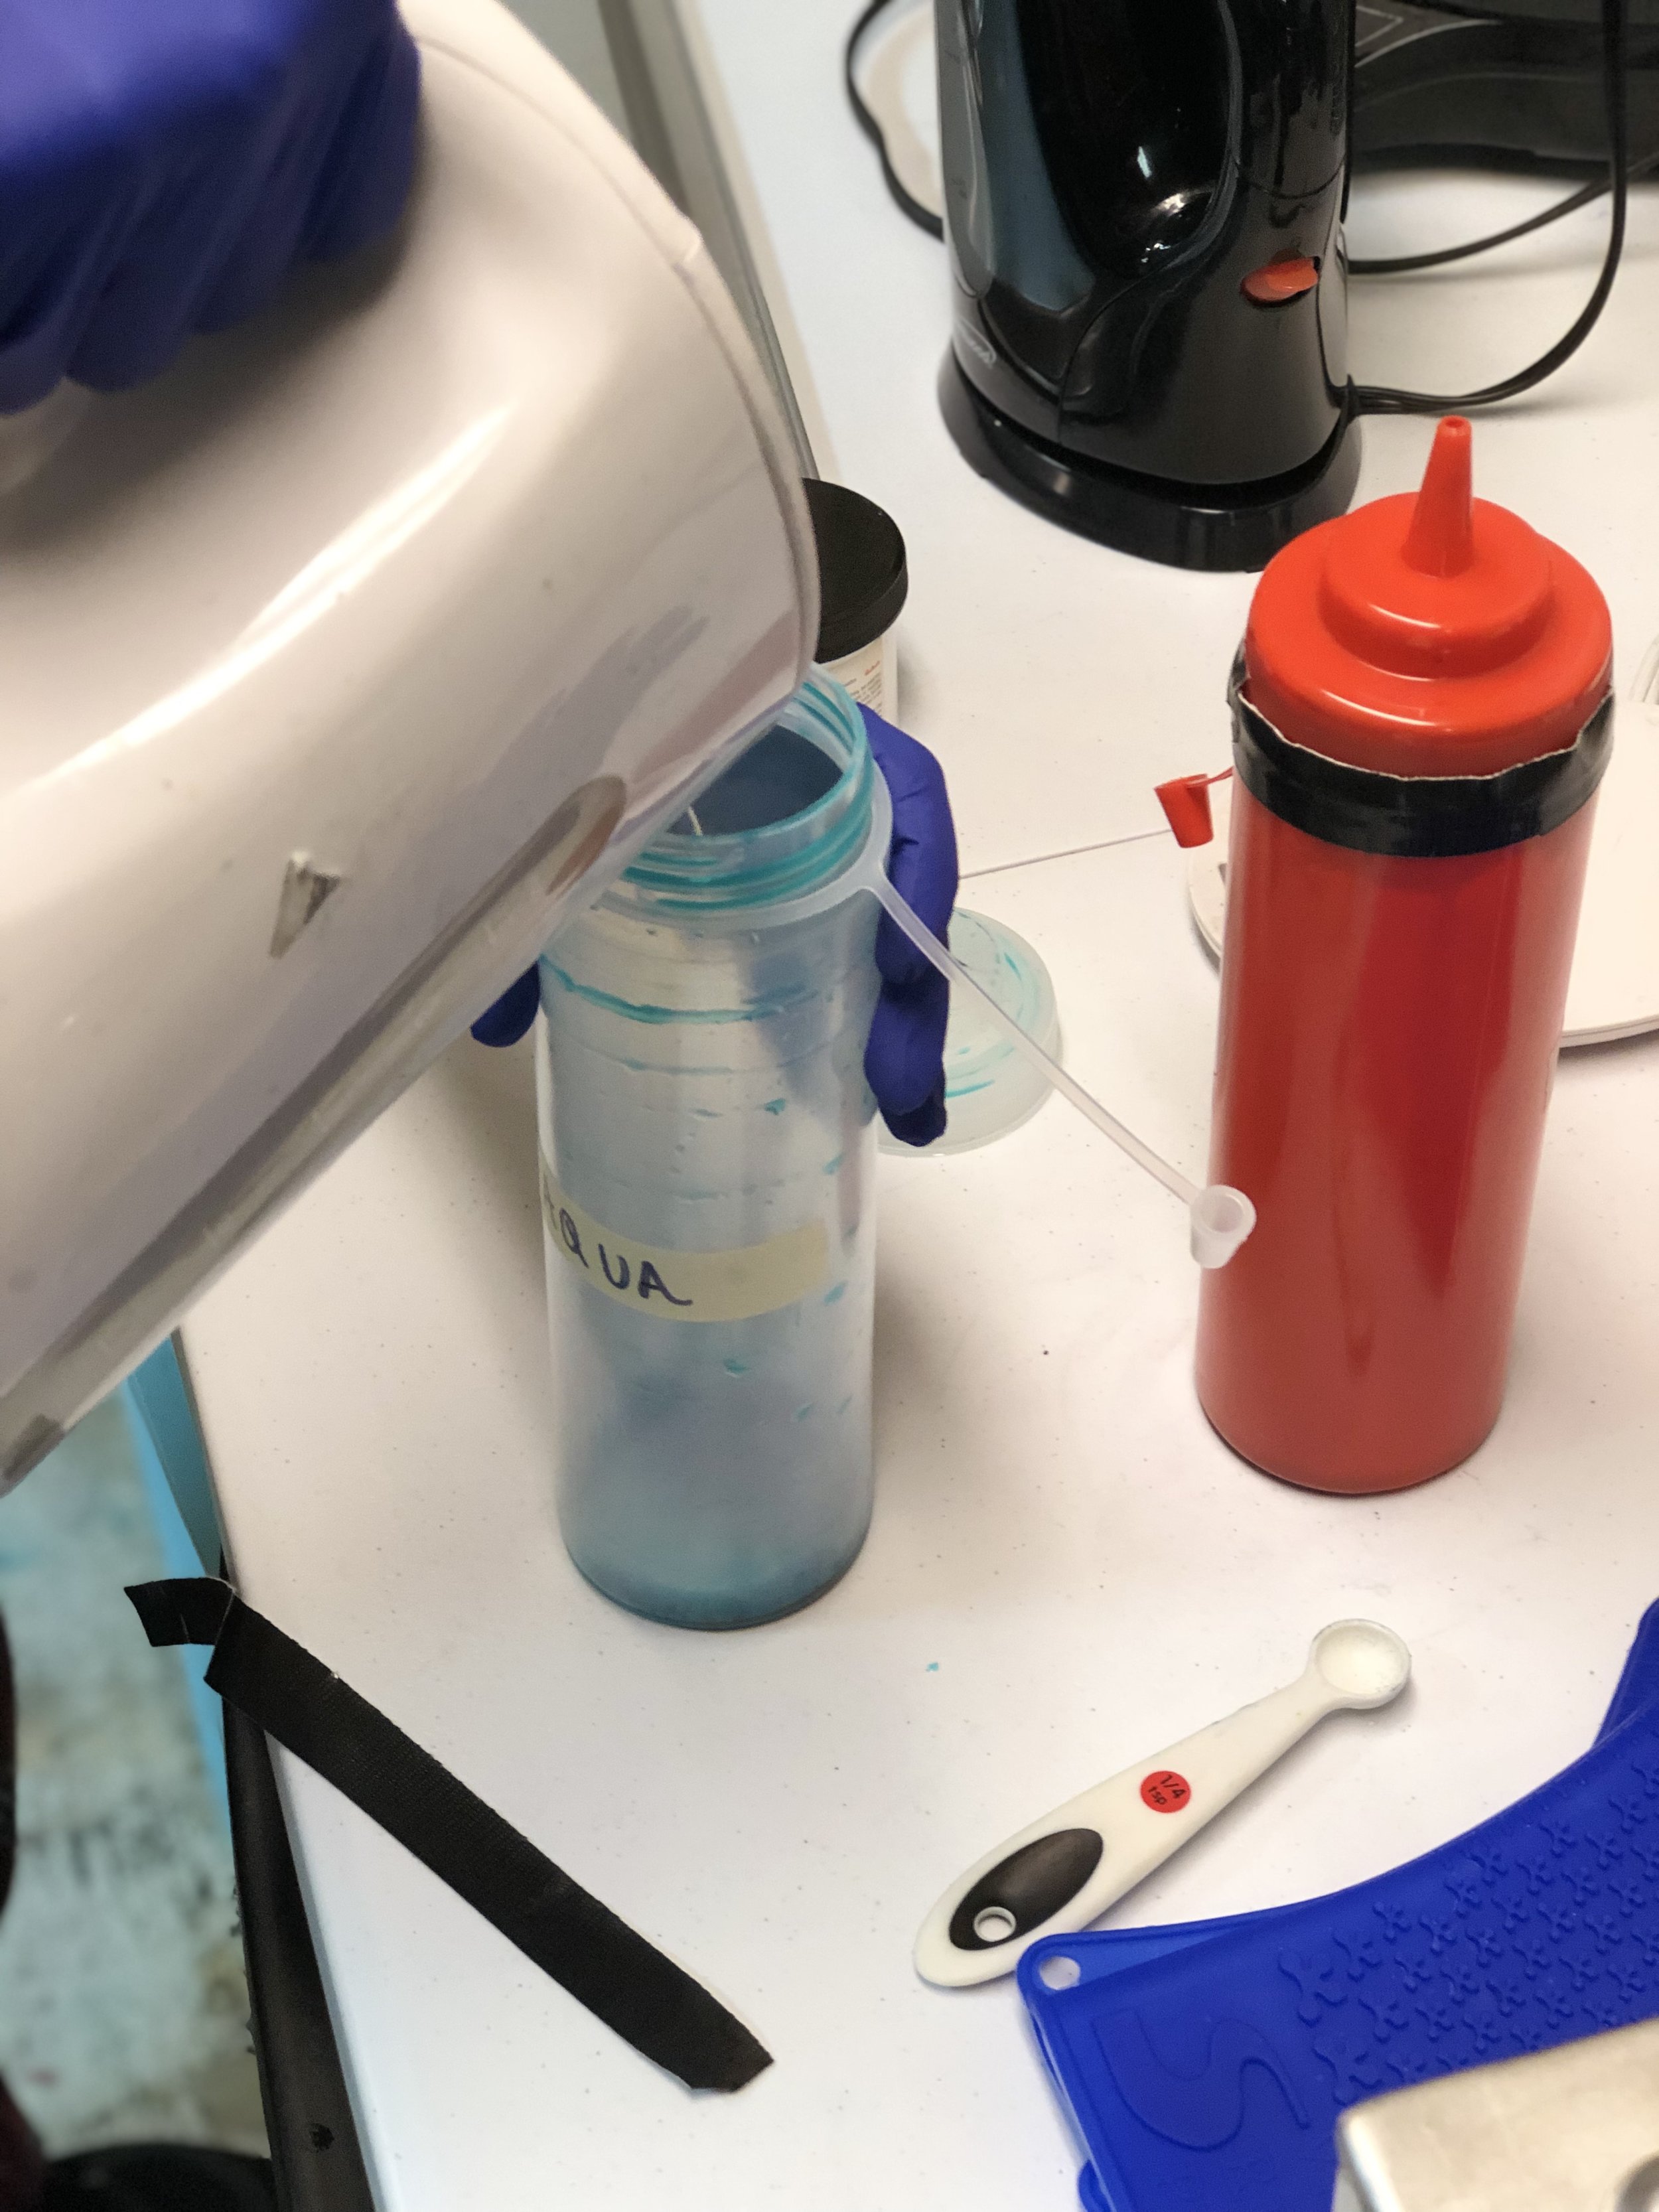
After you have put your measured dye and urea in the bottle, the kettle will probably have come to a boil. Make sure you let the water cool for a few moments before transferring it to the squeeze bottles.
Once the water cools down a bit, fill the squeeze bottle about 1/4 of the way up with the water.
Now grab that lukewarm water and fill up the rest of the squeeze bottle with lukewarm water. The reason for this is that the hot water will make the squeeze bottles too hot to handle but you need that hot water to initially activate the dye. I found that this is the best way to get the best of both without having to wait a long time for the bottles to cool down.

You will still need about 10 minutes for the bottles to cool down because they are hot, so keep that in mind.
When the bottles are completely cooled down, grab the duct tape and tape a thin strip around the seal of the bottle. Not all bottles leak but I have noticed that most tend to so taping around the seal will ensure that you will not get blue spots on a part of the yarn that was supposed to remain white, etc.
Step 5: The Dyeing Process
This next part of the tutorial will be step by step with pictures explaining what should be done at each step. Each step is also numbered so you follow along in the correct order. If you are not already wearing your gloves and mask, put them on now!!
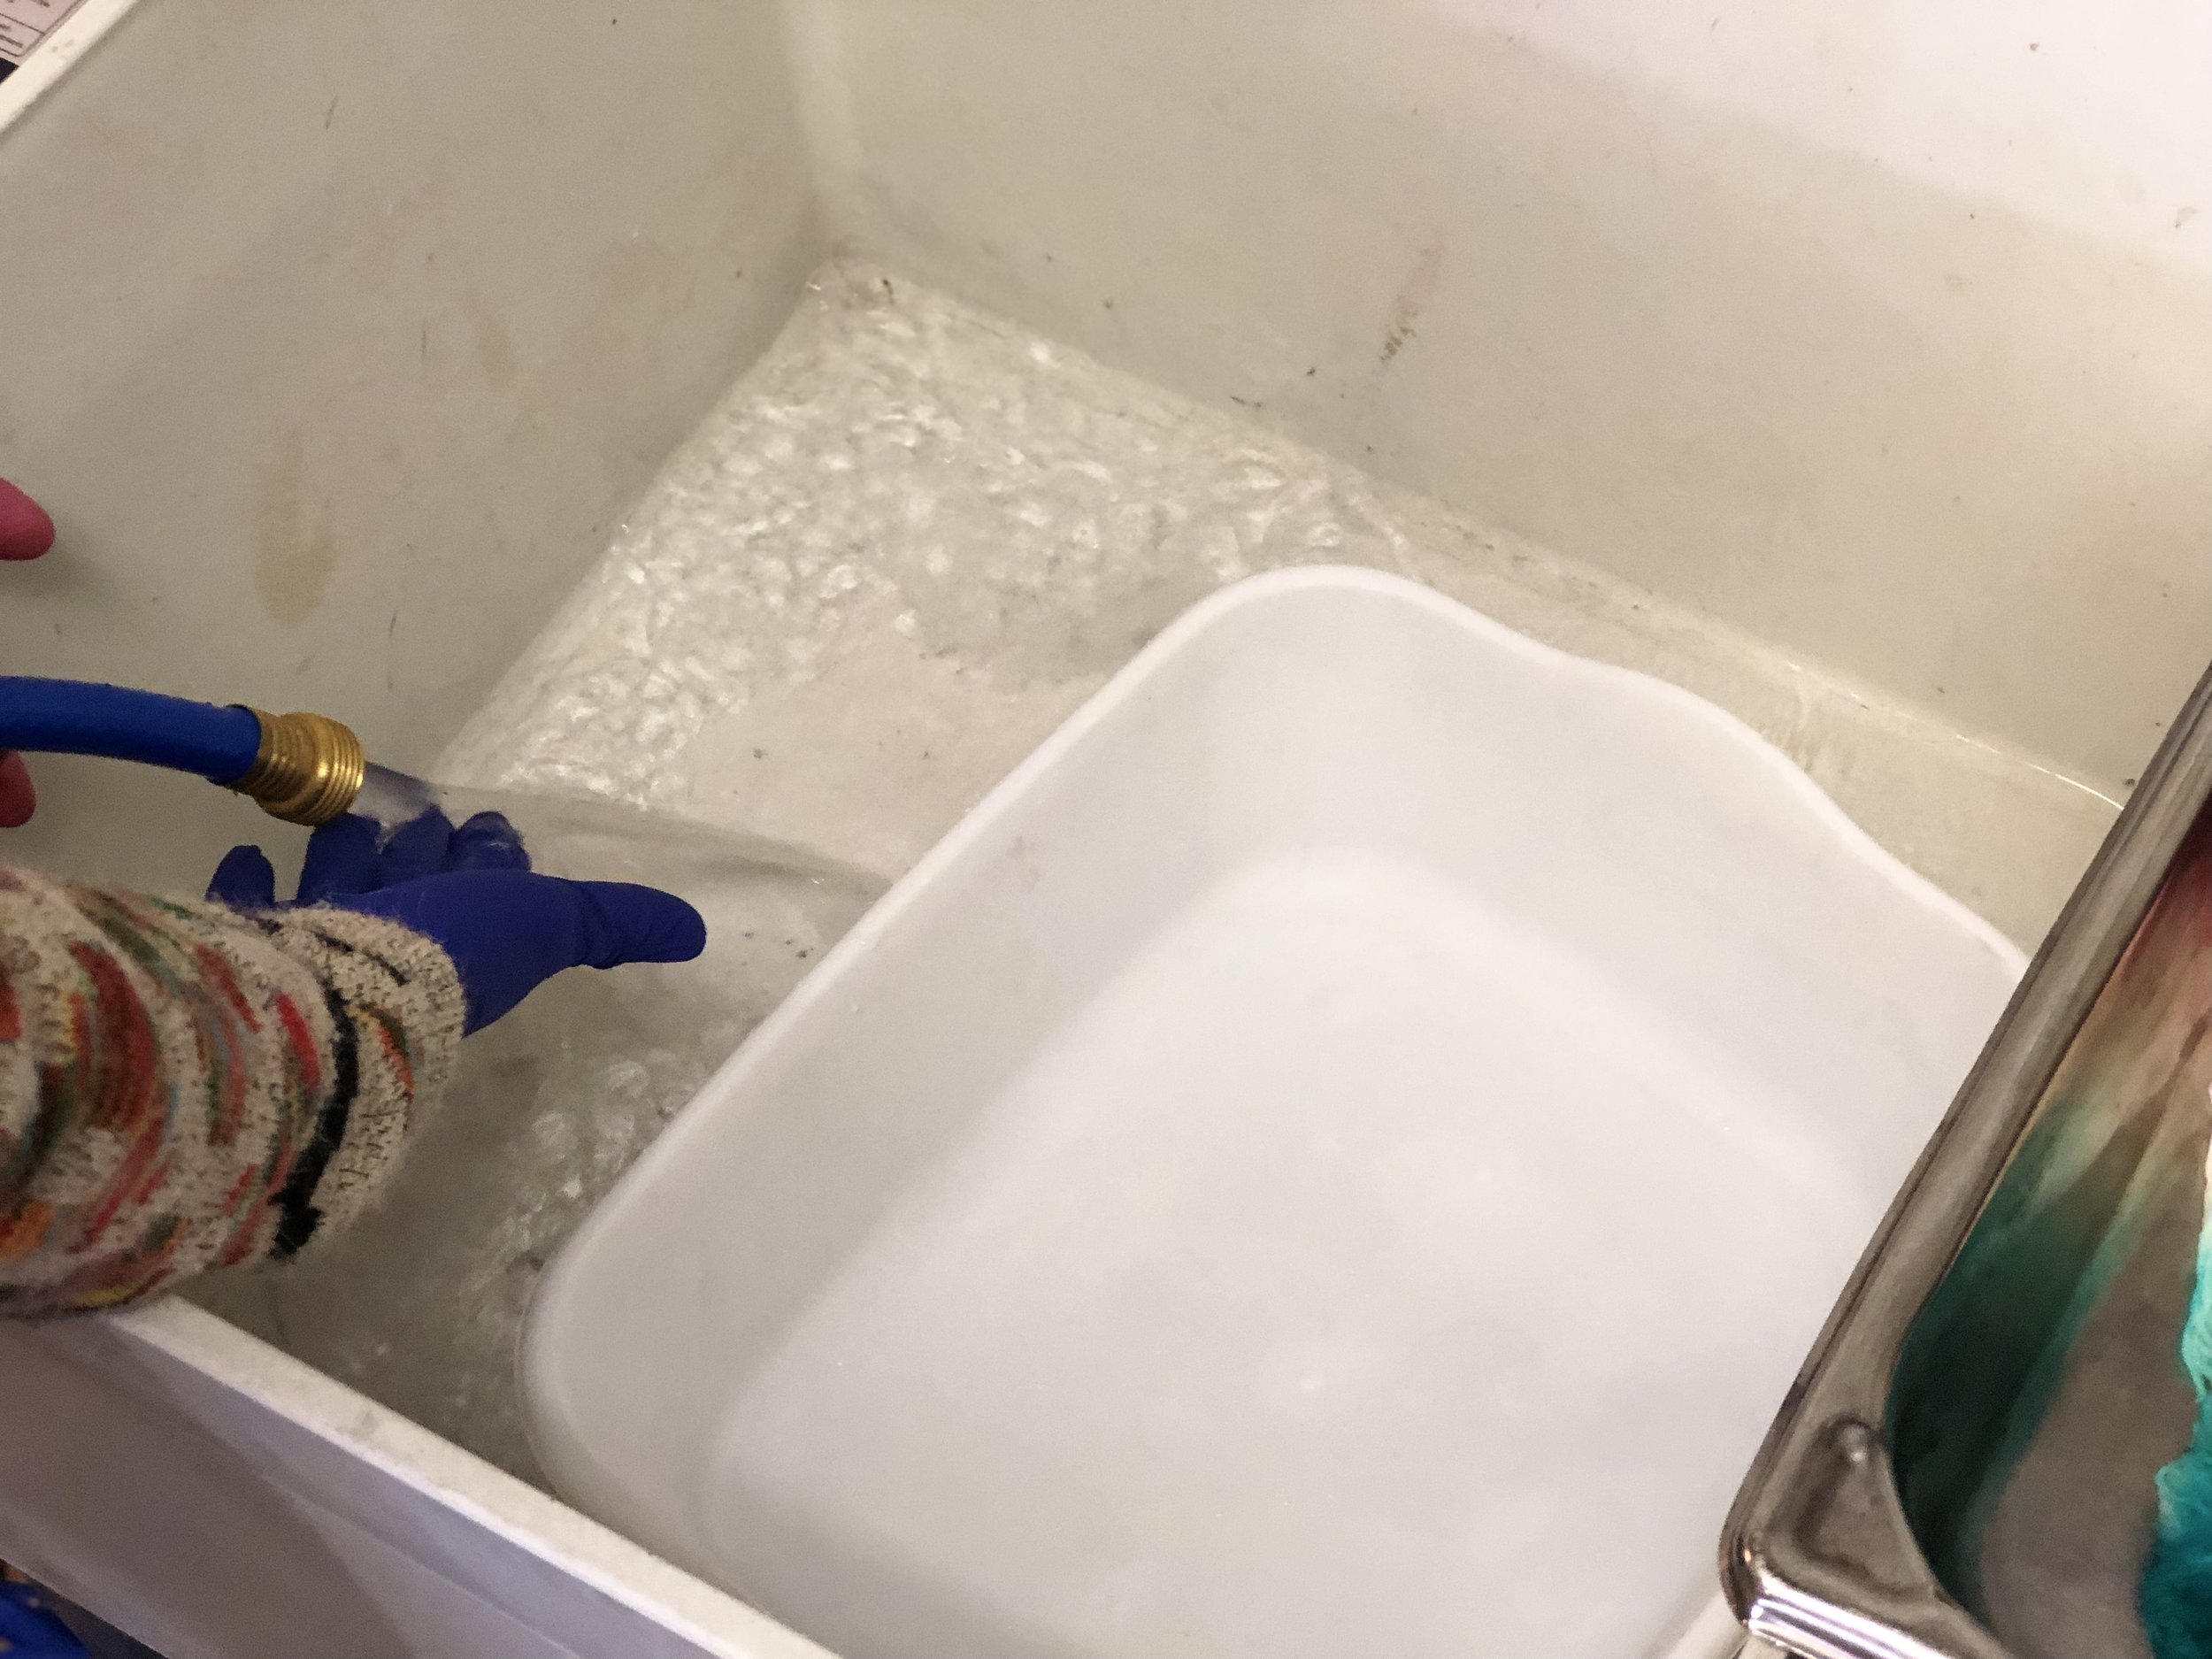
Step 1:
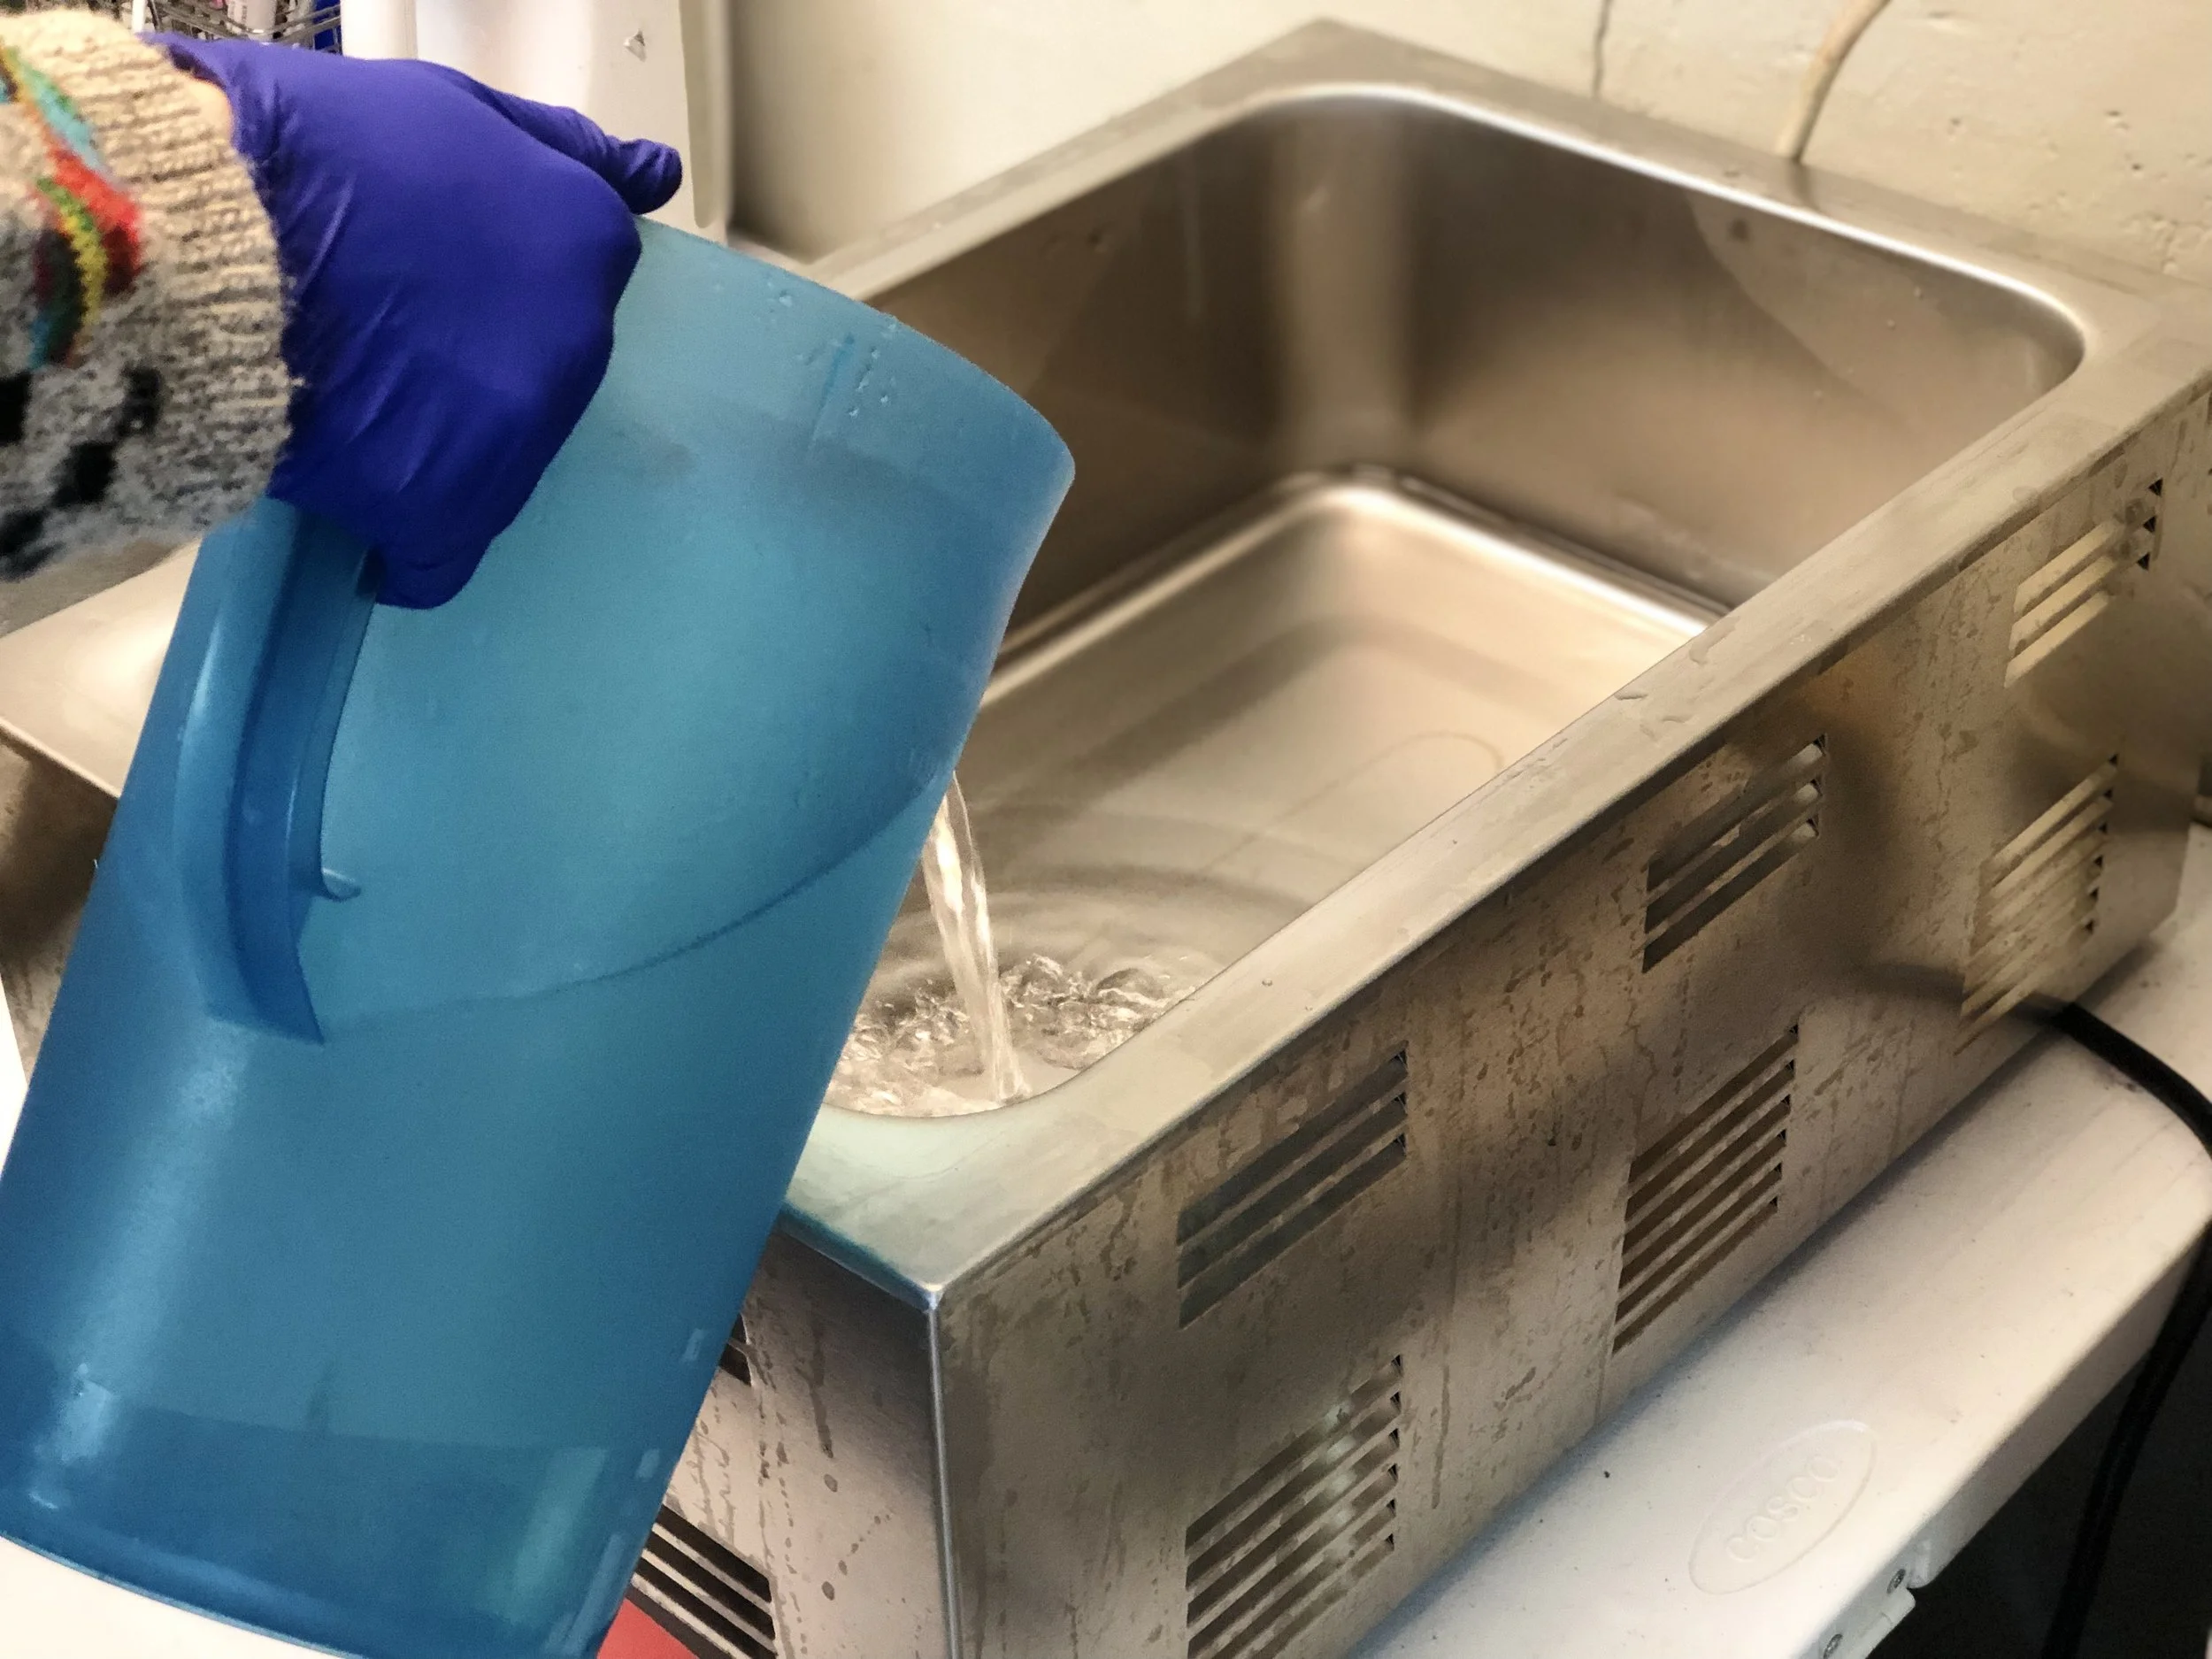
The first step is making sure that your work station is all prepared. Here I am filling the bottom of my food warmer with water but if you are dyeing with a pan on a direct heat element like a stove, you can skip this step. Your work surface should have enough open space to put your dye bottles out, and the dye you will be using for speckling (I use Dharma Trading Co. Tobacco Leaf to speckle). You should also bring over the yarn in the dish pan that has been soaking for 15 minutes to 24 hours so it is readily accessible. You will also want a plastic spoon ready and your heat proof gloves/tongs to help move around the hot yarn in the pan.
Step 2:
The second step is to make sure to turn on your heating element. As mentioned before, make sure you are using a heat source that is at least 160 degrees Fahrenheit but does not exceed 220 degrees Fahrenheit as you do not want to boil your yarn. Small bubbles are ok, but a temperature of around 180 degrees Fahrenheit is optimal.
Step 3:
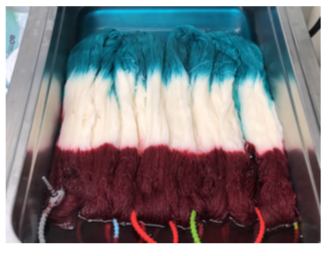
In this third step, you now want to transfer your yarn from the dish pan into the heating element or pan that sits on top of your heat source. While doing this, make sure to fold the skeins so both rings are touching as pictured and the rings sit on the side of the pan facing closest to you. You will also want to dump extra water in the pan, making sure the bottom of the pan is sufficiently covered but that the yarn is not covered. Remember this is low immersion dyeing so we want the water level to remain low without allowing it to get burnt in the bottom of the pan.
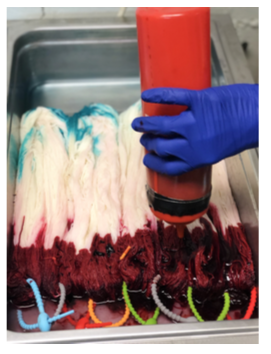
Step 4:
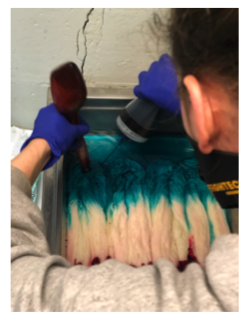
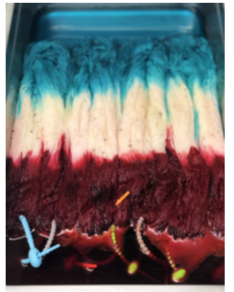
In this fourth step, it is finally time to apply dye to the yarn. Take a deep breath!! Keep in mind that dyeing is not perfect; It is an art form so if your yarn does not look exactly like the picture in the tutorial, do not panic! Embrace your own style applying dye to yarn and know that nobody else dyes yarn like you do - this is why it is art. In this step you will want to apply the squeeze bottle labeled “red” to the side of the pan closest to you, where the rings sit.

Step 5:
Apply the dye evenly across about 2-3 inches from the bottom of the rings towards the middle of the skein. Do not cover the whole skien in red, just go about 3 inches from where the rings start as pictured.
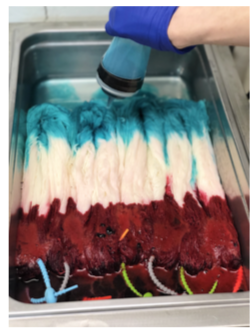
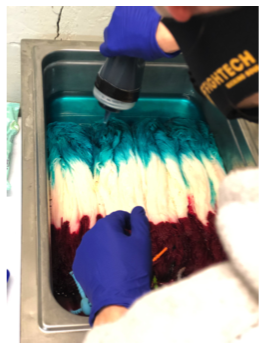
Step 6:
Repeat the same thing with the squeeze bottle labeled “blue” to the other side of the yarn away from the rings, making sure to only go about 3 inches as pictured and leaving about 2-4 inches of white space in the middle for speckling.
Step 7:
In this next step you want to let the dye you just applied sit in the pan for a few minutes so the water can start heating up to the point where you see steam come from the pan. This is important for the next step, speckling, where you will need that steam to help set those speckles.
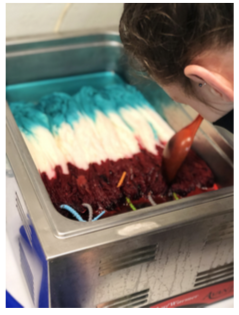
Step 8:
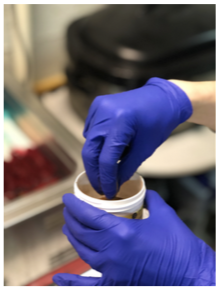
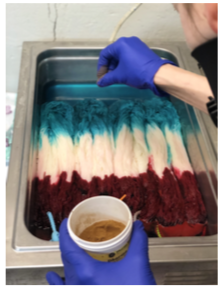
This next step is my favorite part of the process because I feel like speckling is like watching magic grow on the yarn. As I mentioned earlier you will need to wear your textured gloves for this, which you should already be wearing at this point. Before we start speckling, a general rule of thumb is that less is more. You can always add but not take away. Keep that in mind when grabbing an amount to speckle with. I take my forefinger, middle finger, and thumb and rub them together in a pinch of dye in the container, making sure to cover my gloved fingers on the tips.
Step 9:
I then move my fingers in a flicking motion as thought I am flicking the dye off the gloves. Because the gloves are textured, the little particles get stuck in the crevices to help make the tiniest of speckles that even the most seasoned of dyers do not know how to achieve. So this is my gift to you, now you know how to get great speckles!
Step 10:
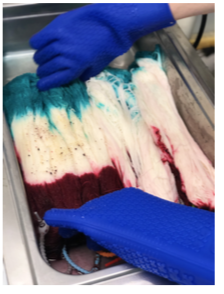
Let the yarn sit for 5 minutes and then grab those heat resistant, water proof gloves or tongs. You want to flip over each skein of yarn in the pan so you can repeat what you just did. Please use protection when doing this! your regular gloves are NOT sufficient and you will burn yourself if you touch the yarn without heat protection.
Step 11:
This step is super easy, just repeat steps 4-9 exactly as you did before but on the other side of the yarn.
Step 12:
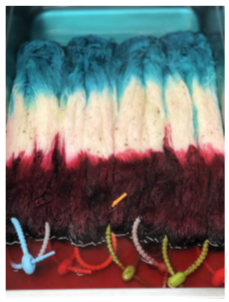
At this point, while the yarn sits after you applied dye to the second side, you want to take that heat safe spoon and check to make sure you have the coverage you want. If you see white spots, fill in those areas with extra dye. You may need to go back to the measuring and pouring step before the dye process and make new dye stock solutions. Often times I find myself repeating the measuring and pouring steps several times to get full coverage. Keep in mind that you can do multiple bottles. 2 blue and 2 red instead of just 1 red and 1 blue in the initial step to save time. You may have extra dye after and that stock should be stored correctly in a cool, dark place out of direct sunlight. If the coverage is not 100 percent that is ok! After all, that is one of the beautiful elements of hand dyed yarn.
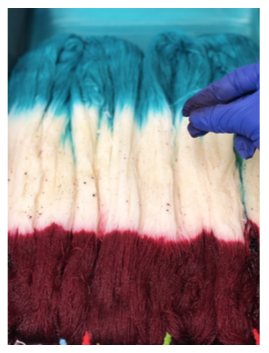
Step 13:
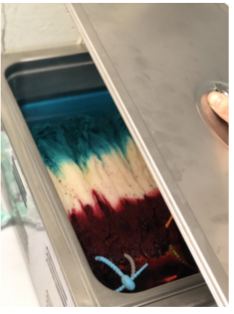
At this point, cover your pan with a heat safe lid and keep the heat on. Sometimes I turn down the heat a bit if there are any bubbles and let it sit until the dye has completely exhausted. This means the water will run clear. If the water is not clear yet, you need to keep it on the heat. It will seem like it takes a bit, especially with these colors being some of the hardest to exhaust, but trust me you do not want the yarn to bleed because then you will have to reset it. That will take even more time. Just grab a knitting or crochet project while waiting and check the pan periodically.
While the yarn is exhausting, the water in the pan will look lighter in color as the yarn becomes fully exhausted. Once the water is clear, and trust me it will get clear if you have added the correct amount of acid that we tested for earlier with the pH of 4 or orange and heat. Heat and acid are what makes this process work. They are very important, even down to the last minutes. If you find the yarn is just not exhausting add a few TBS of acid at this point. Heat does not need to be increased above 200 degrees Fahrenheit. I want to reiterate again to not boil the yarn if it is not exhausting. Instead add more acid and let it sit for a bit longer. The water should be clear like the bottom picture shows.
Step 14:
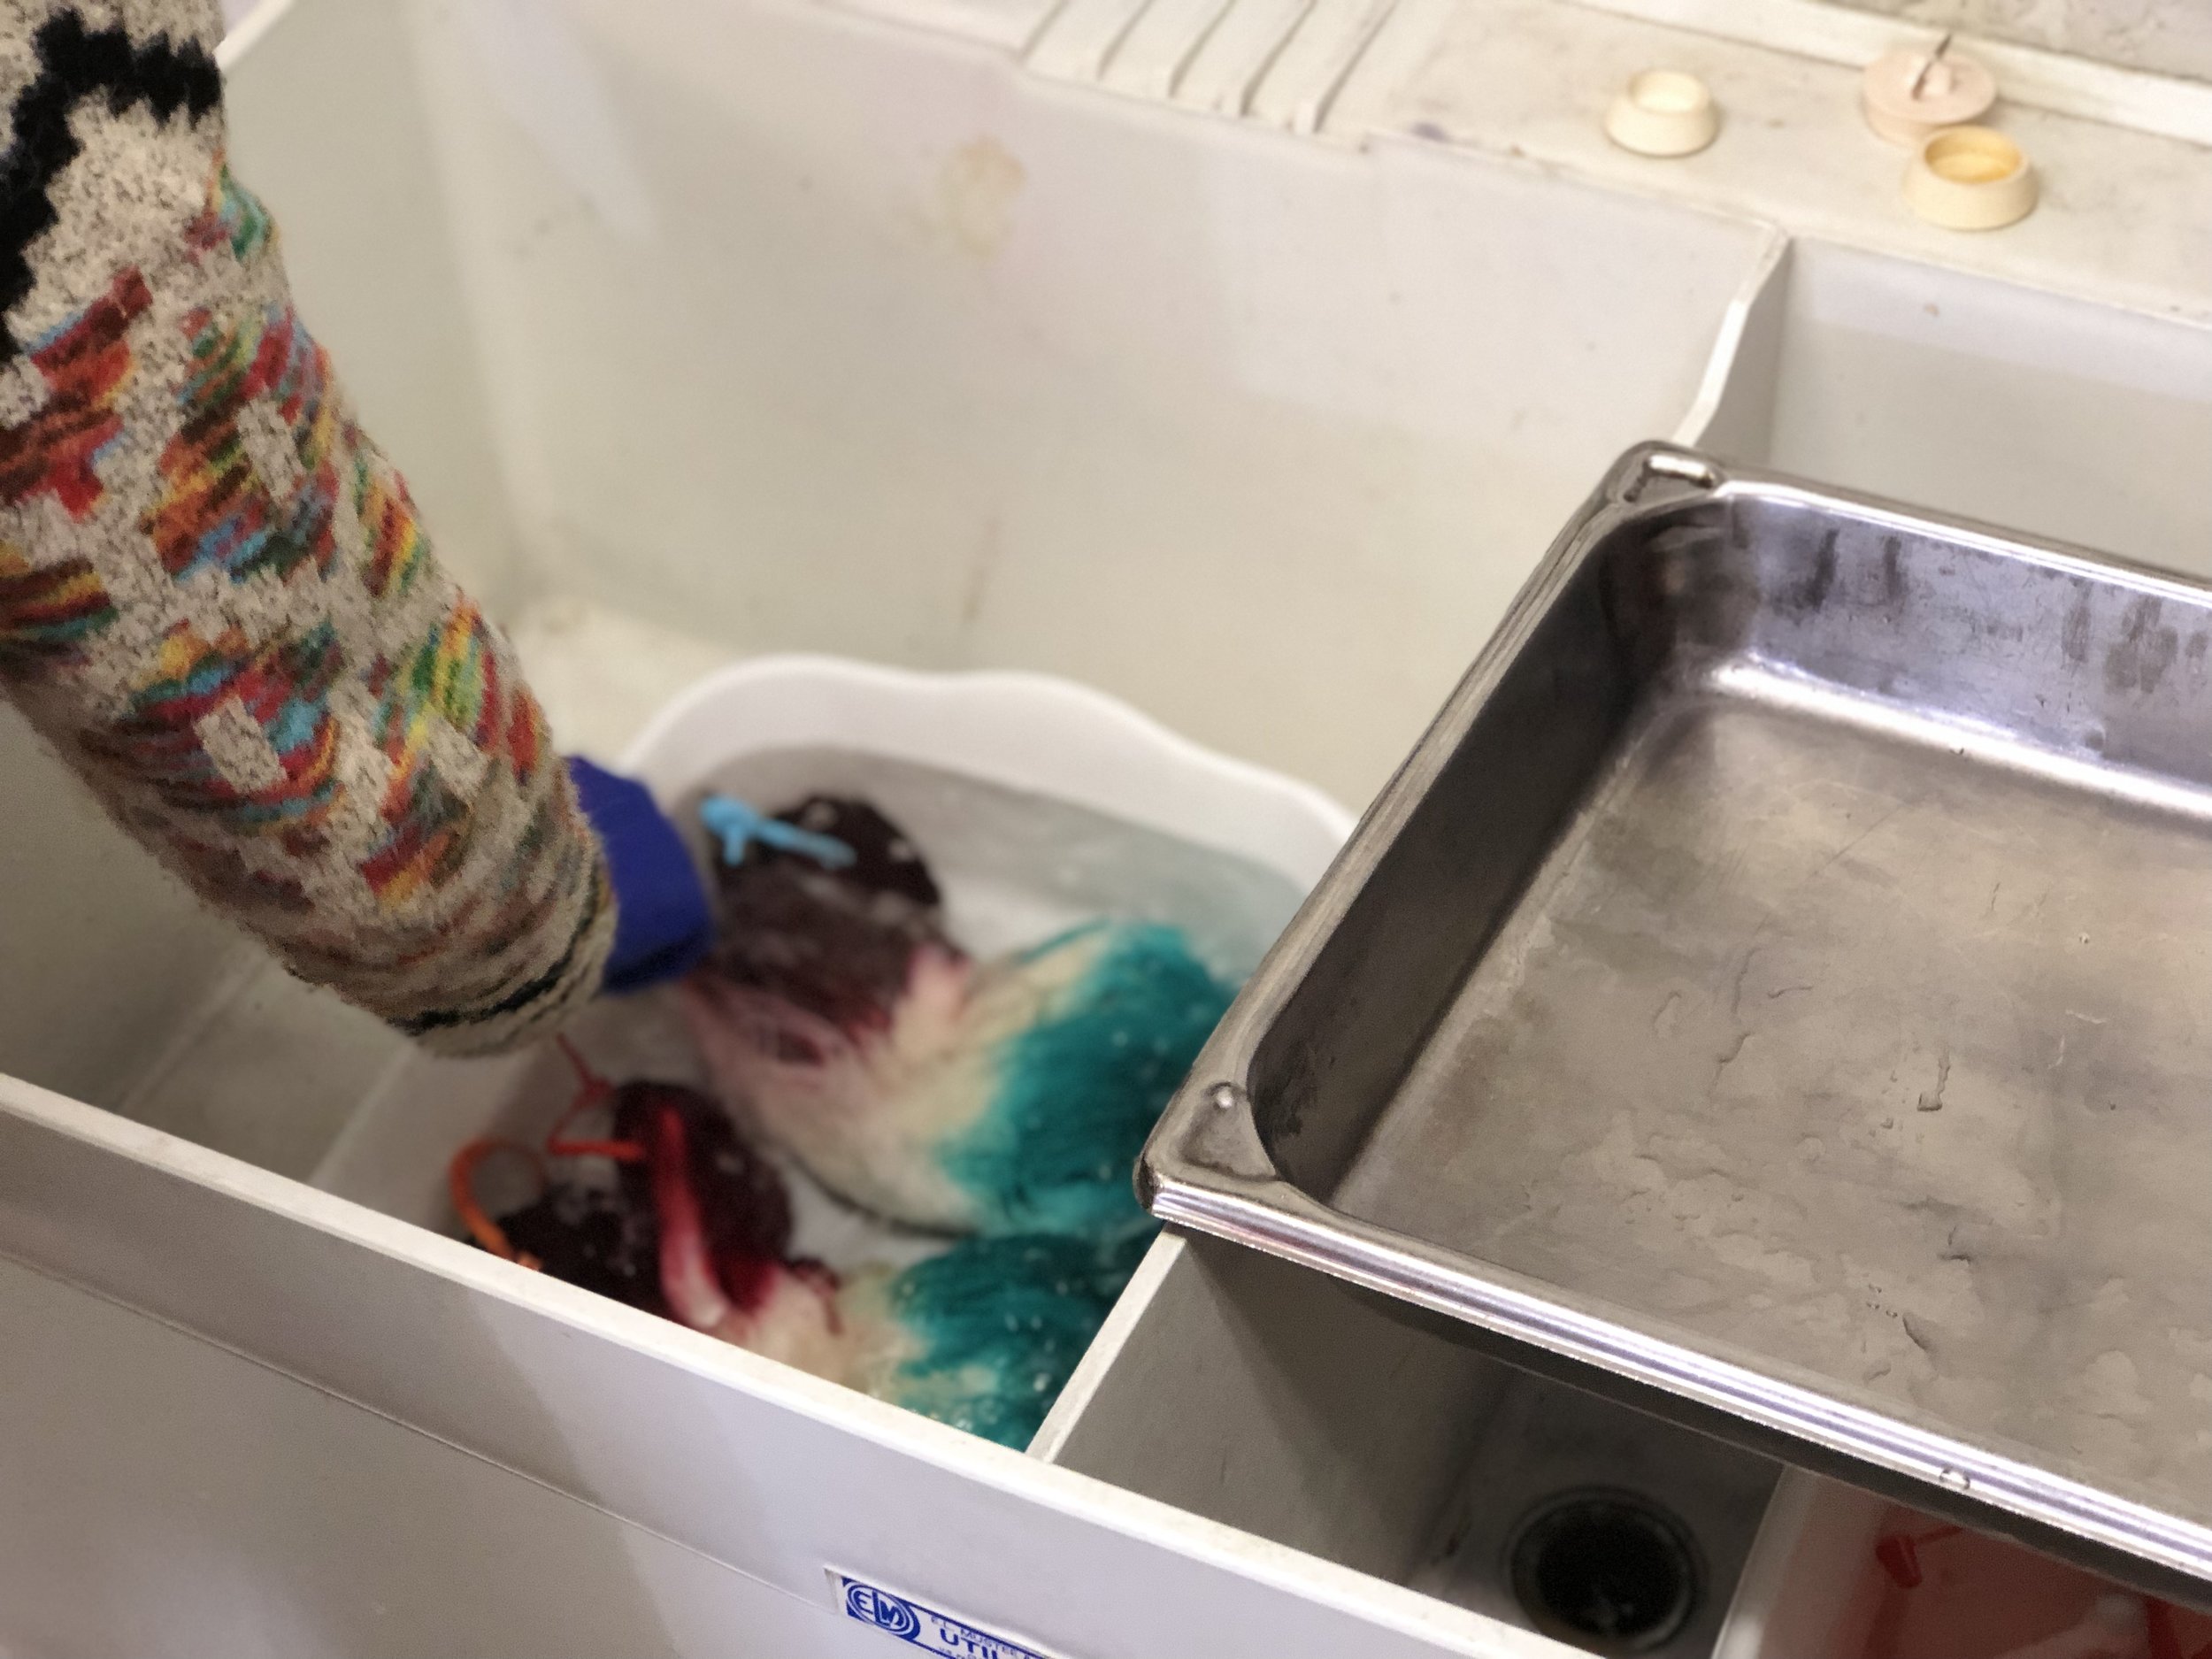
Turn off the heating element and let the yarn cool down for about an hour or possibly overnight. The longer you let it cool down before washing will allow the colors to fully set and ensure that the yarn is wash and colorfast. Once the yarn is cool, transfer it to the other pan or dish pan so you can begin to wash out the acid in the yarn. Because acid makes the yarn a little rough and many people have skin sensitivities, that step is one of the most crucial. It will also ensure a high quality finished product.
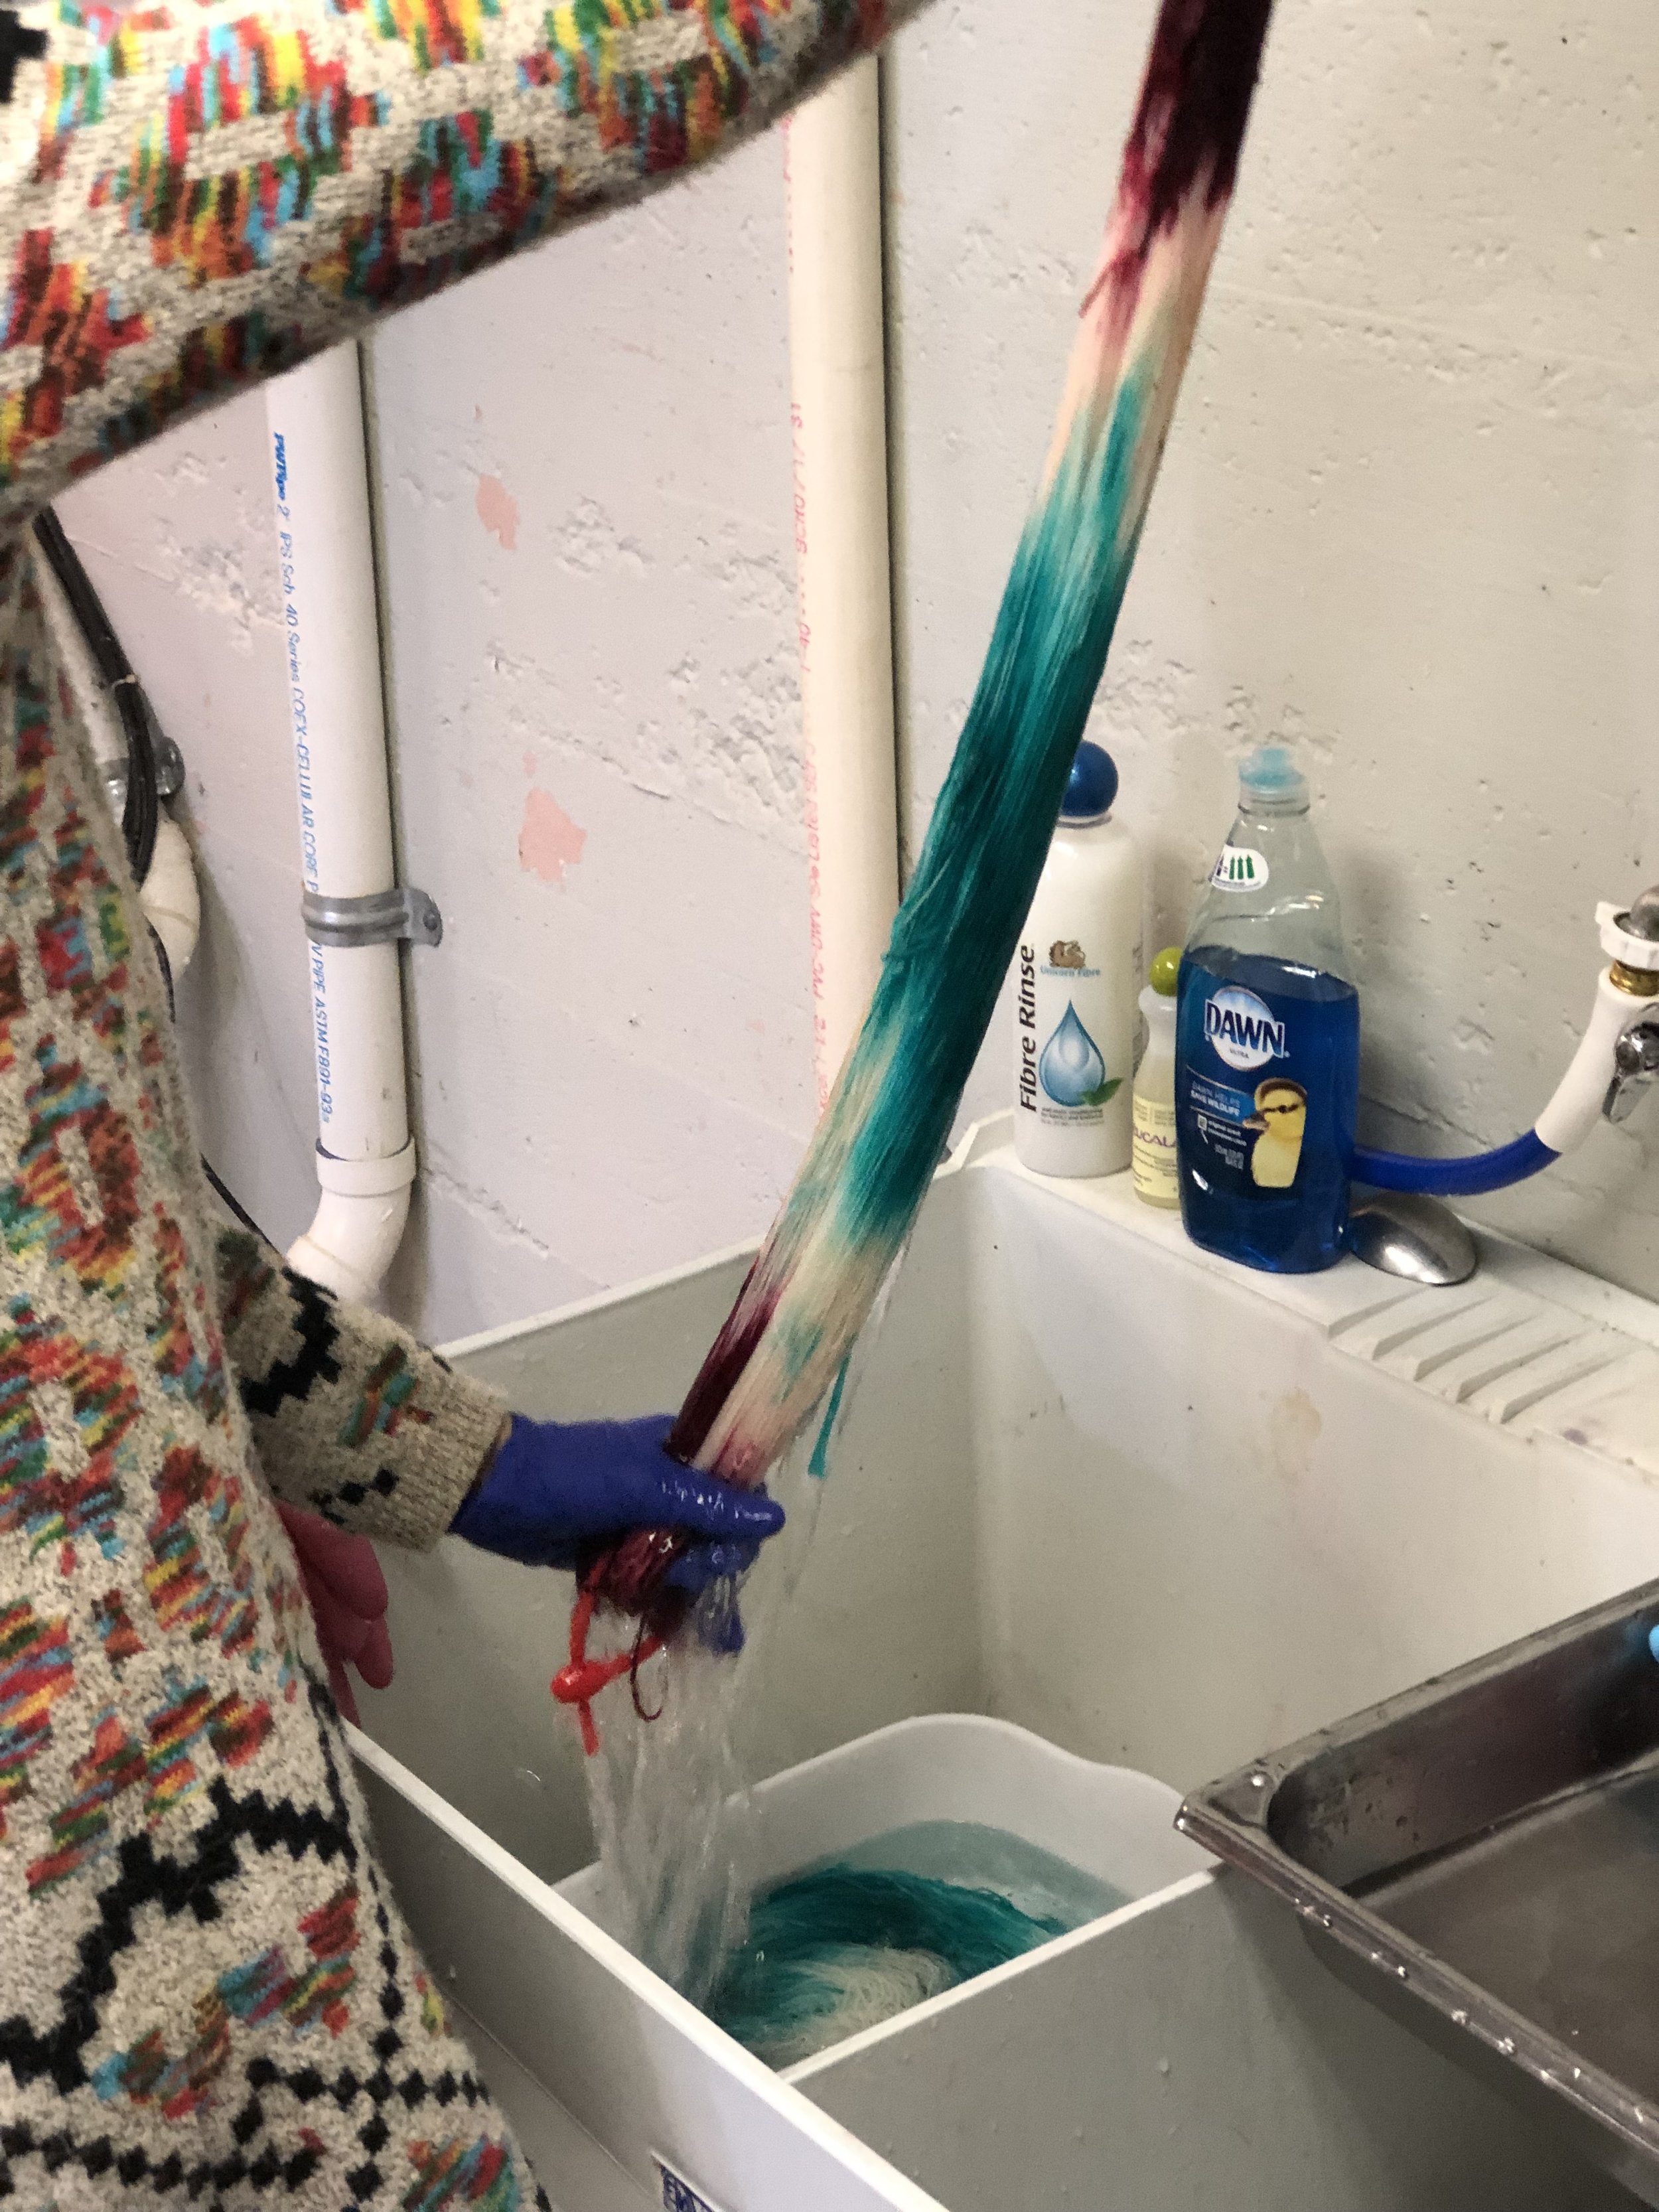
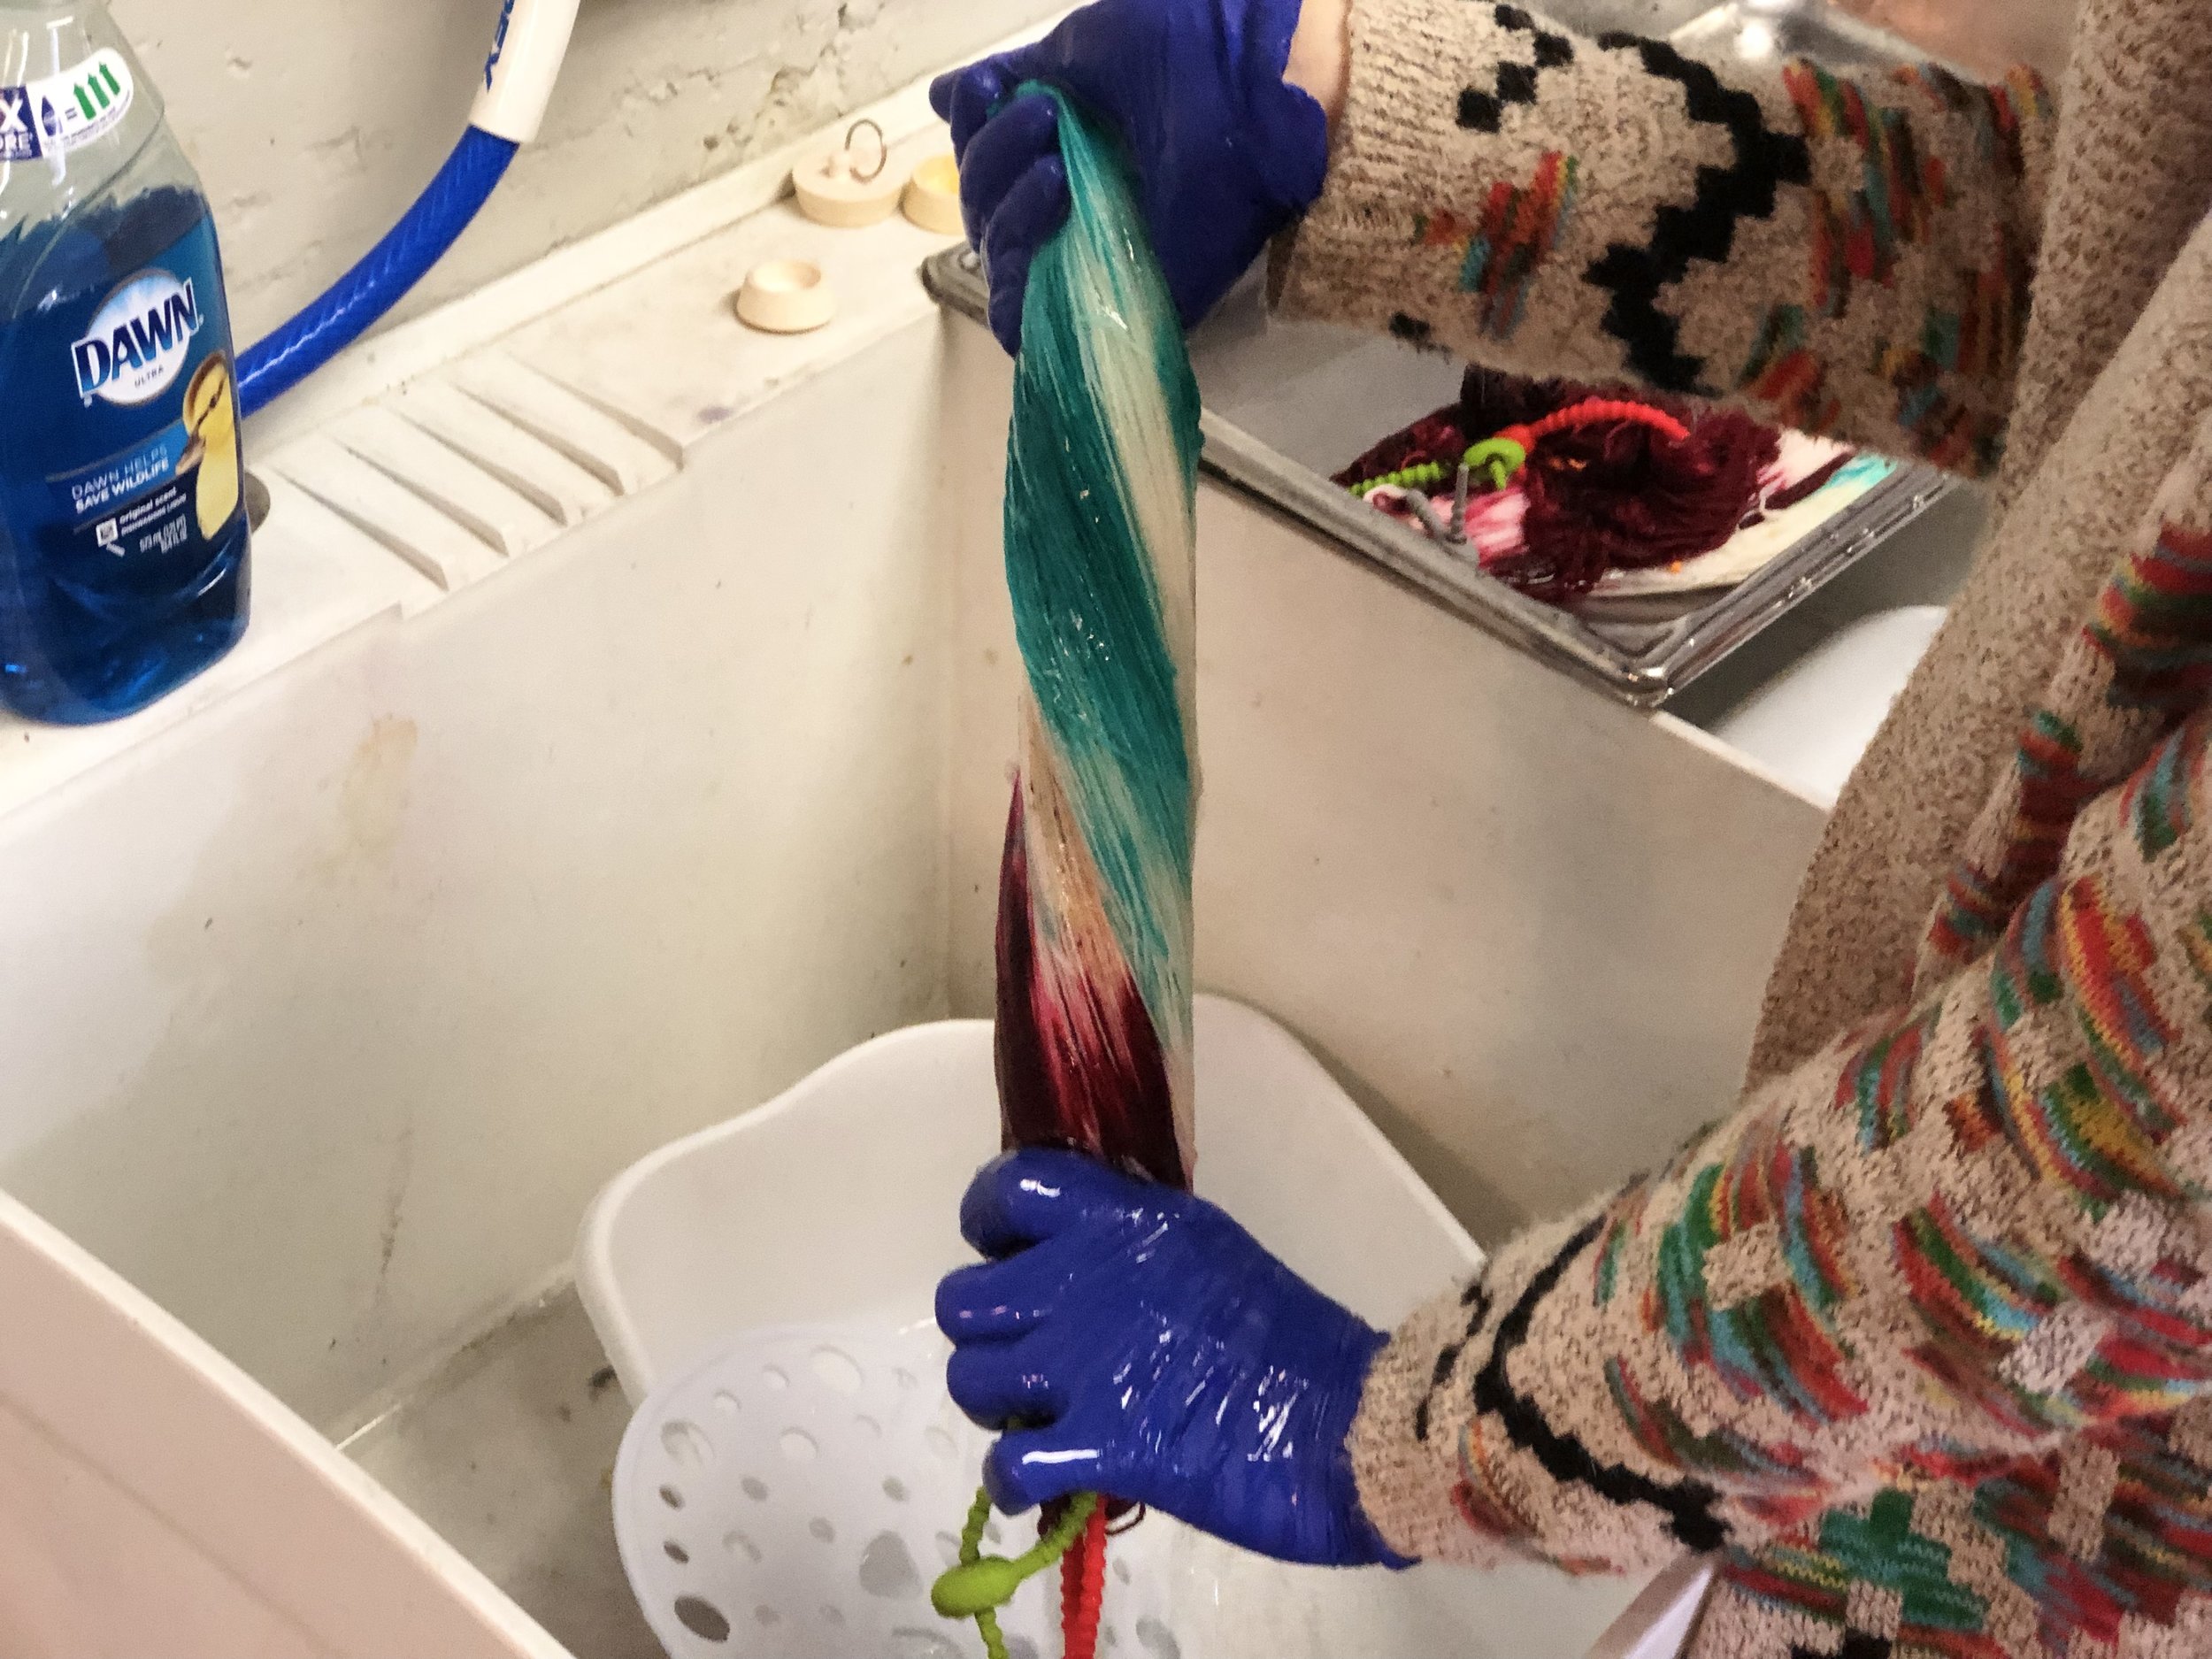
Step 6: Washing and Rinsing the Yarn
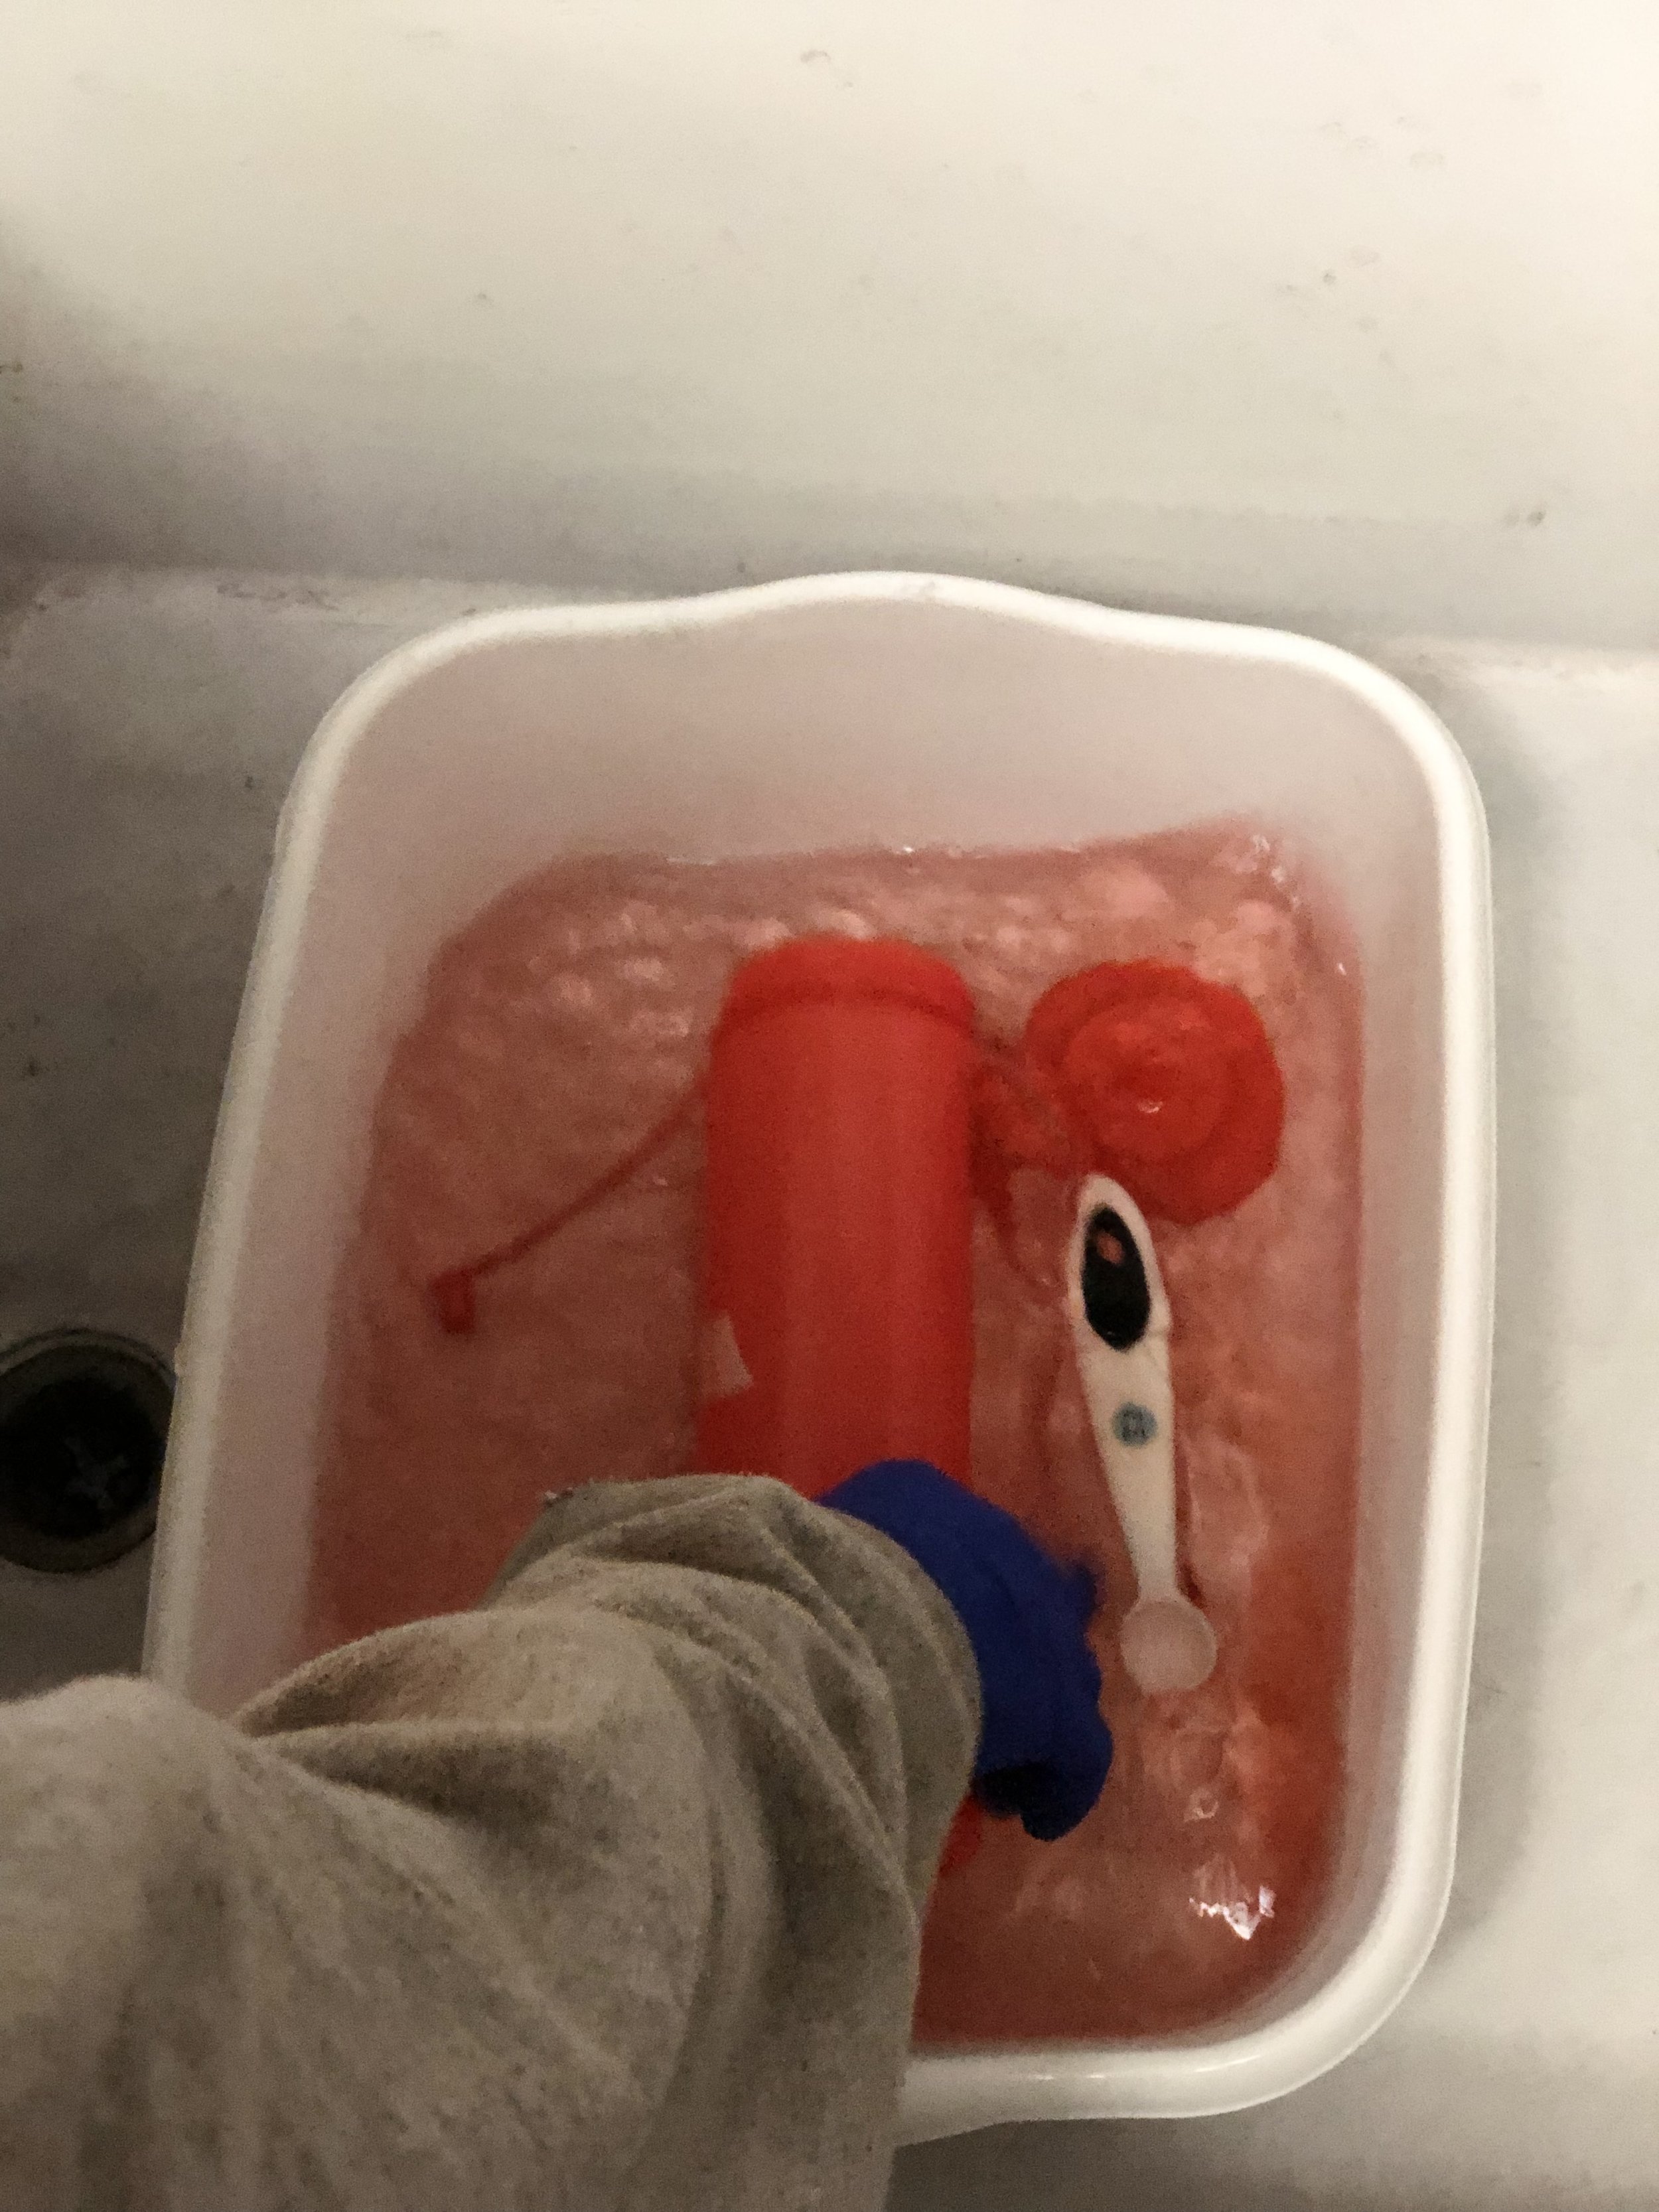
After dying the yarn, one of the last steps is to wash and rinse the yarn. It is important to wash the yarn in soapy water to remove all of the acid from the yarn so it is not rough to the touch or has any harsh chemicals left in it. Washing with soap also helps ensures that an excess dye has left the yarn.
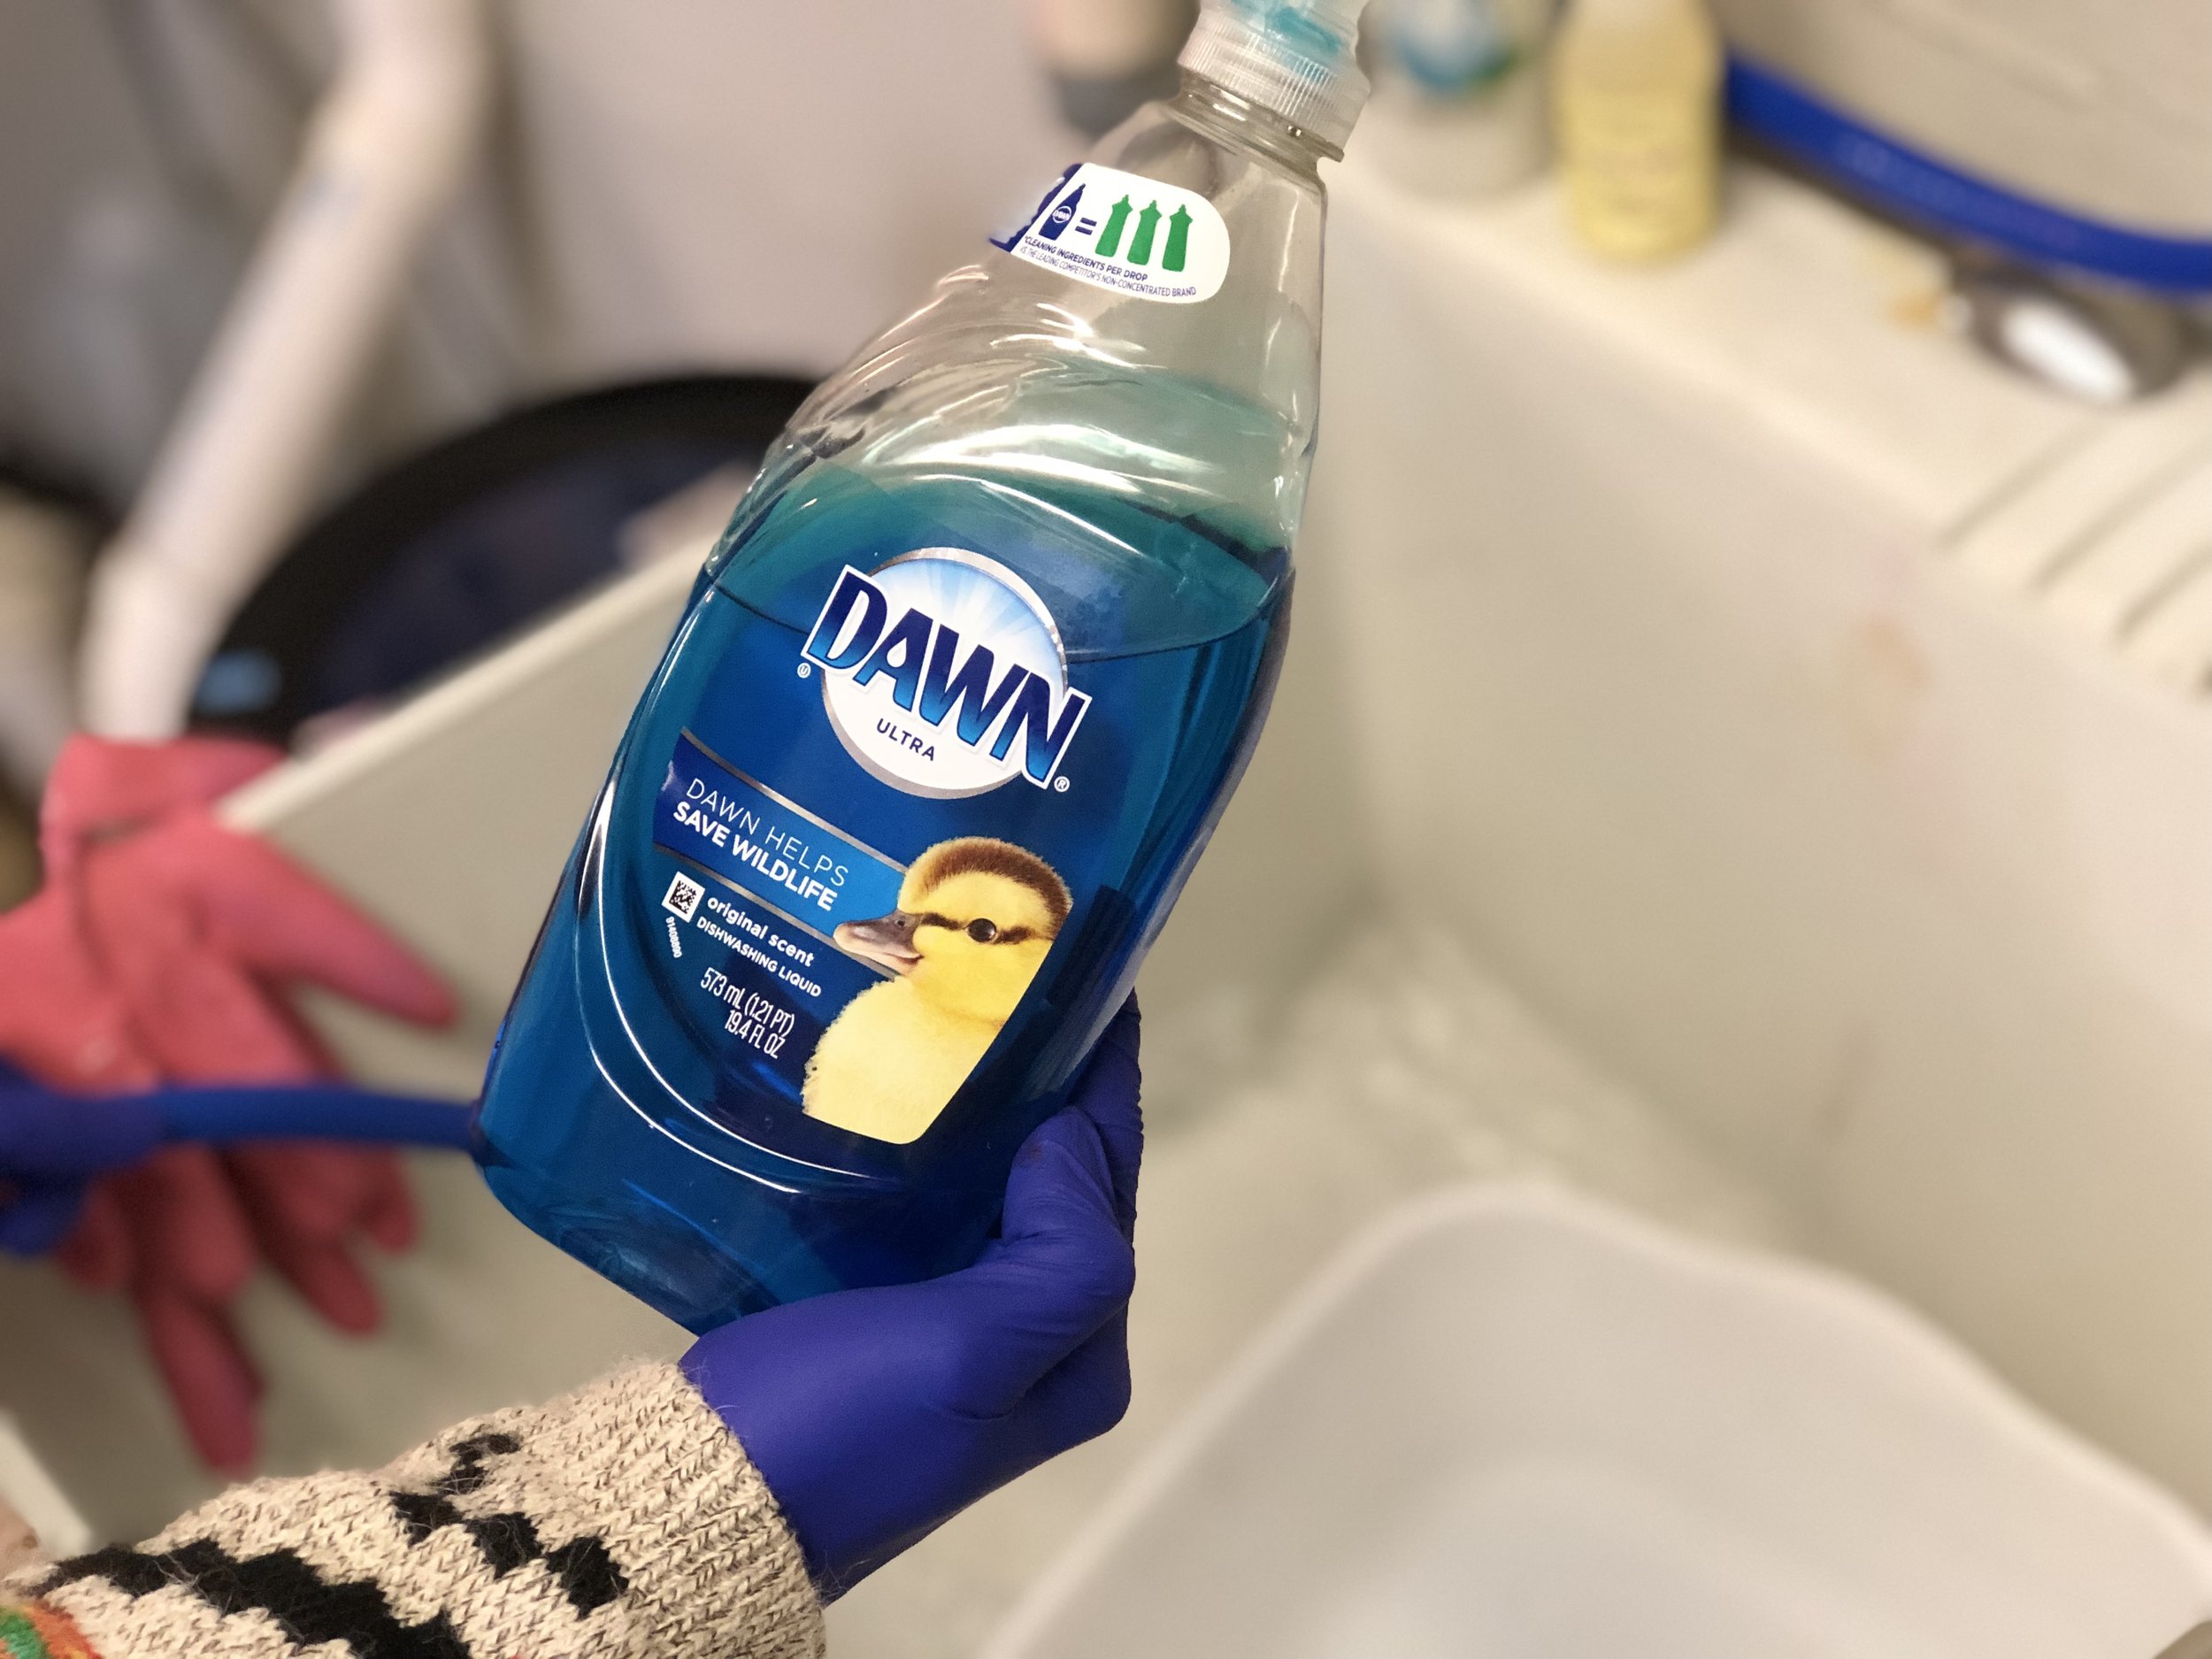
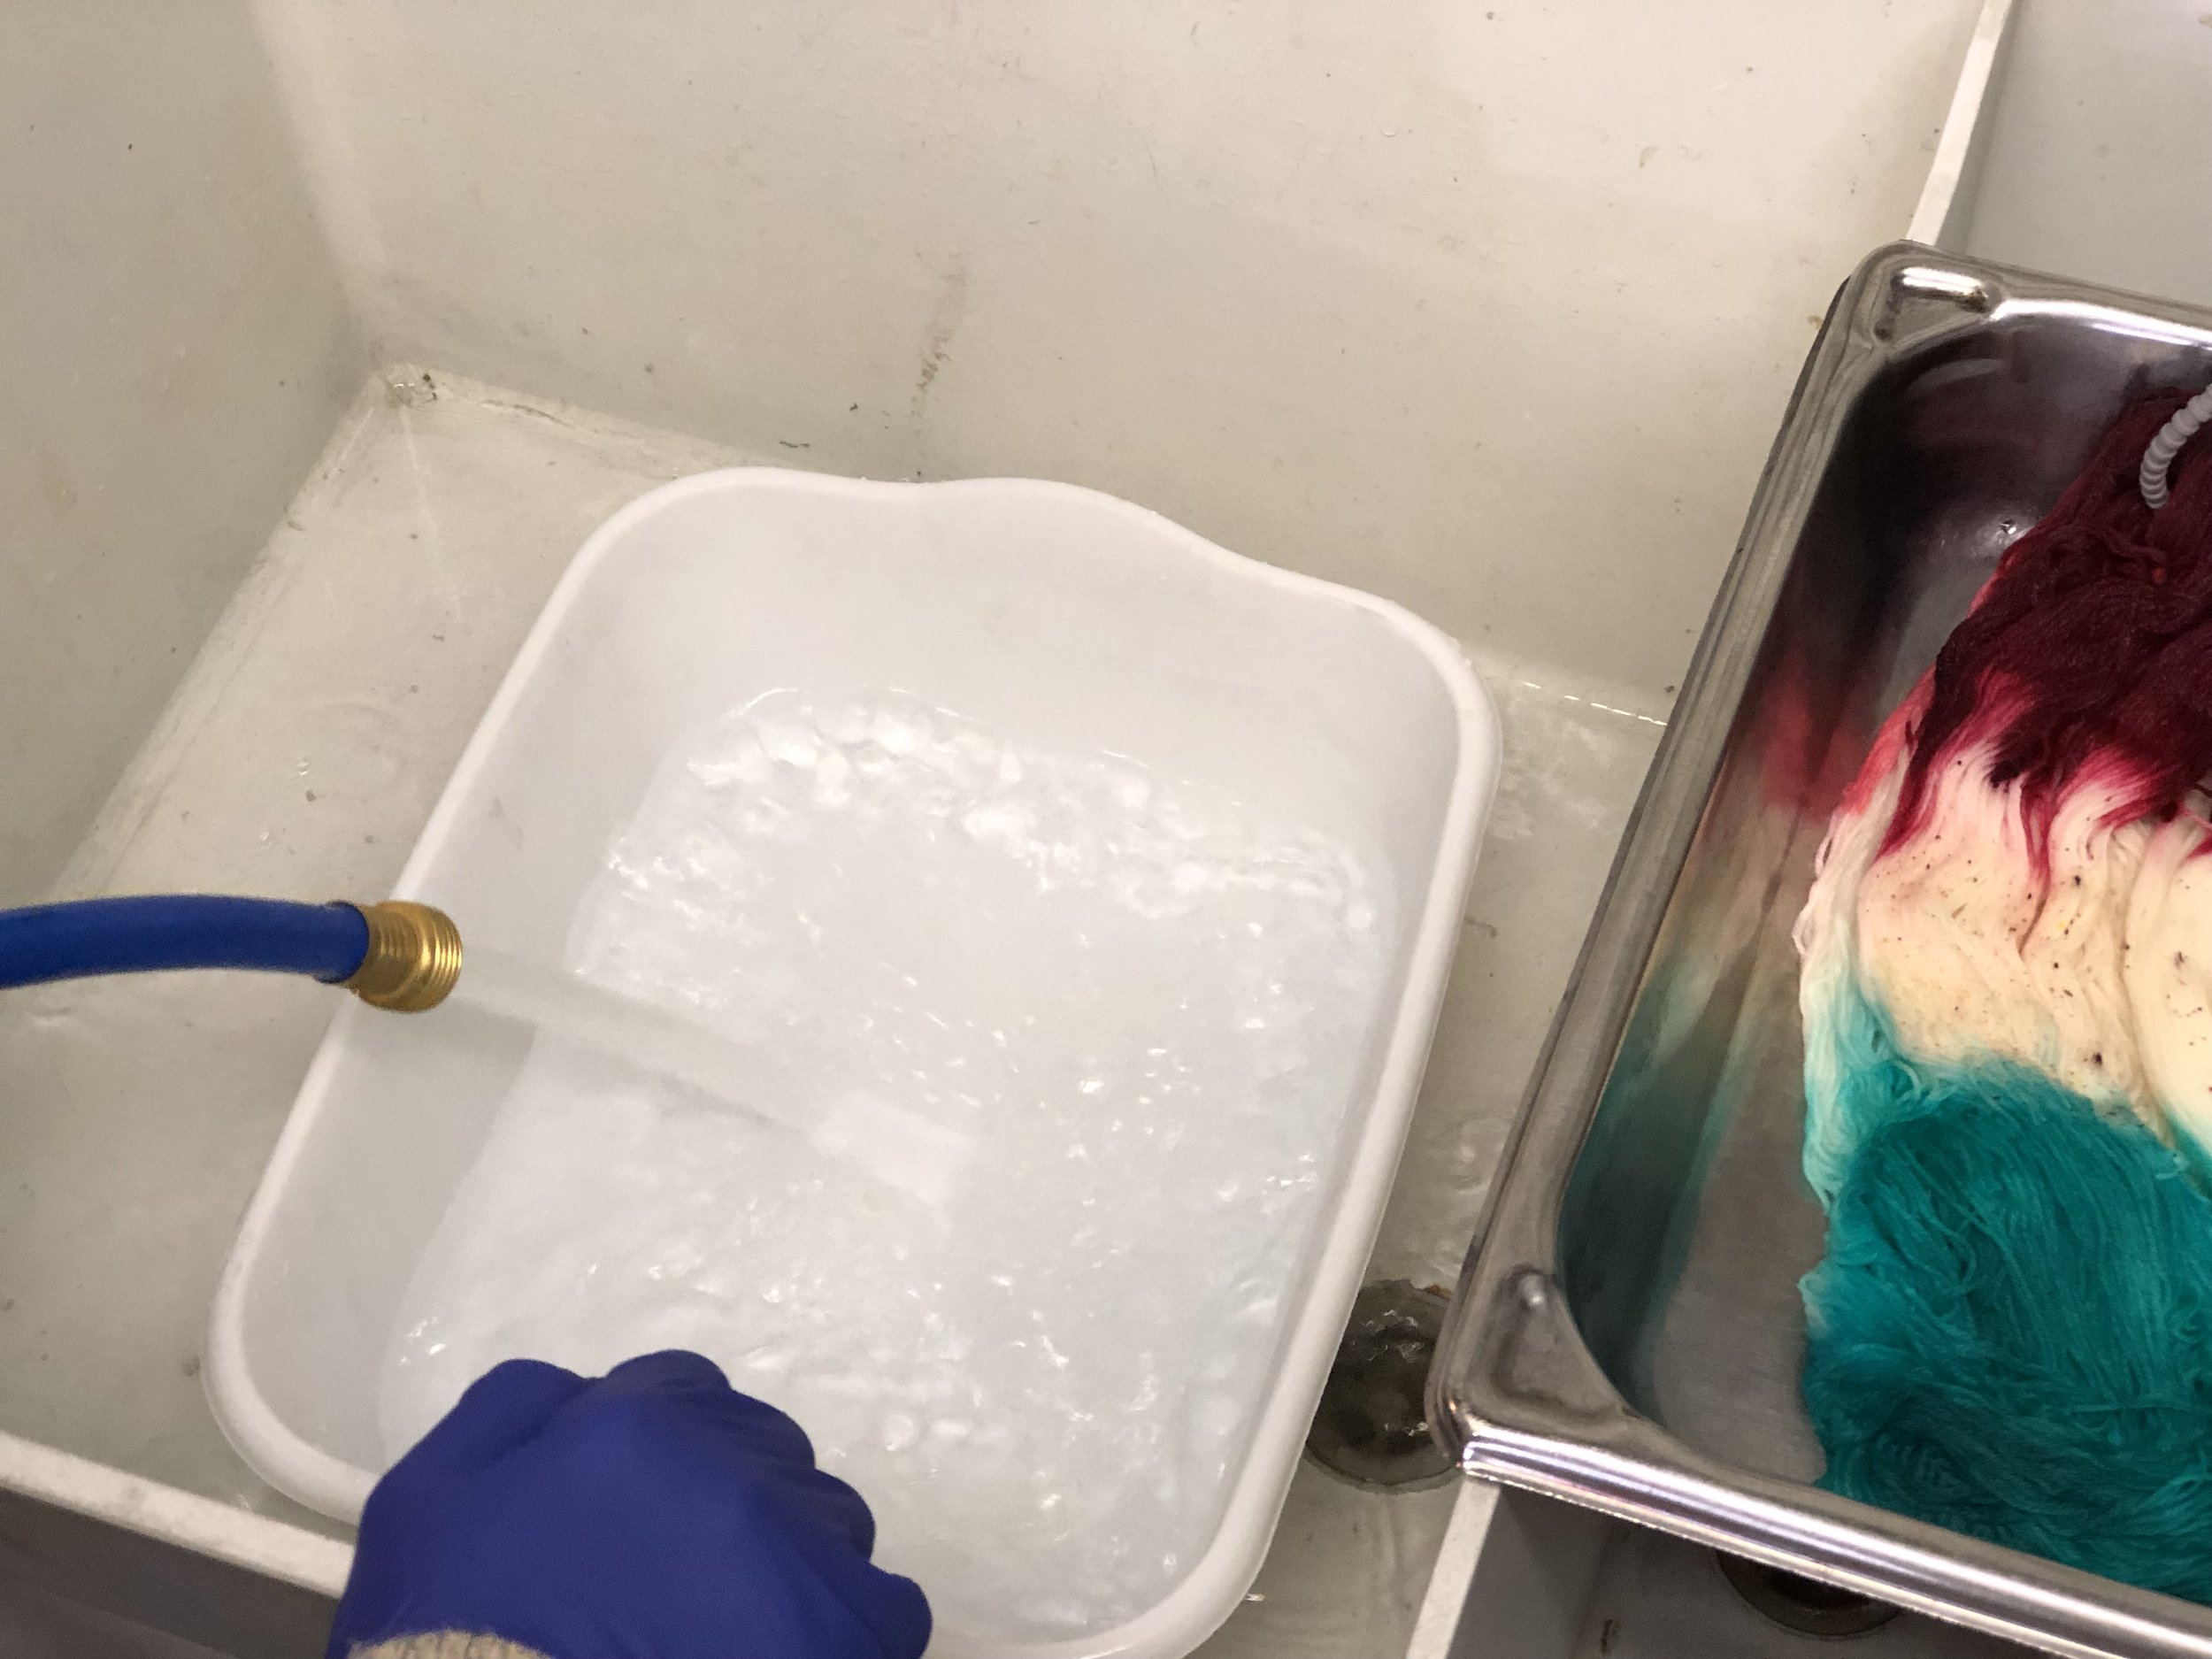

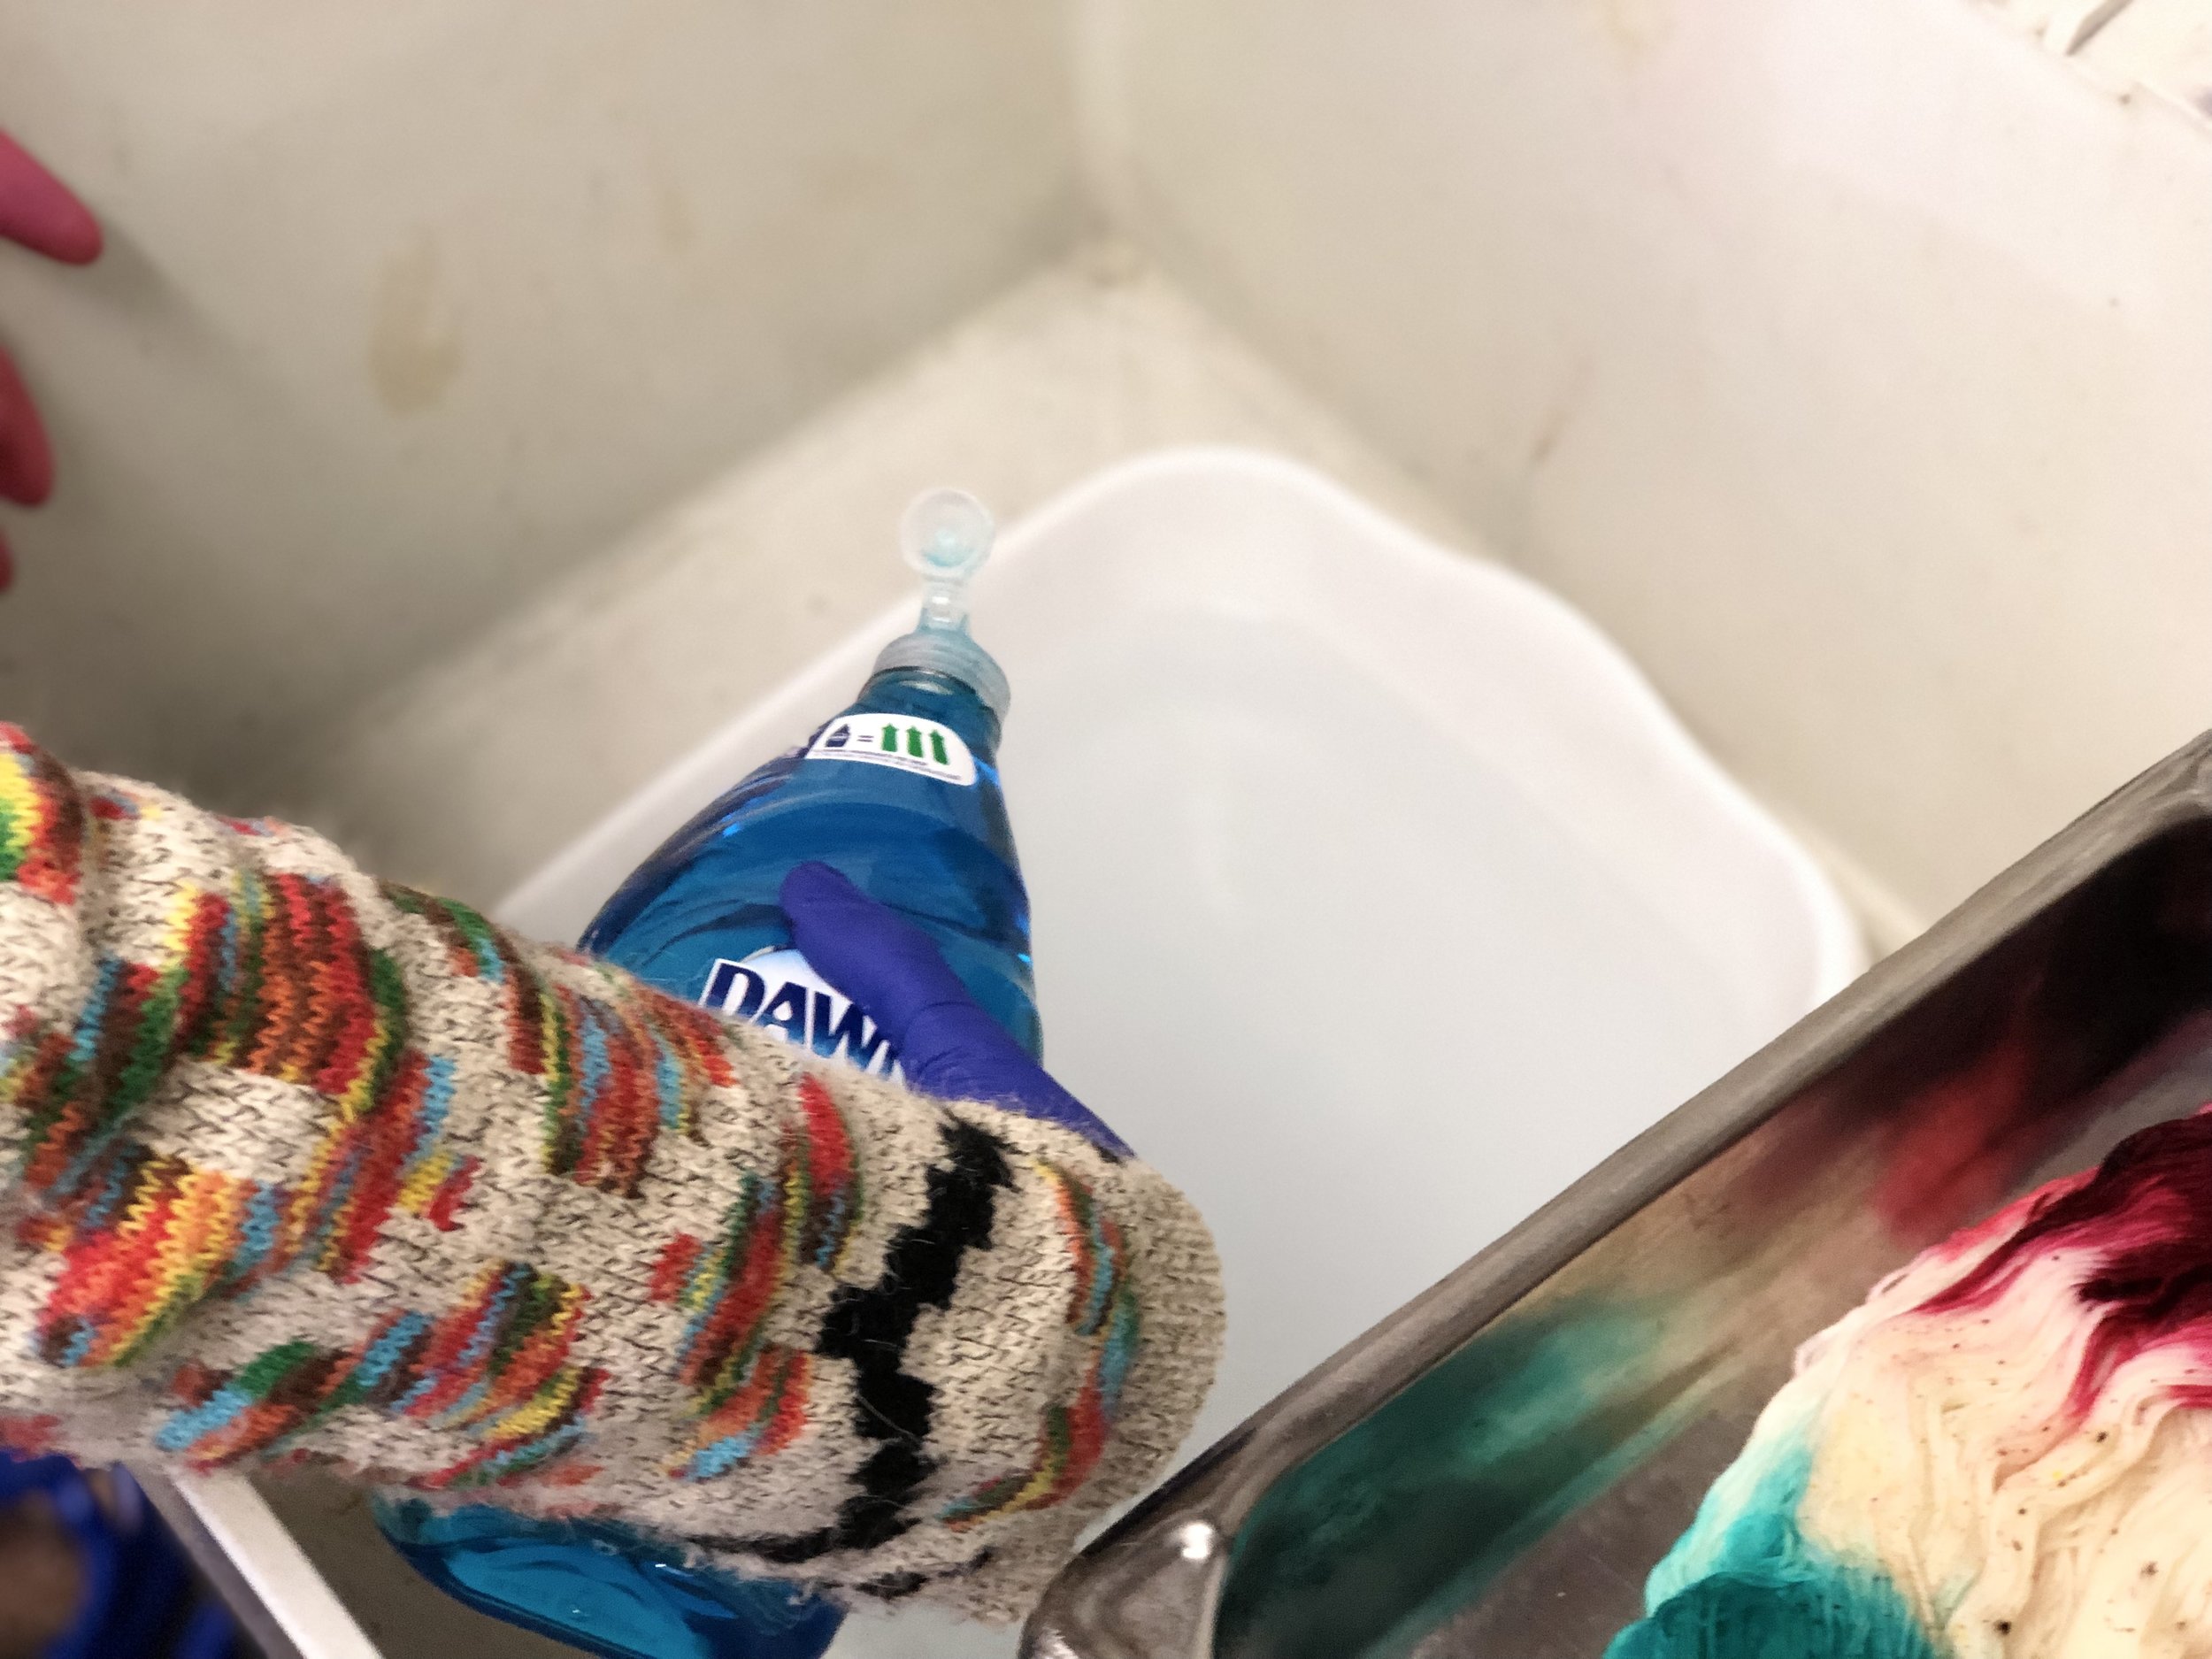
You are going to do three indirect wash “baths”. The first bath consists on a few drops of non scented soap such as dawn. Remember to never spray water on the yarn itself and to always wash in a dishpan. You want your water to be warm to the touch so make sure you test the temperature with a gloved hand so you know it is warm and not cool.
First bath:
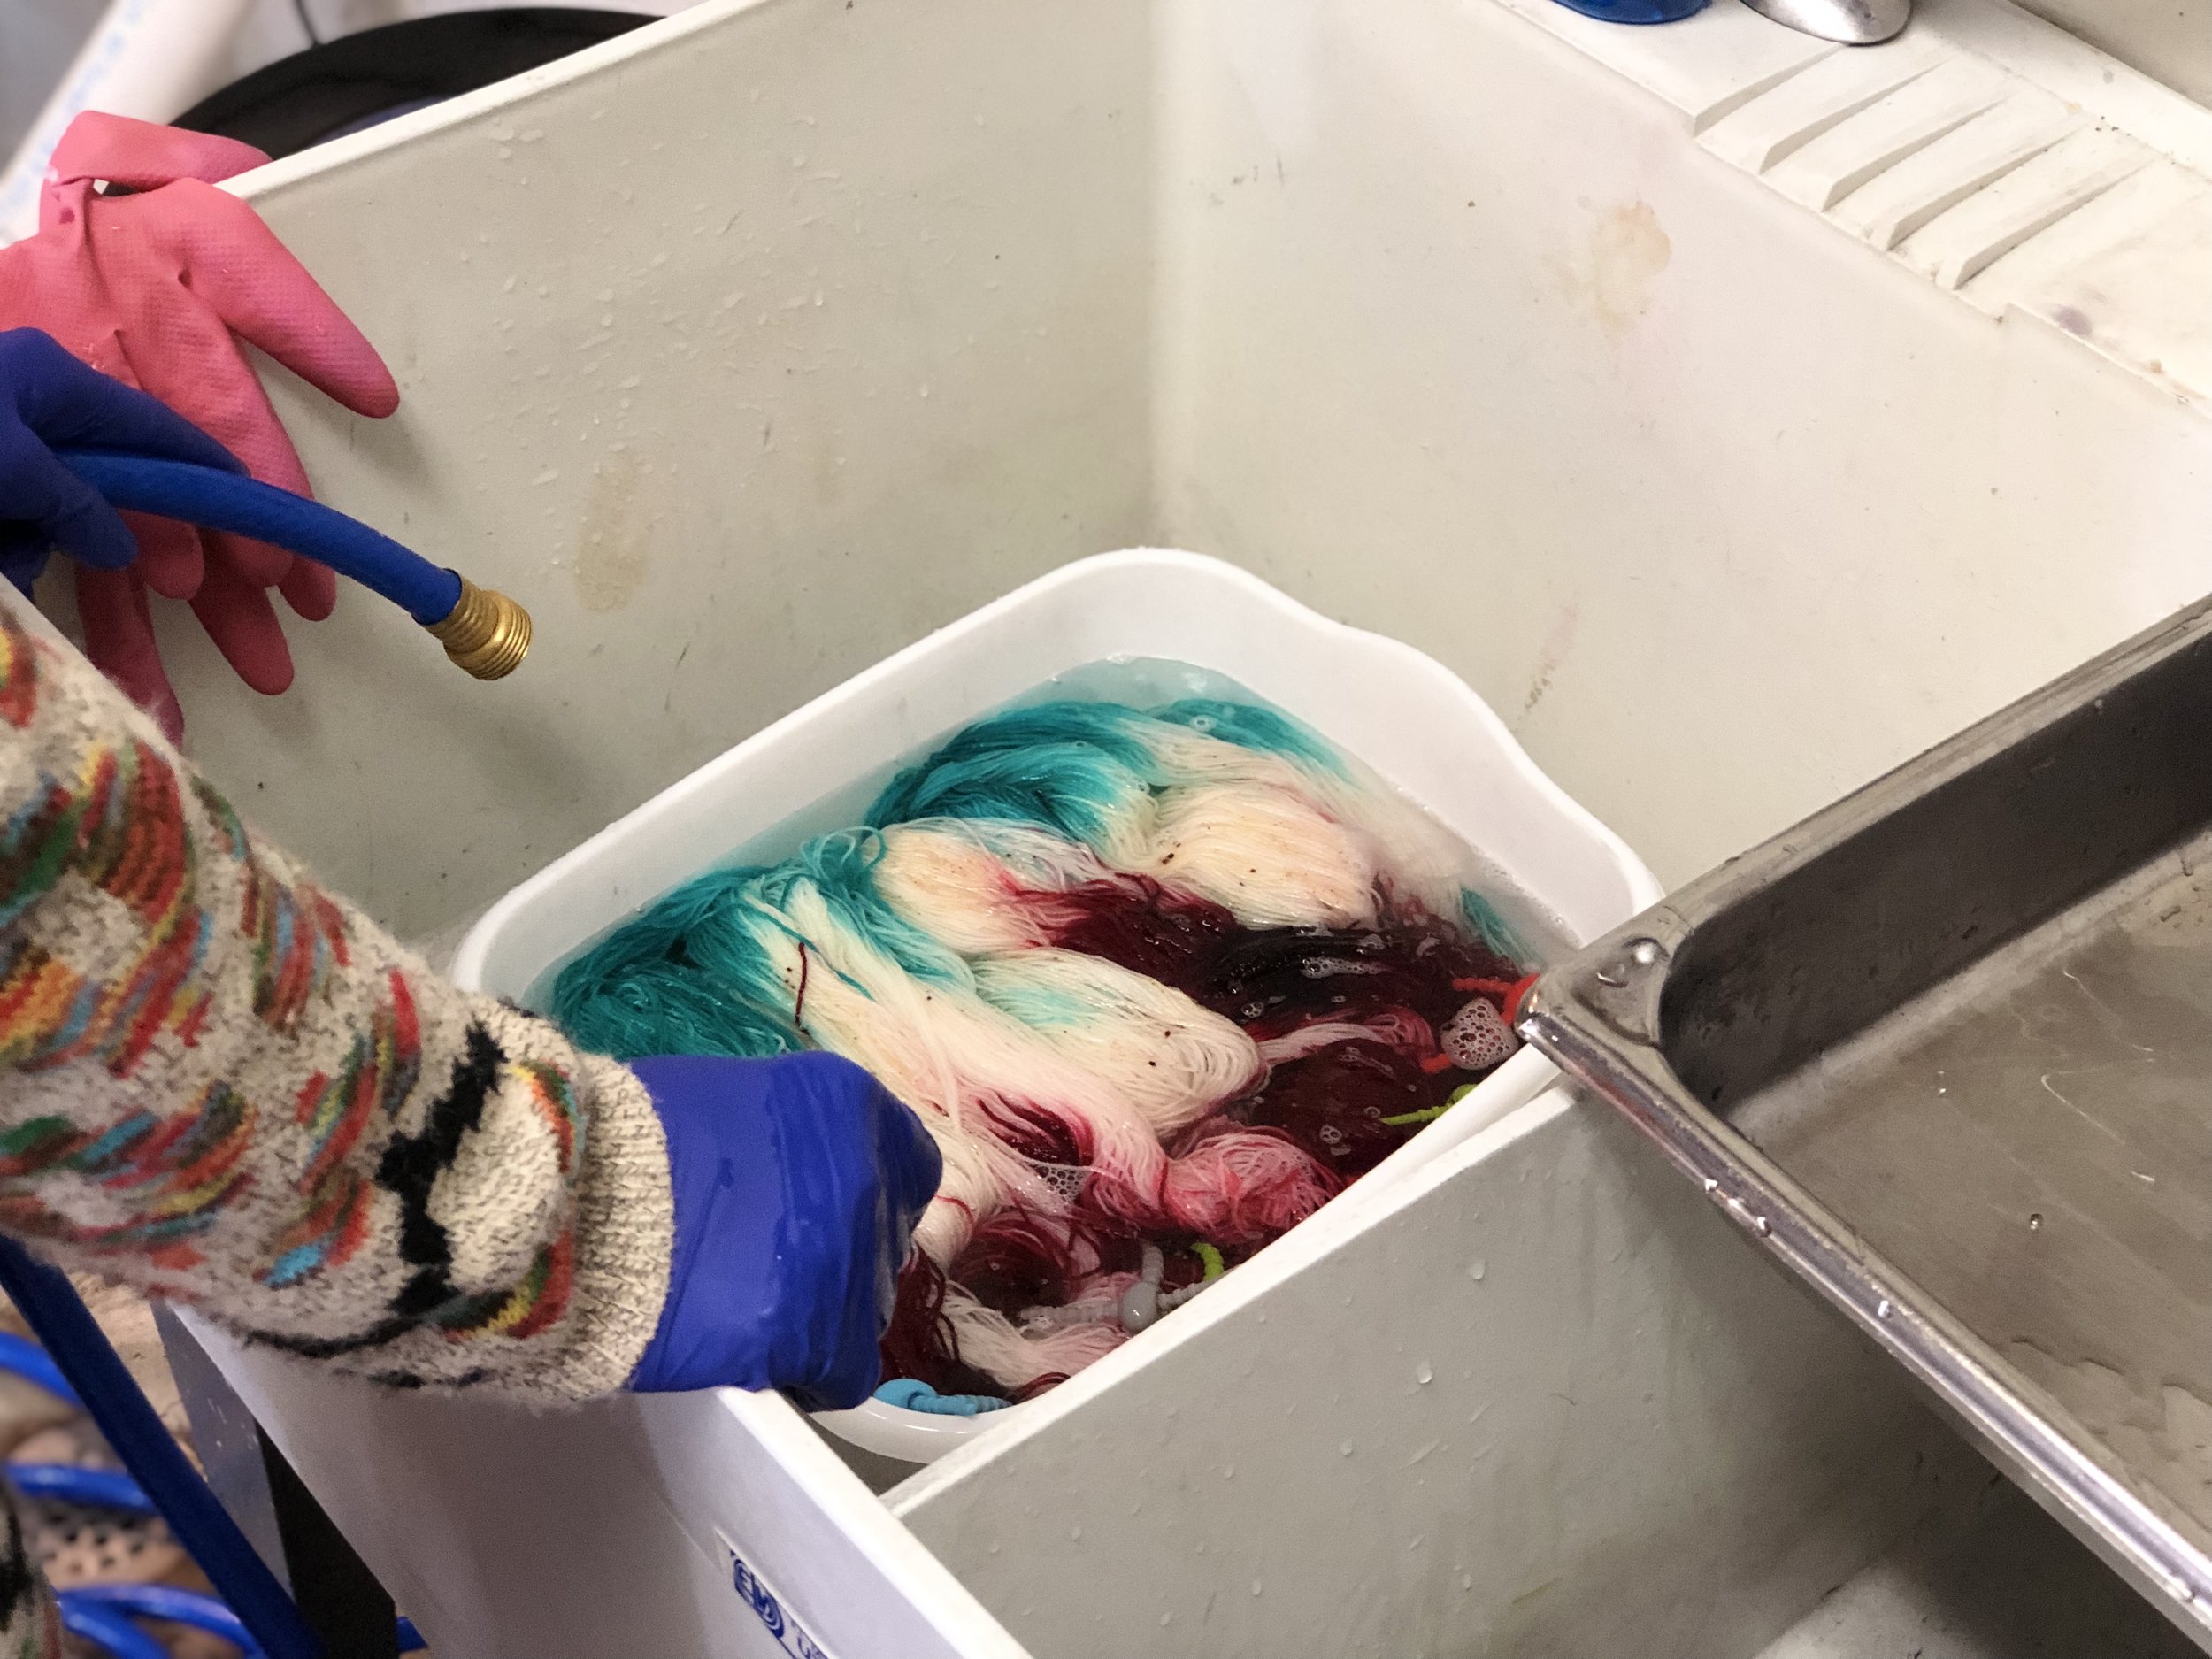
Fill the dishpan with warm, soapy water (just a few drops of soap)
Dunk your yarn in the dishpan
Let it sit for a couple minutes
Remove into another pan
Dump out the soapy water and rinse the dishpan
Second bath:
Fill the dishpan with just warm water, no soap,
Dunk the yarn in again for a minute or so
Remove into another pan
Dump out the water and rinse the dishpan
Third bath:
Repeat this dunking with just plain water one more time
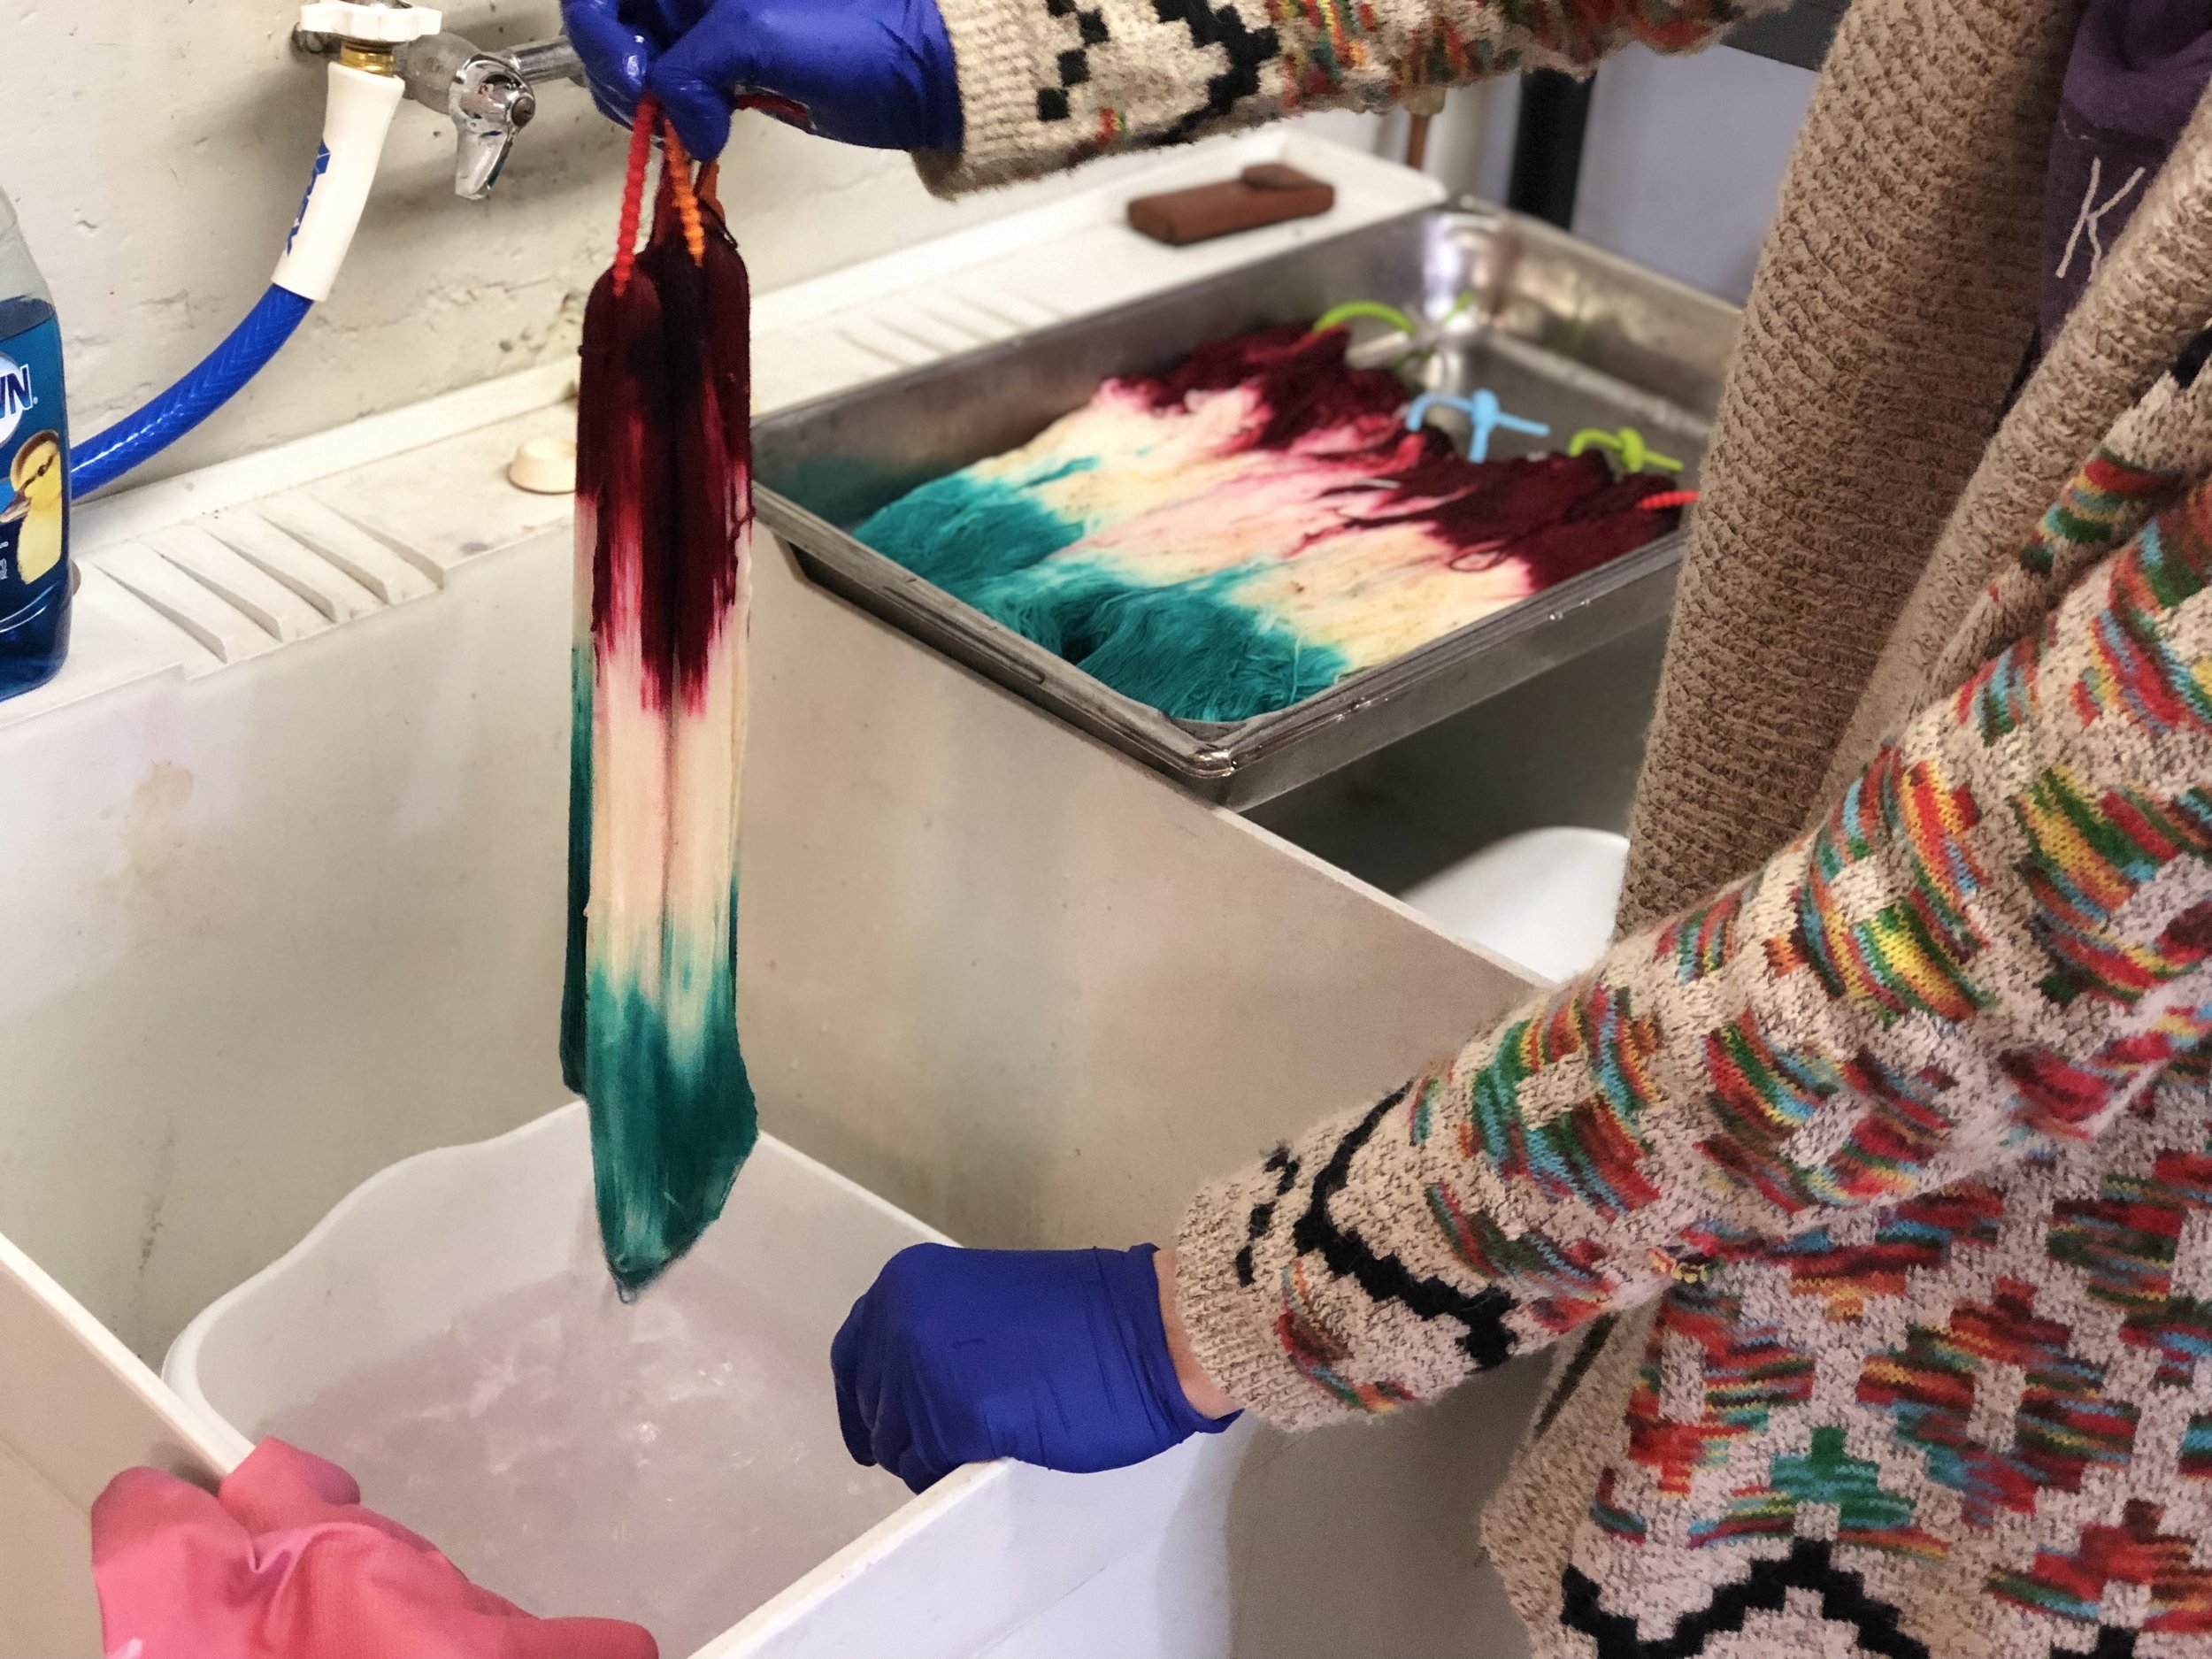
Gently ring out excess water
Stick the yarn in a pan ready to be dried

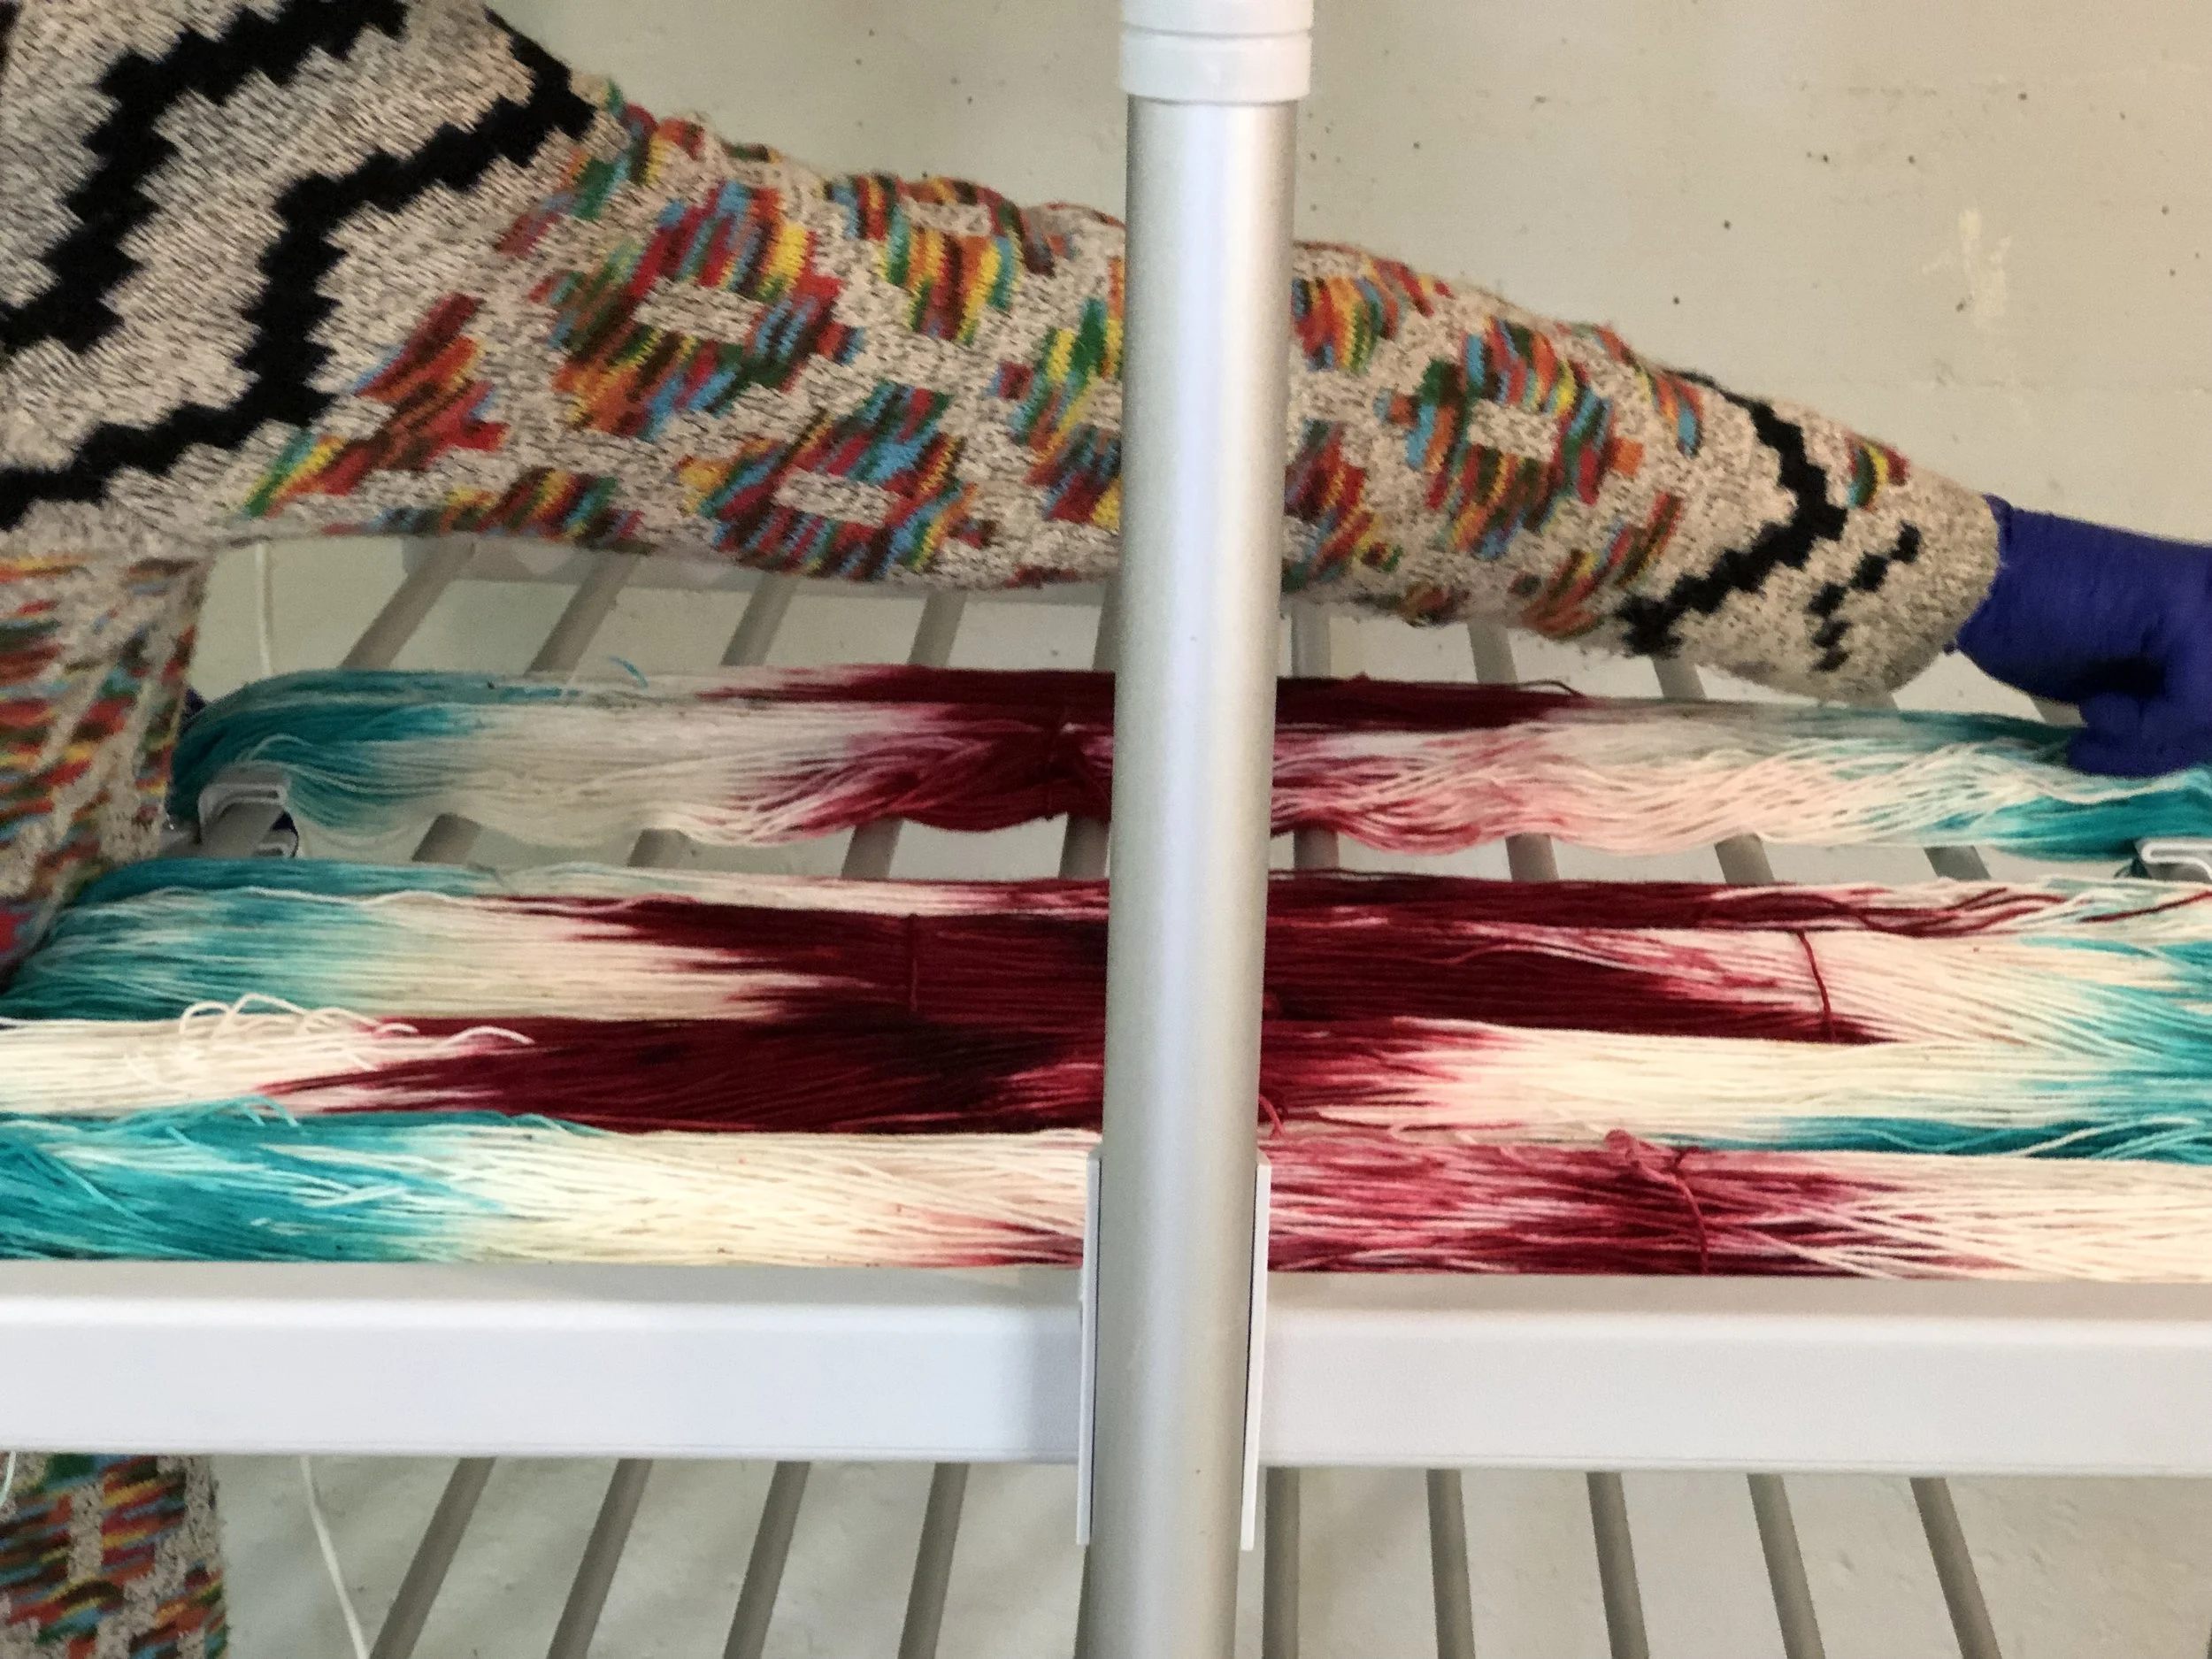
Step 7: Drying Your Yarn
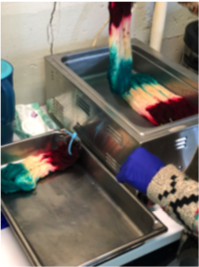
Once the yarn is washed you can go about drying it in a multitude of ways. For me personally, after wringing the yarn out, I like to stick it in my spin dryer. As mentioned earlier, these can be a bit pricey (a salad spinner can be a nice cheap alternative) but as you can see from the pictures, spin drying removes a ton of water. I also stick the spun out skeins on my heated drying rack. This is also optional.
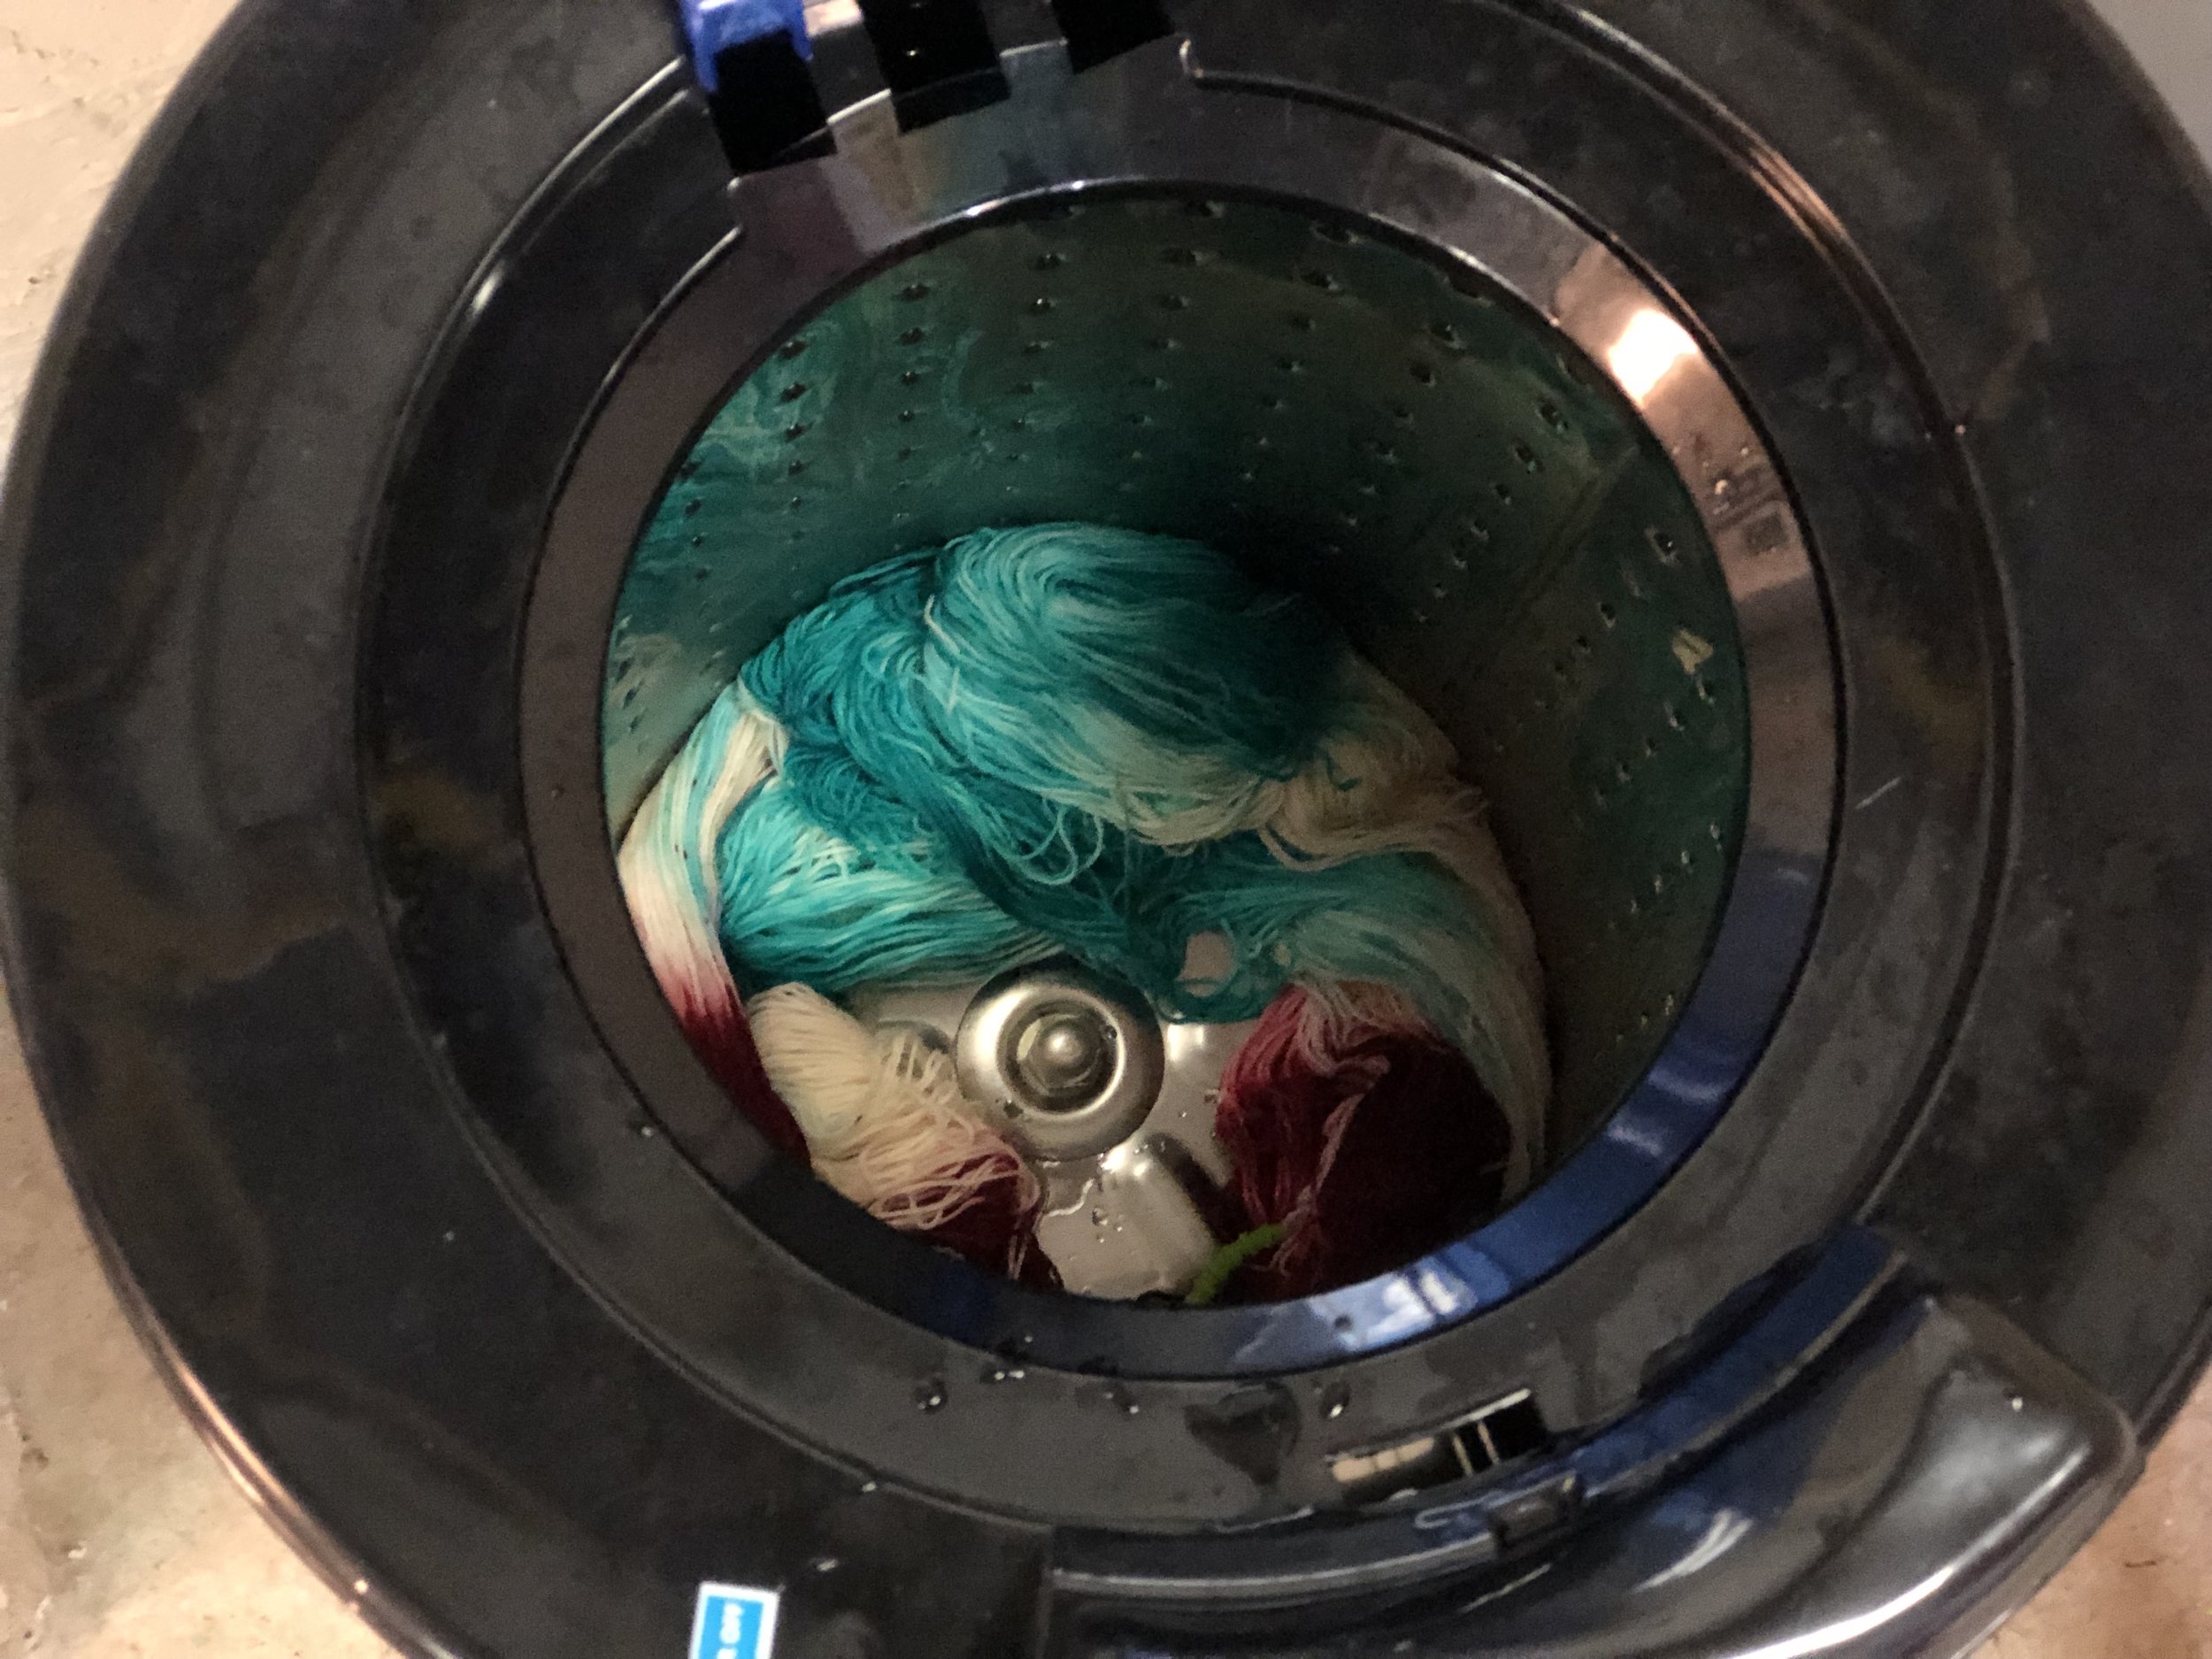
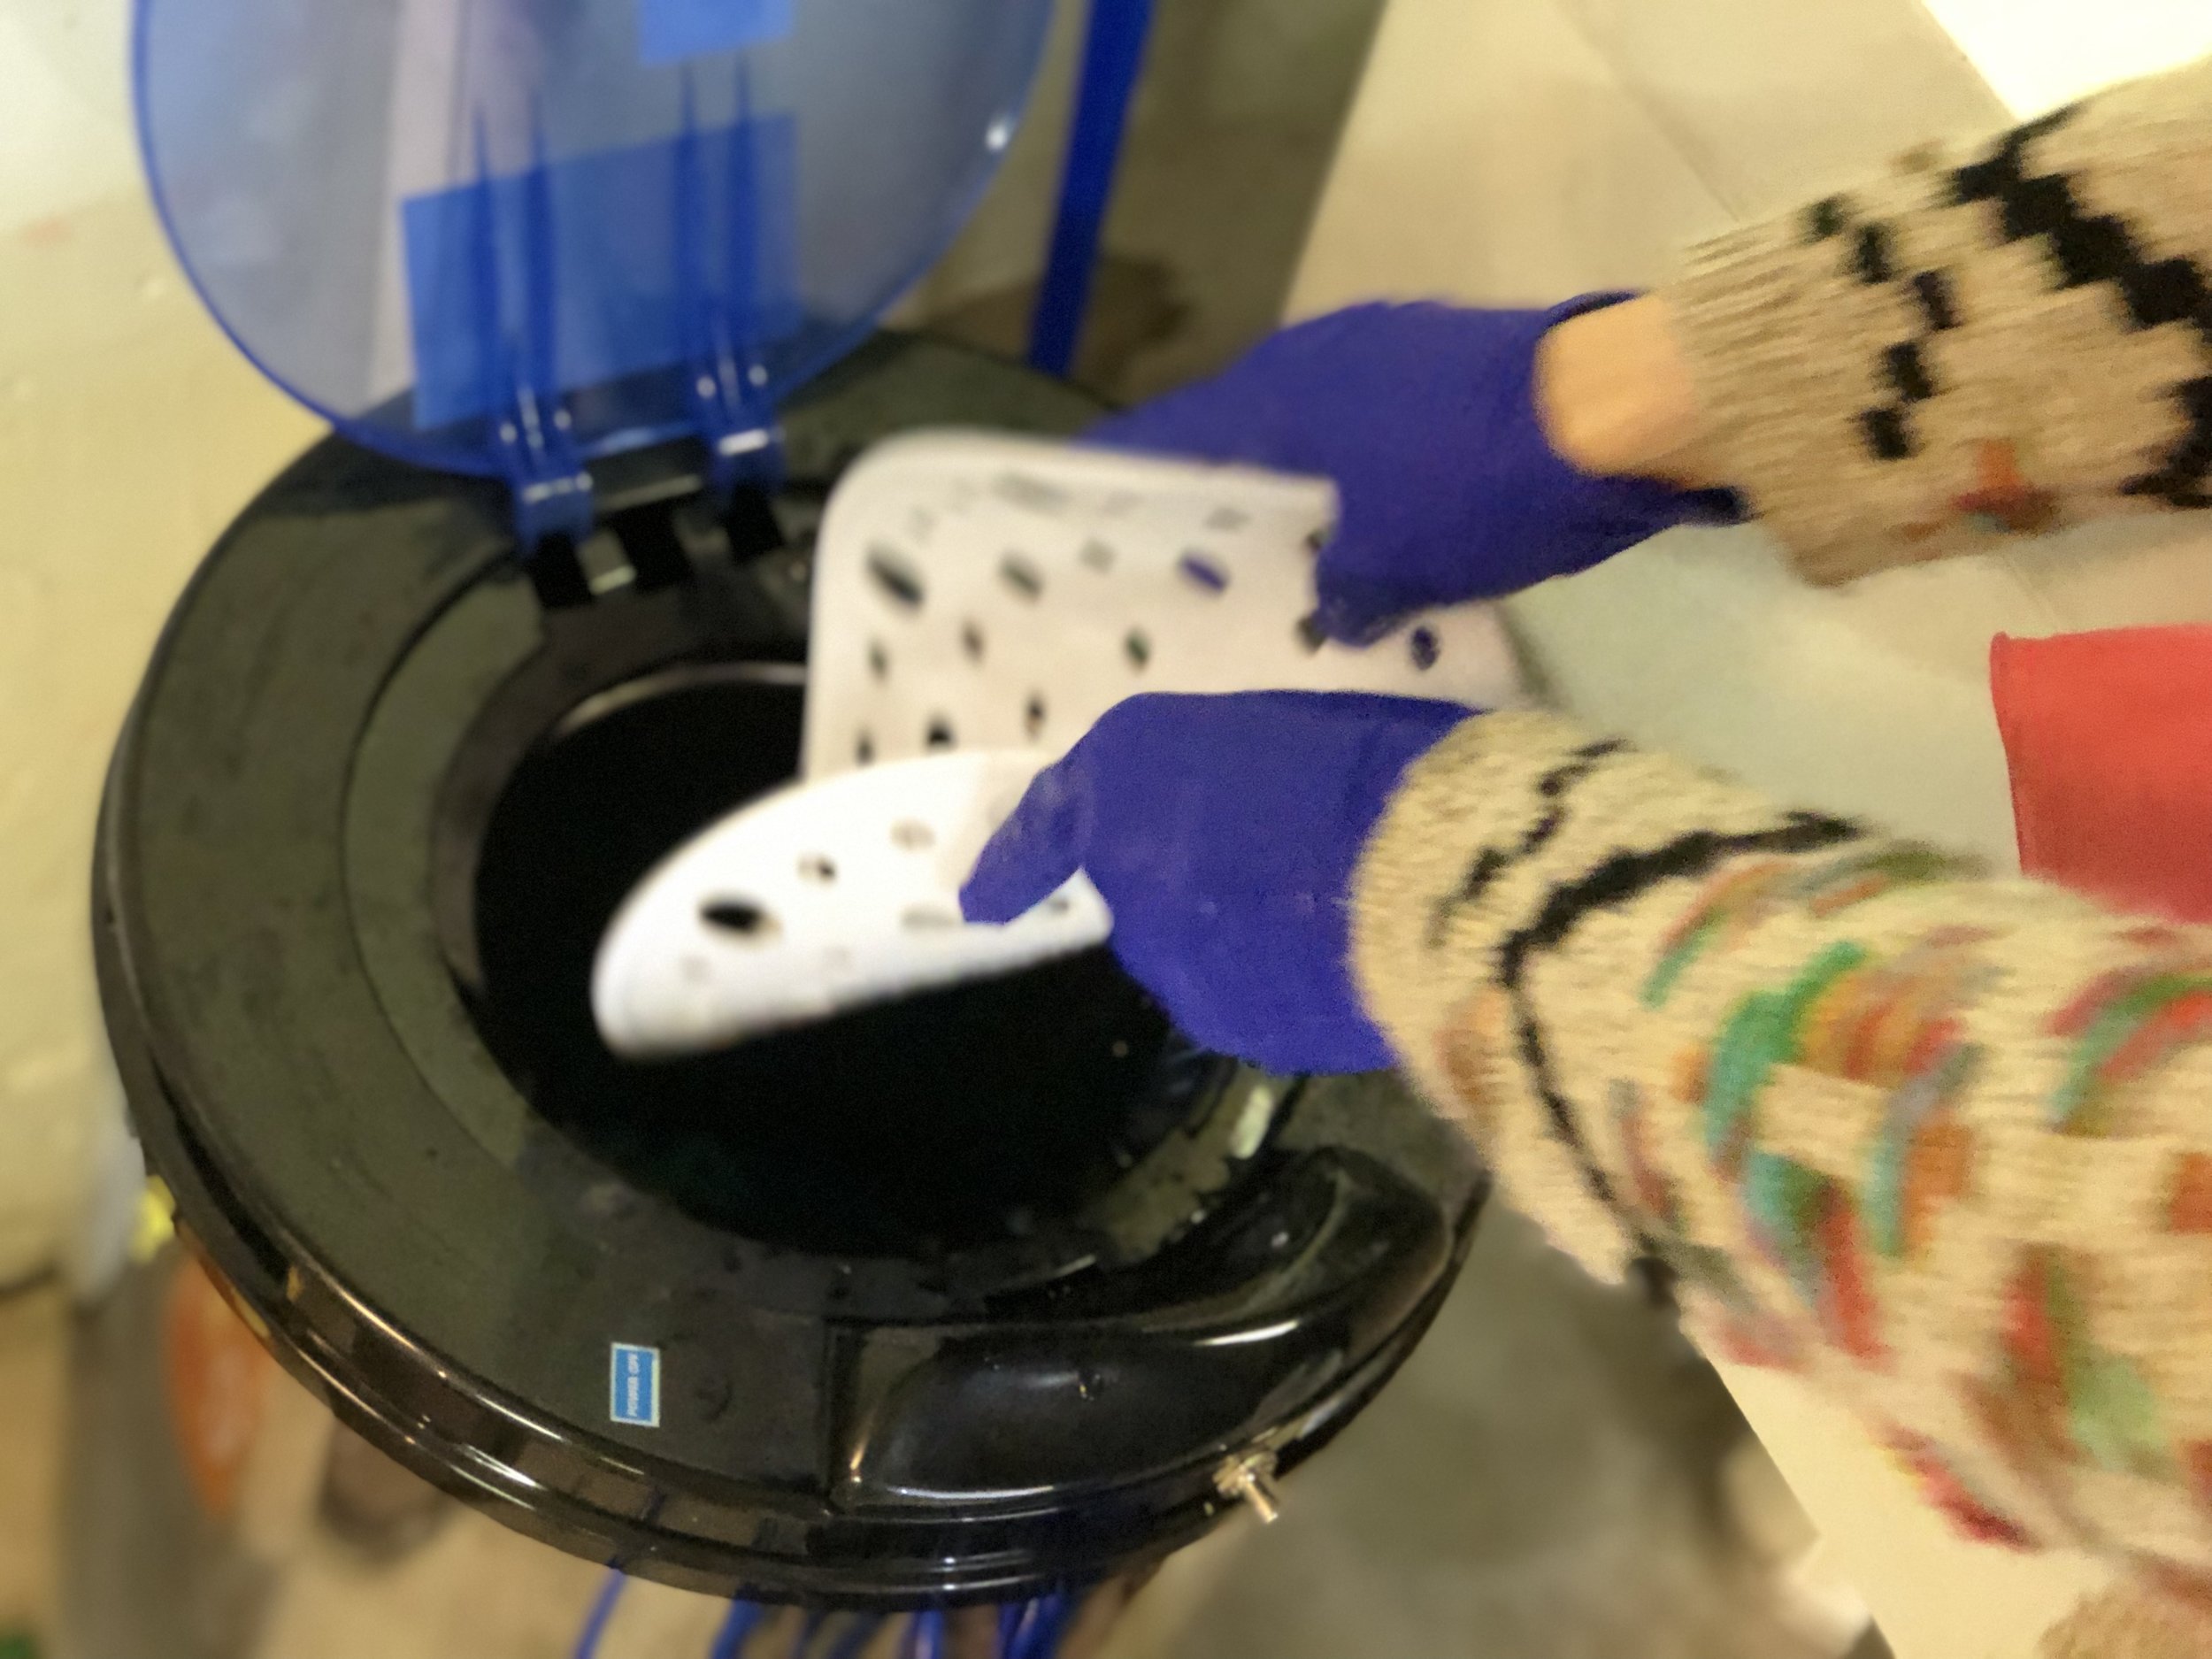

With these methods, it takes just a matter of hours for my skeins to dry out. I do production dyeing so I need that sort of speed. For just a home dyer or someone with a smaller business you can just hang the skeins after you ring them out as much as possible in a place where they will be free from getting water on other stuff. Usually people will do this in their shower on the curtain rod.


At this point you are pretty much done, but keep in mind that you just used a lot of equipment so the last and final step, clean up, is key to long lasting dye equipment.
Step 8: Clean Up and Twisting the Skeins Up After Drying
After sticking your yarn in a safe place to dry, cleaning up is one of the final steps in this entire process. Although this may seem tedious, it is crucial for ensuring that your equipment lasts for many years of future dyeing. I only clean with water and one of those green scrubbies.
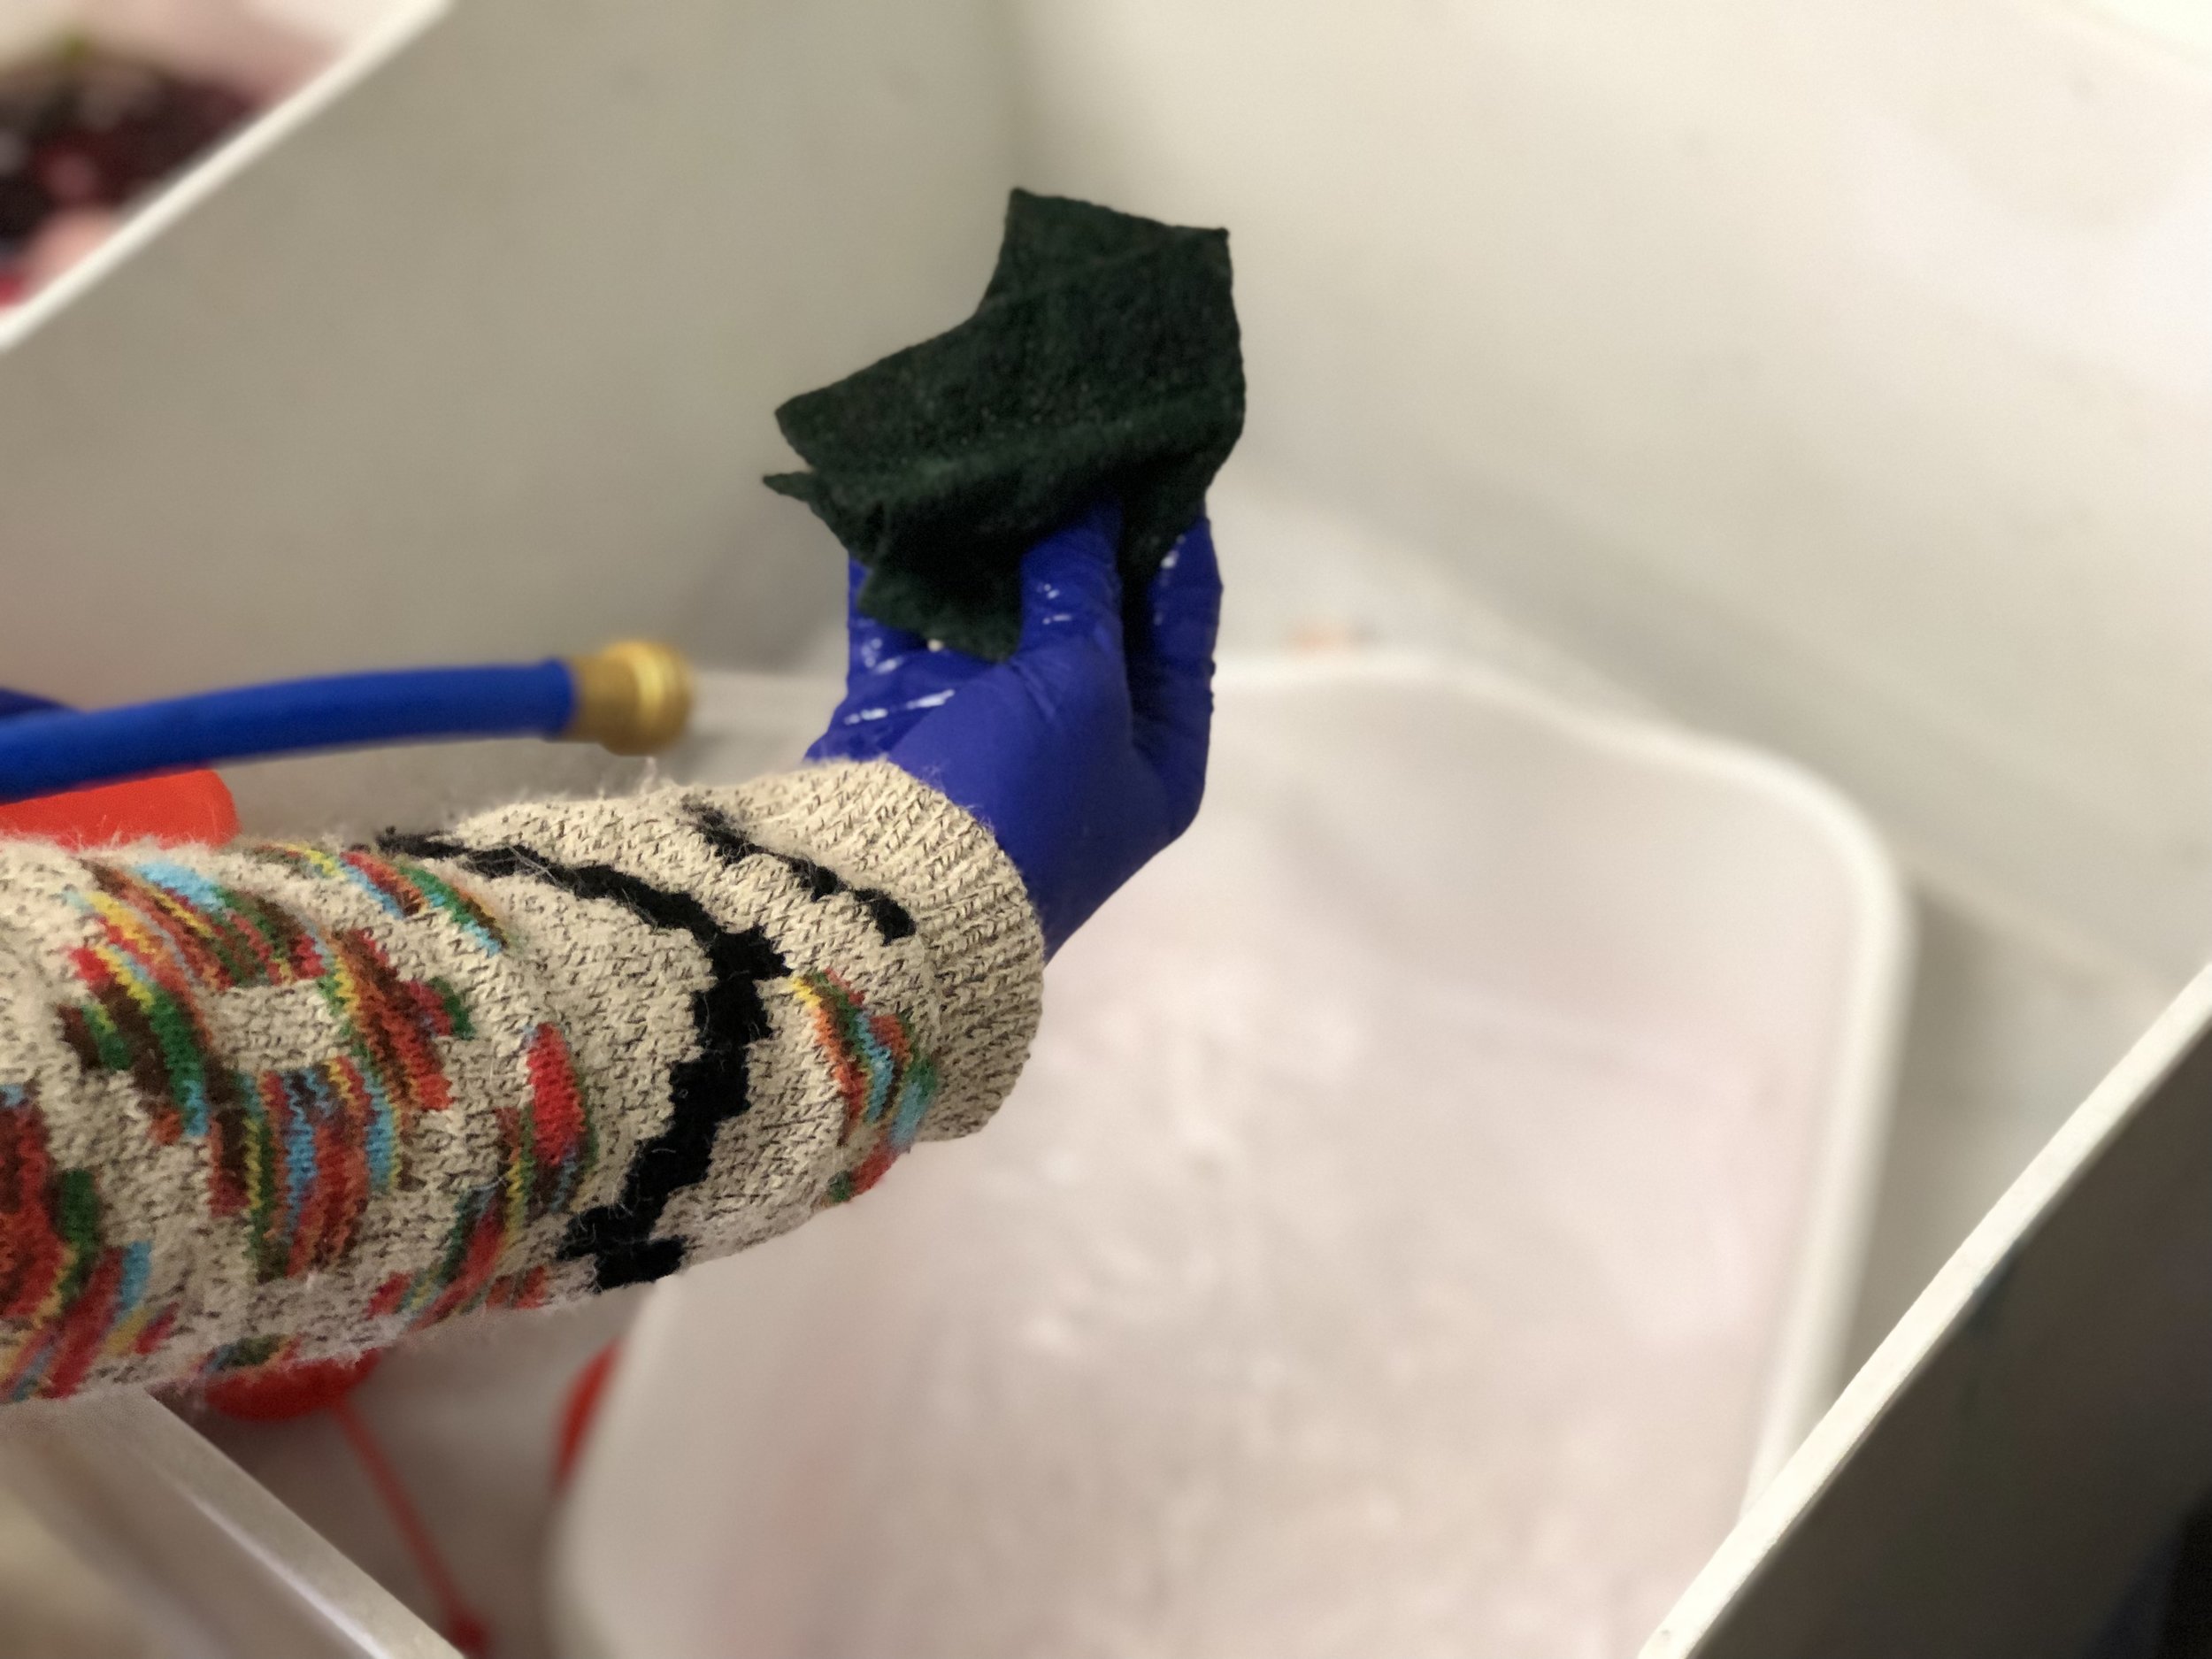
Some dyers use bleach on their equipment and I will very outspokenly tell you DO NOT USE BLEACH!! Bleach is so harsh and so many people react negatively to it. I am really against using anything other than water on your equipment and maybe some dish soap if you are really struggling to get something clean. I promise that those green scrubbies work like a charm and they will not add any extra chemicals to the dyeing process.

Make sure you check everything, especially the main pan for any extra dye lingering around. I usually also take this opportunity to refill the water in my food warmer so I do not accidently forget the next time I use it.
Find a good place, such as a rack dedicated just to drying these materials, for your tools to air dry.
The very last step is to twist up the hanks once they are dry.
You will hold the skein in both hands and twist your hands in opposite directions until it is a snug twist
Next, bring your knee up to the middle of the skein to get it to spin on itself
You then put one end over the other and BAM!!! You have just hand dyed your first indie dyed yarn using the low immersion method!!
Congrats! You can now call yourself a hand-dyer. Welcome down the rabbit hole!
Thank you for reading. I hope you enjoyed this tutorial. For more HighFiberArtz info check me out on Instagram and you can even purchase my hand dyed yarns on my website.
If you like this, you may like:
Thank you for joining us for this step-by-step tutorial on yarn dyeing! I’d also love to hear from you about what types of resources you want more information on as well as Makers you would like to nominate for a Maker Feature! Please email me or leave a comment on this article! Looking forward to hearing from you and have a great day!


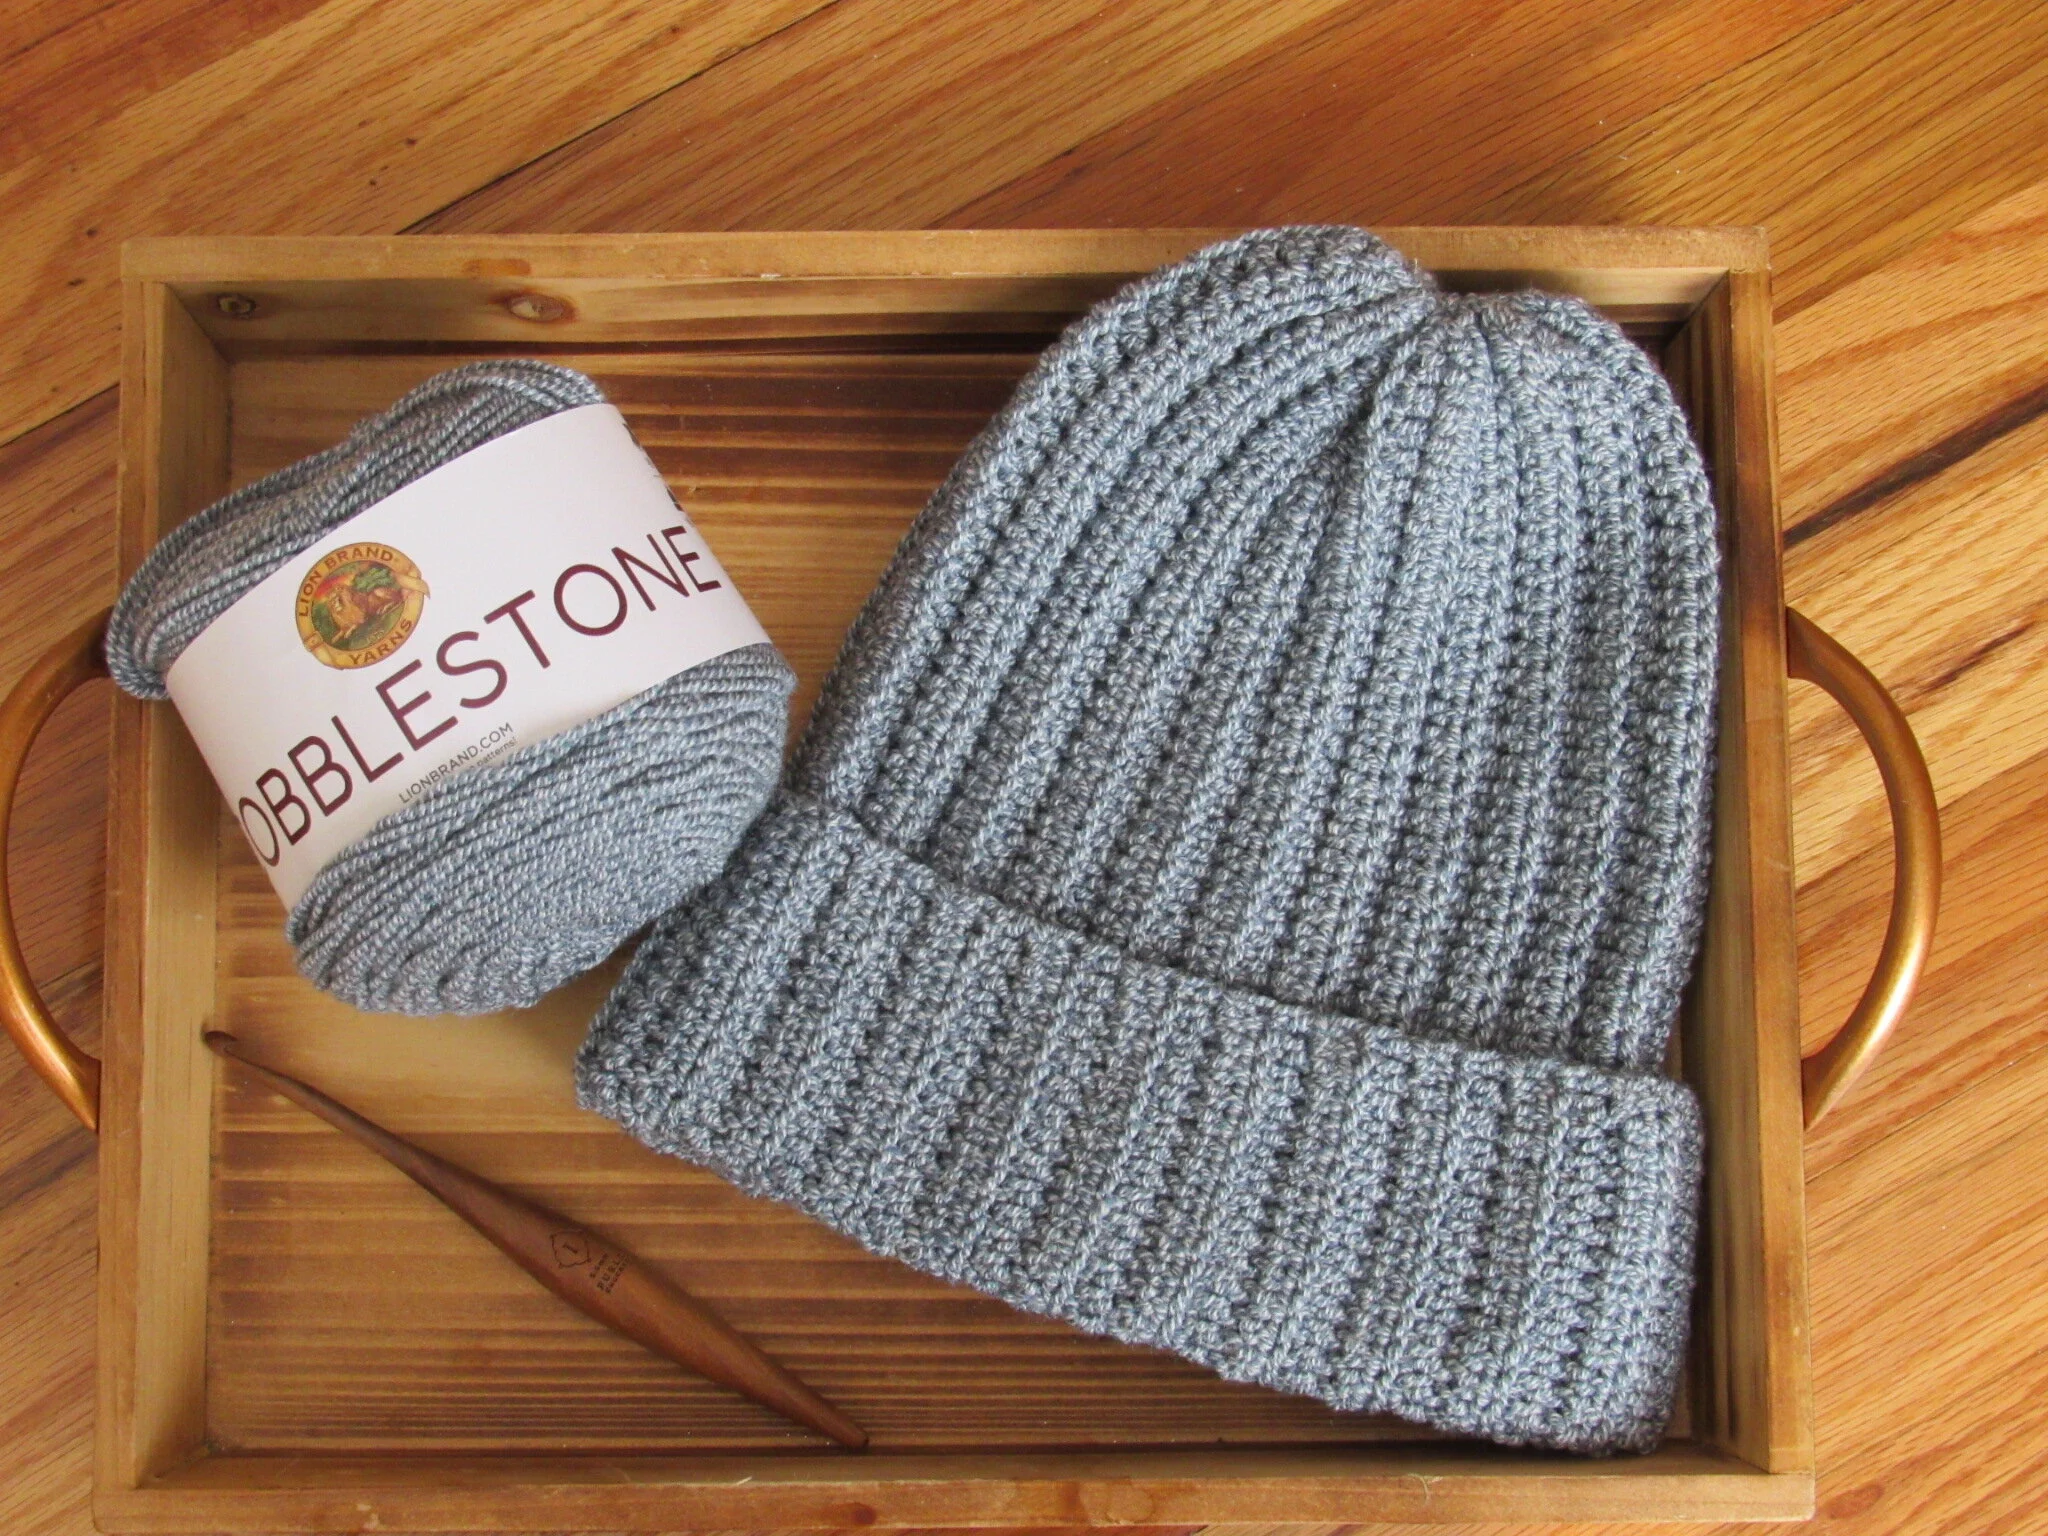


Hello everyone!!! Have you ever seen some of the gorgeous crochet pieces floating around Instagram and wondered how they are made or even if you could make them yourself? You can!!! That is what this how to crochet series is all about! You will have the chance to meet a number of different designers and find amazing patterns and creations done by them and and others :) . I am so excited that you are here and wanting to start crocheting! It is such a wonderful thing to work with your hands and make something that you or a loved one can wear. You can even make things to sell!