How to Block Crochet and Other Handmade Items (part 1)
by Michele Thymmons
Note: This post contains affiliate links, which means I will make a commission at no extra cost to you should you click through and make a purchase.
Originally published in July 2018, but updated as of 12 September 2021.
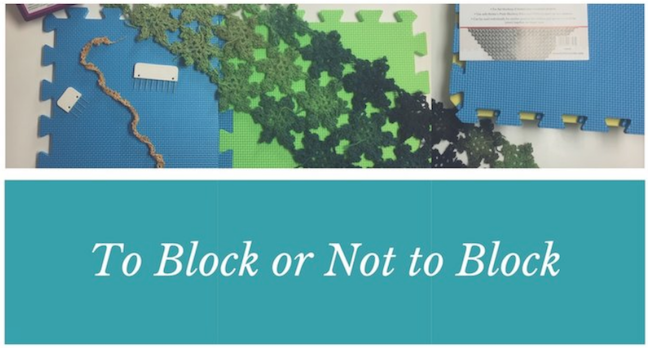
To Block or Not to Block - How to Block Your Handmade Fiber Items
This article is the first of a two part article on how to block crochet and other handmade items. The first part is about blocking and the resources I have used to learn about blocking, the equipment/tools I bought for blocking, and what projects I would be blocking. The second part (found here) is about how I blocked several items (step-by-step and the methods used), the resources I used (if different from here), and the end results to include before and after pictures.
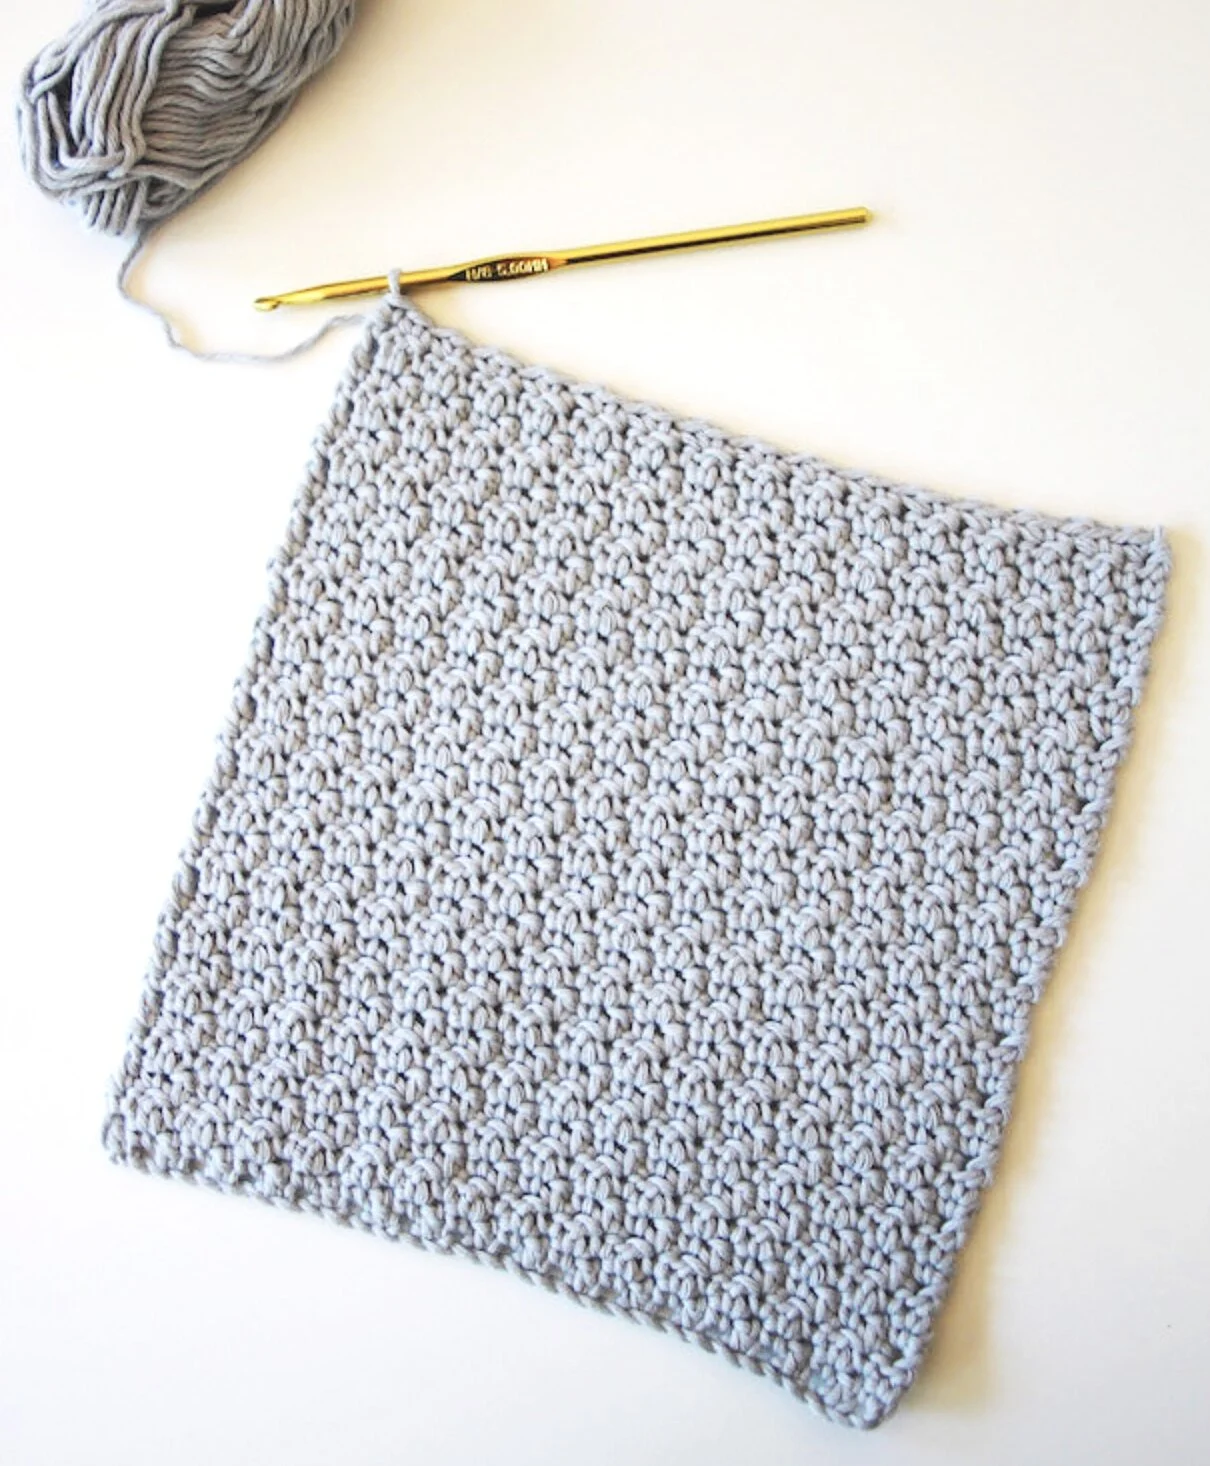
Working on a variety of different types of crochet pieces, I have constantly heard the need to block my pieces but never thought I truly needed to try it (nor to be honest wanted to as I thought it would be extremely complicated and time consuming). However, for a couple of my jewelry pieces I have seen them curl up and not lay the way I would like them to, or in some cases even look like a necklace - this is the gold necklace above). Thus, I decided to try this thing called blocking to see what if anything it would do to the pieces that looked hopelessly twisted and not laying correctly. Several other pieces are also going to be blocked to see if it makes a difference in their end state.
The below resources are what I used to start working through blocking, what it is and how to use it. The one piece I had originally started out with is a necklace made of acrylic yarn. And also wanted to see if blocking changed several other necklaces and bracelets I recently made as well as even trying it out on a scarf and table runner. Reading through the below resources gave me great insight on how to proceed and make sure I did it right the first time.
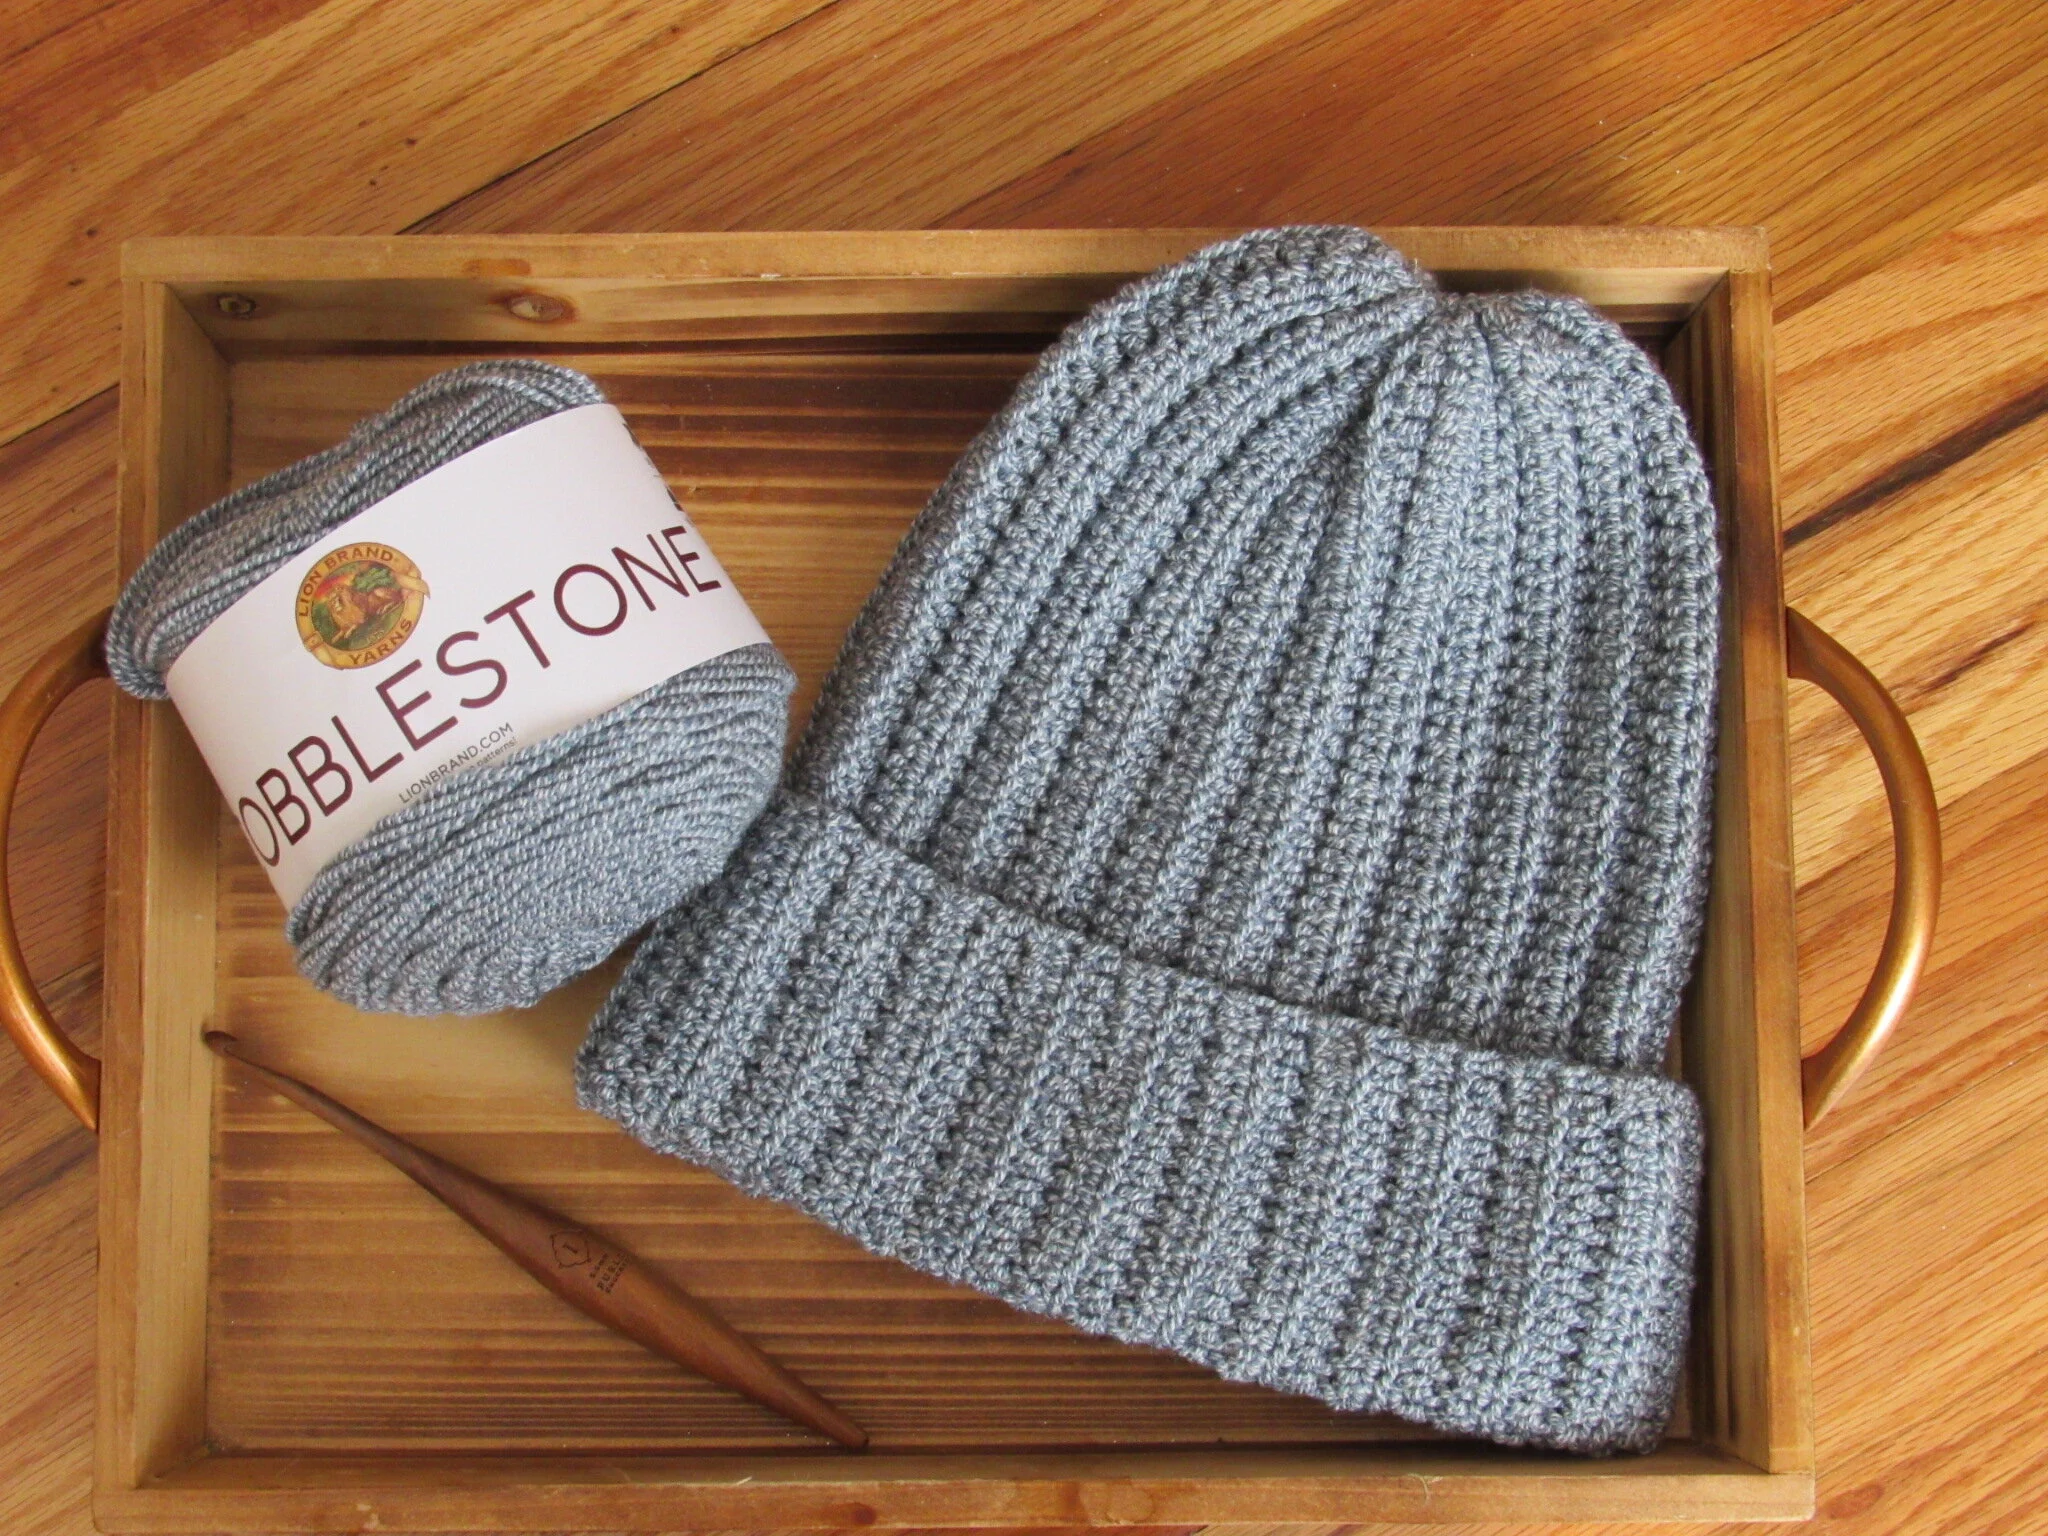
The blocking equipment I used and will continue to use is from Knitter's Pride and include the Pin Blocks with 20 Pins of 12 x 8 pins and 8 x 4 pins, 9 blocking mats in three colors, and the portable fabric steamer similar to this one. I have used these extensively and love them!
Another thought I had was to watch a Craftsy class. There are a good number of them but I choose this one by Linda Permann because it also covered some of the other topics I wanted to learn/relearn about crochet. Craftsy also has tons of online classes on ALL things crafts!!! Some are free and some are paid but having a Craftsy membership allows you to watch all of them!! More on these in later posts, but has a ton of classes on crochet, knitting, baking, sculpting, and even yoga! :)
In learning how to block and what is needed for each type of yarn, the below resources helped me tremendously in learning about blocking and actually setting up everything to block my crochet work. One thing I realized in my research is developing your plan and getting ready to block is the key for a successful and quick block (most of the time is waiting for the piece to dry).
How to Block Your Crocheting, by DesertBlossomCrafts is the resource besides the Craftsy course is the one I used the most regarding my own start to block as the three main methods (steam, wet, and spray) are described and then each one shown how to do in a simple, repeatable step-by-step method.
A series of articles found at Shibaguyz Designz (Blocking University!!!!!, yes really!) was very helpful for me to start understanding what I needed to do and how I needed to do it. I started with the first article and worked my way down:
4 Techniques for Blocking describes four ways you can block, all of which you still need to make your piece wet/moist, to include finger blocking, using pins, using wires, or using string.
Wet Blocking describes how to wet block by knowing when and how to soak. The key here is knowing the make up of the yarn you have used as some of them do not do very well in a soak and you could ruin all your hard crochet/knitting work!
Blocking University Session 1, this is a great start to know what equipment is needed for the actual blocking.
How to Block Your Handknits Like a Pro describes steam blocking and in detail how to wet block to include the equipment needed for each. The step by step instructions greatly assist in knowing how to steam or wet block your beautiful handmade piece, as well as several pitfalls to watch out for (do not let those colors run!).
How to Block Knitting Tips and Resources gives not just a step-by-step on how to do either steam or wet blocking, but also discusses the yarn used and how to read the labels with all of the symbols (which I need!). This allows you to plan the best possible blocking method of the yarn used in your project.
Using all of these resources, over the next couple of weeks I will be working on blocking several of my own products. In the next article of To Block or Not to Block (Part 2), I will describe the step-by-step methods I used with pictures to show you before, during, and after each project was blocked. If there were additional resources I used between this post and the next one, I’ll make sure to include them in the second article.
Wishing you all happy blocking and we would love to hear from you if there are resources or methods you recommend. Or if you have someone you recommend for an interview or to create a tutorial, please email me or comment below and have a great day my friend!


Hello everyone!!! Have you ever seen some of the gorgeous crochet pieces floating around Instagram and wondered how they are made or even if you could make them yourself? You can!!! That is what this how to crochet series is all about! You will have the chance to meet a number of different designers and find amazing patterns and creations done by them and and others :) . I am so excited that you are here and wanting to start crocheting! It is such a wonderful thing to work with your hands and make something that you or a loved one can wear. You can even make things to sell!